EMB400 Urupema: Wolfpack on the Slope

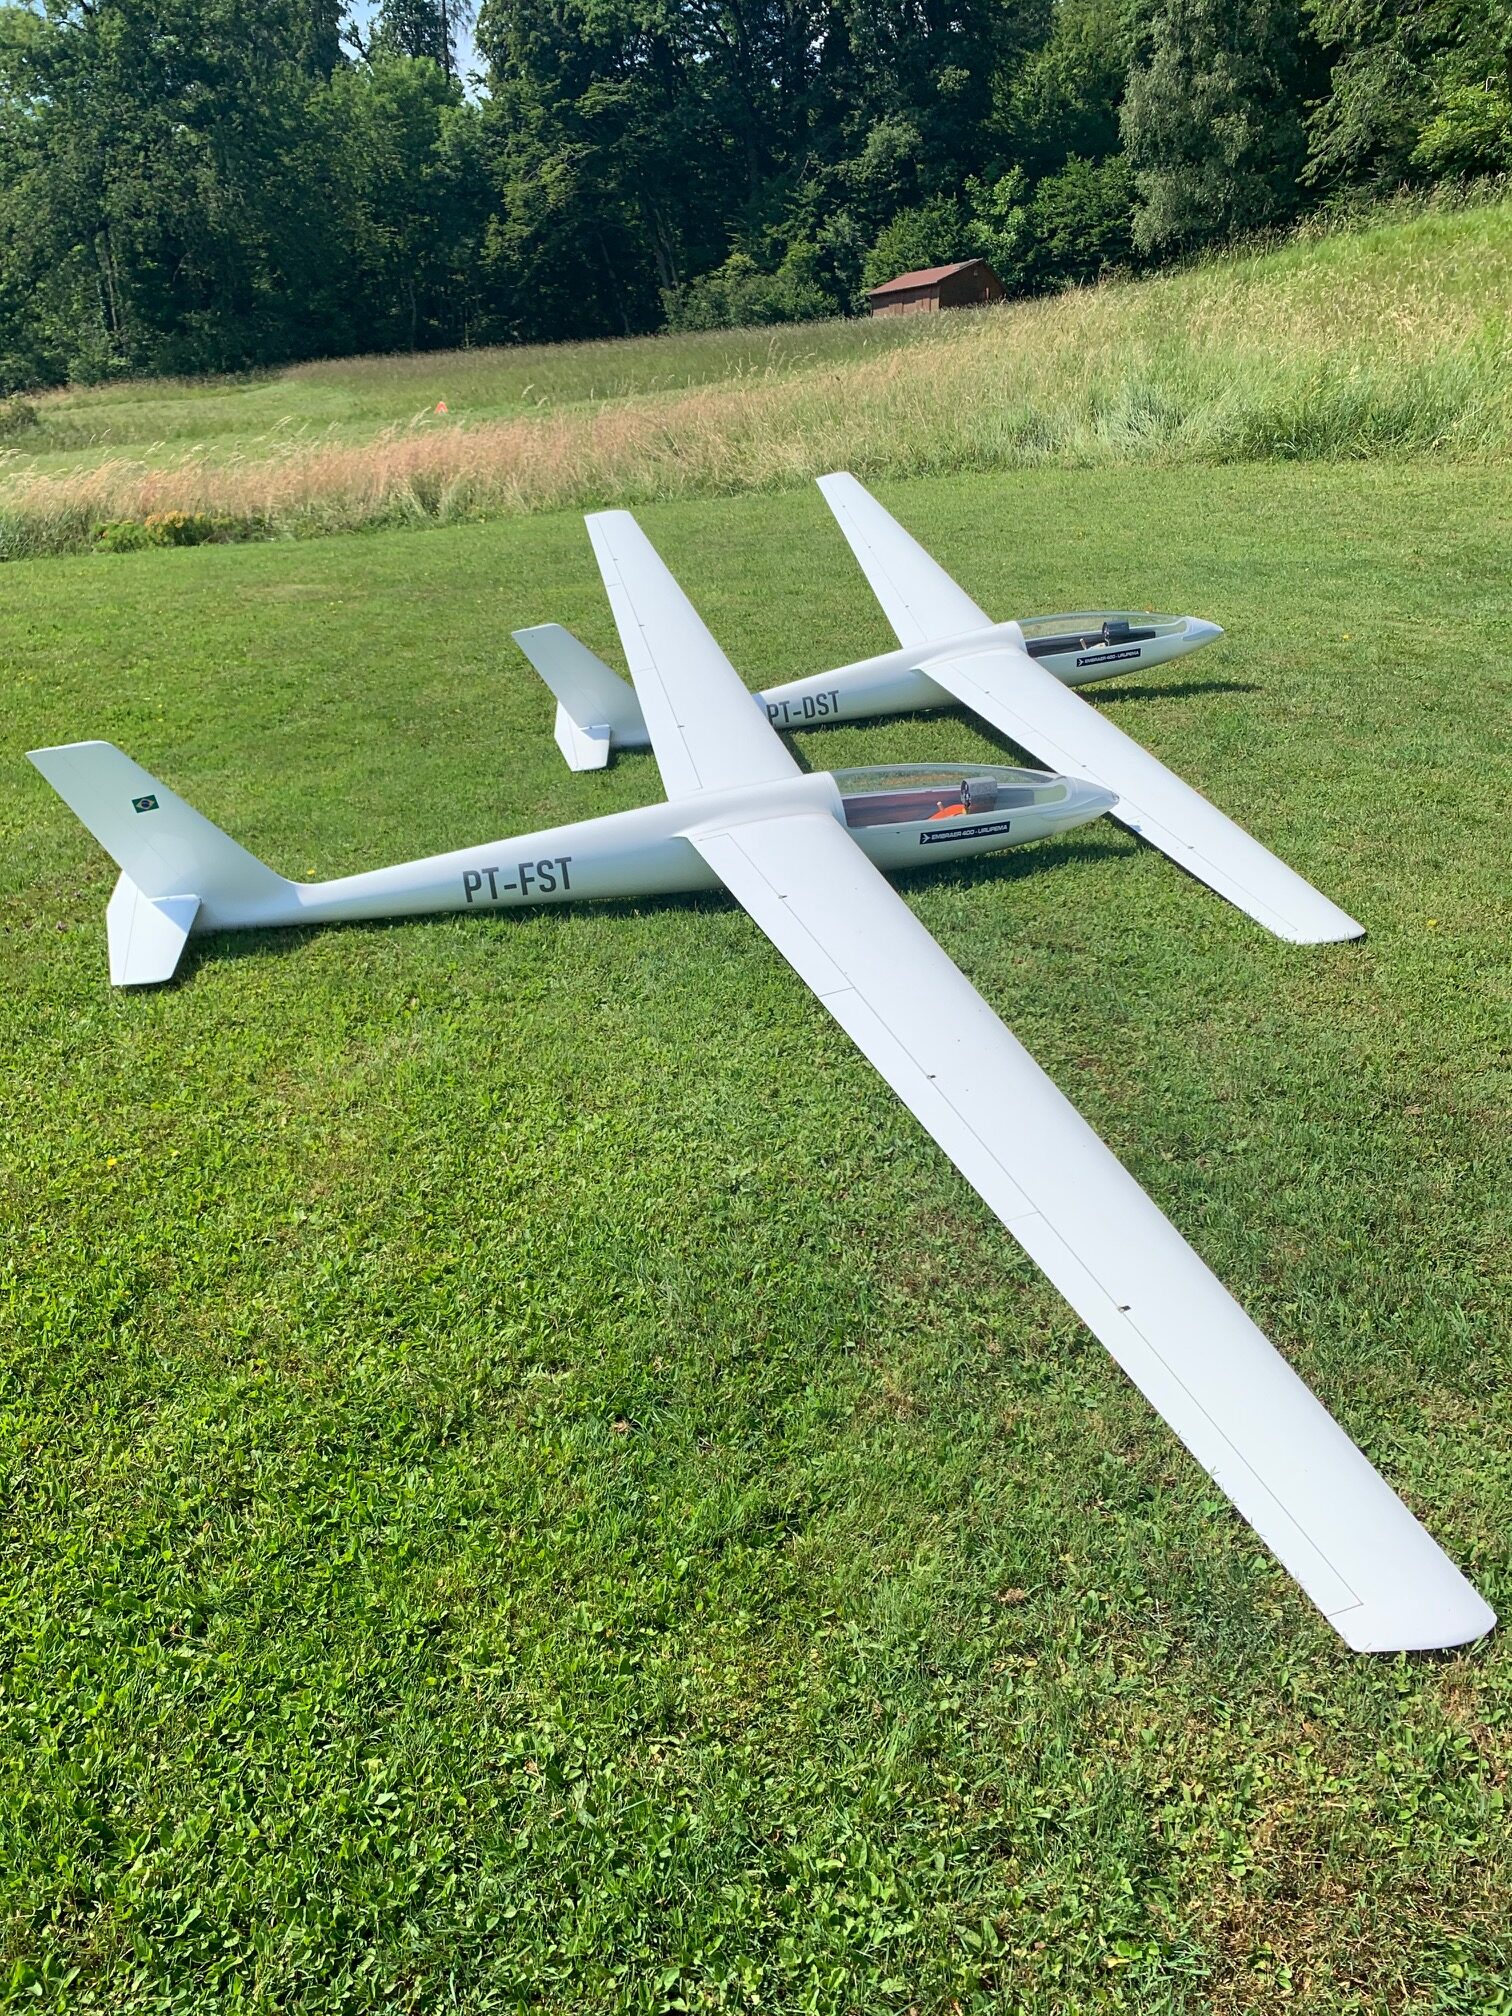
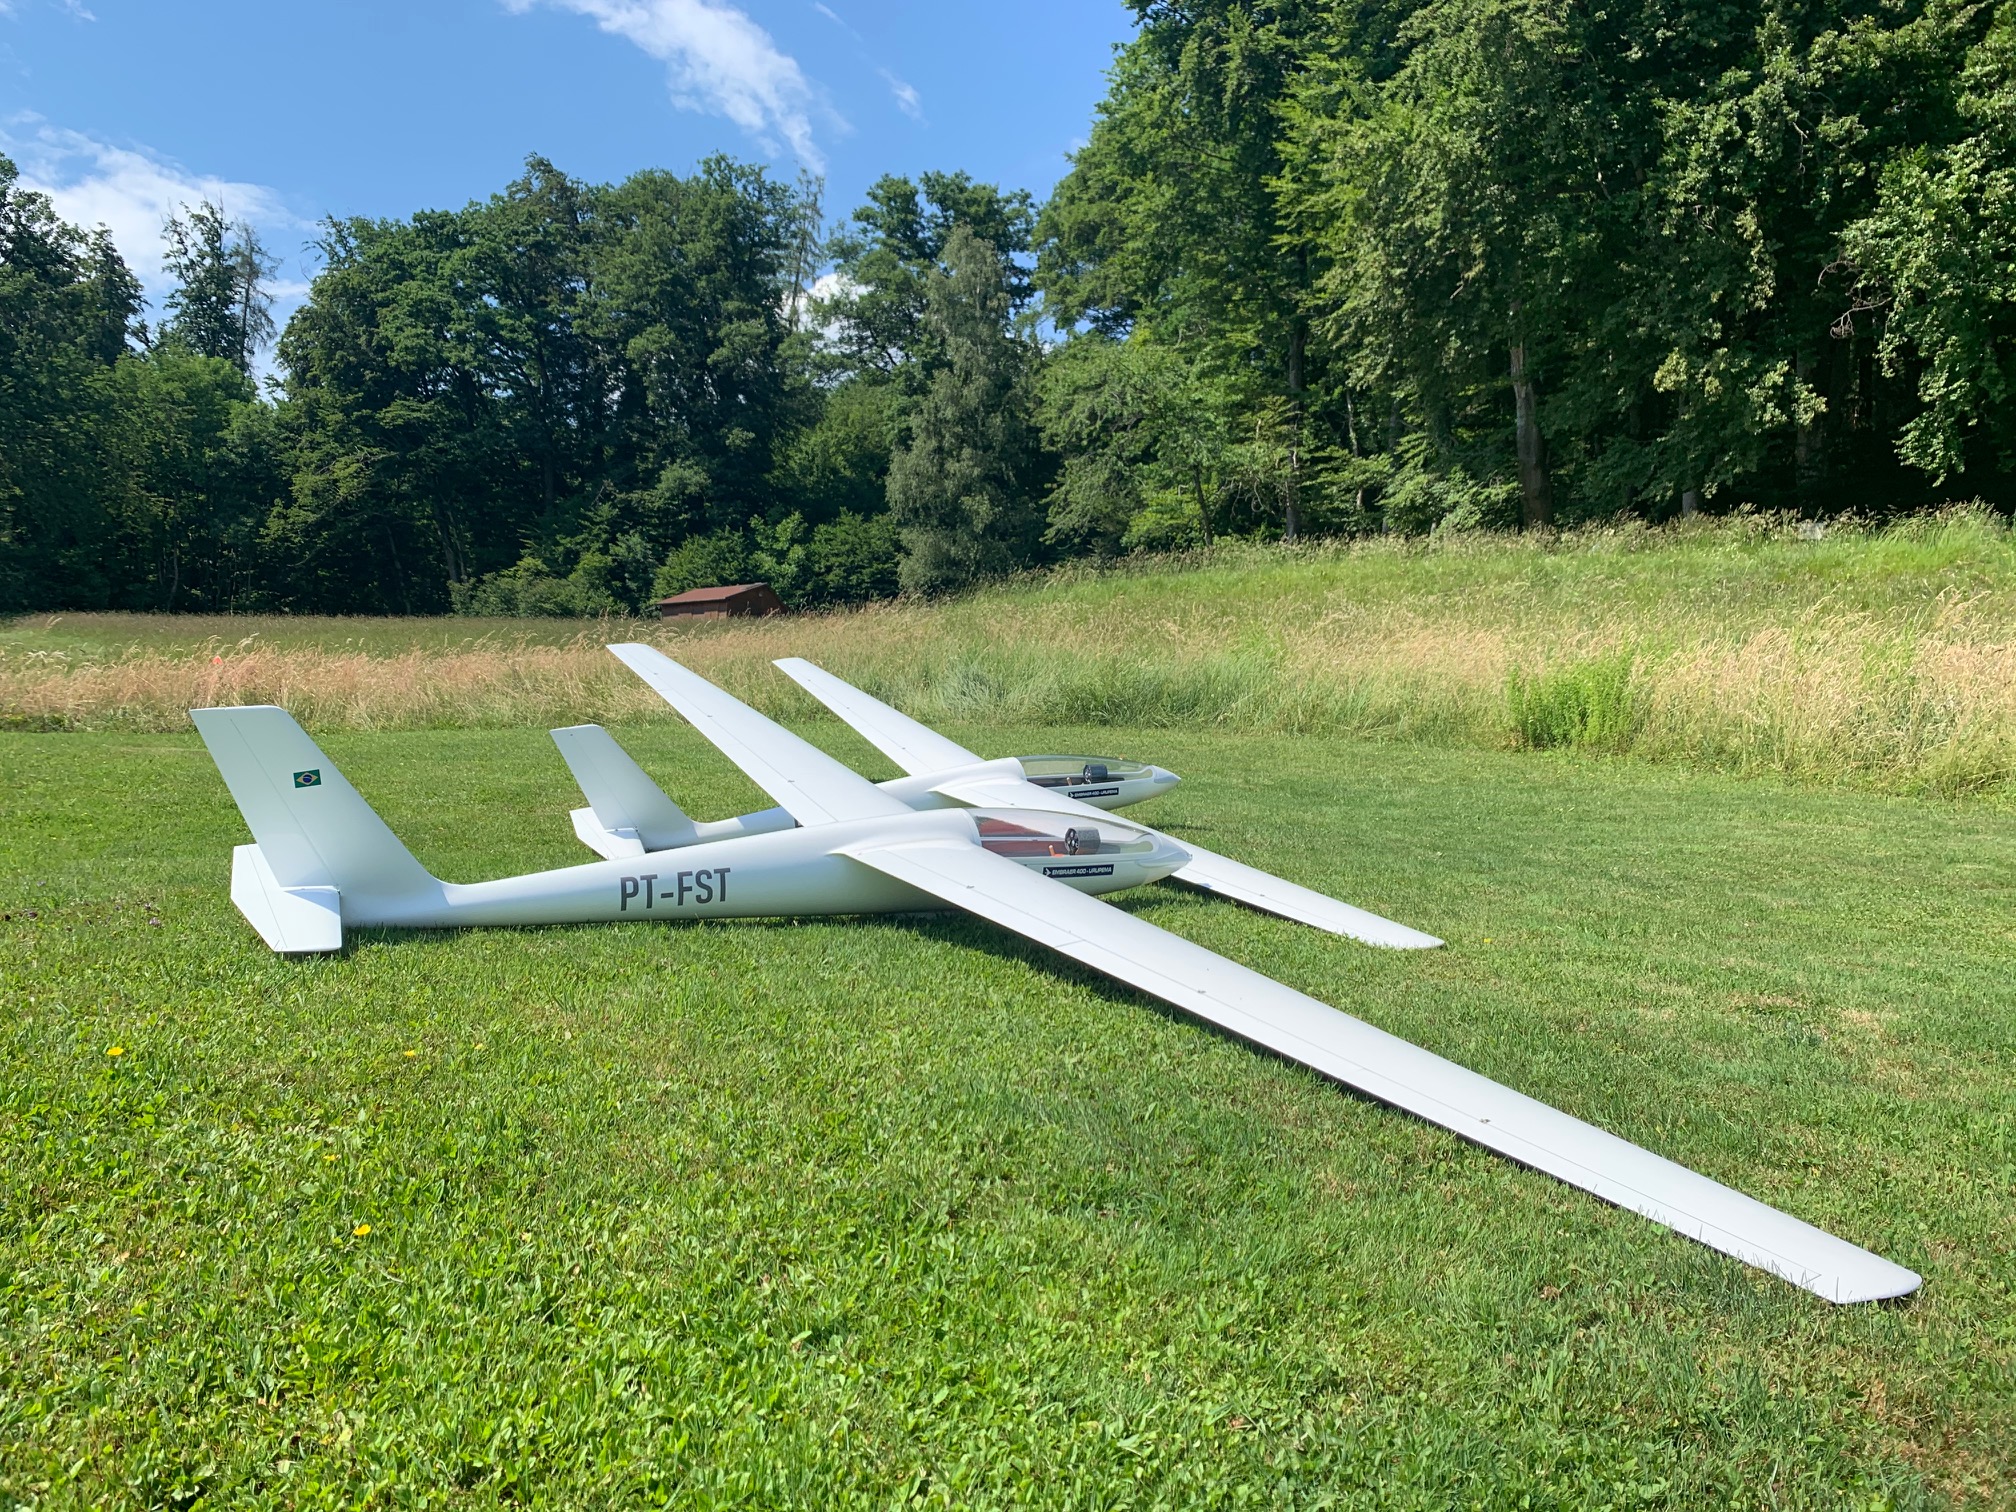
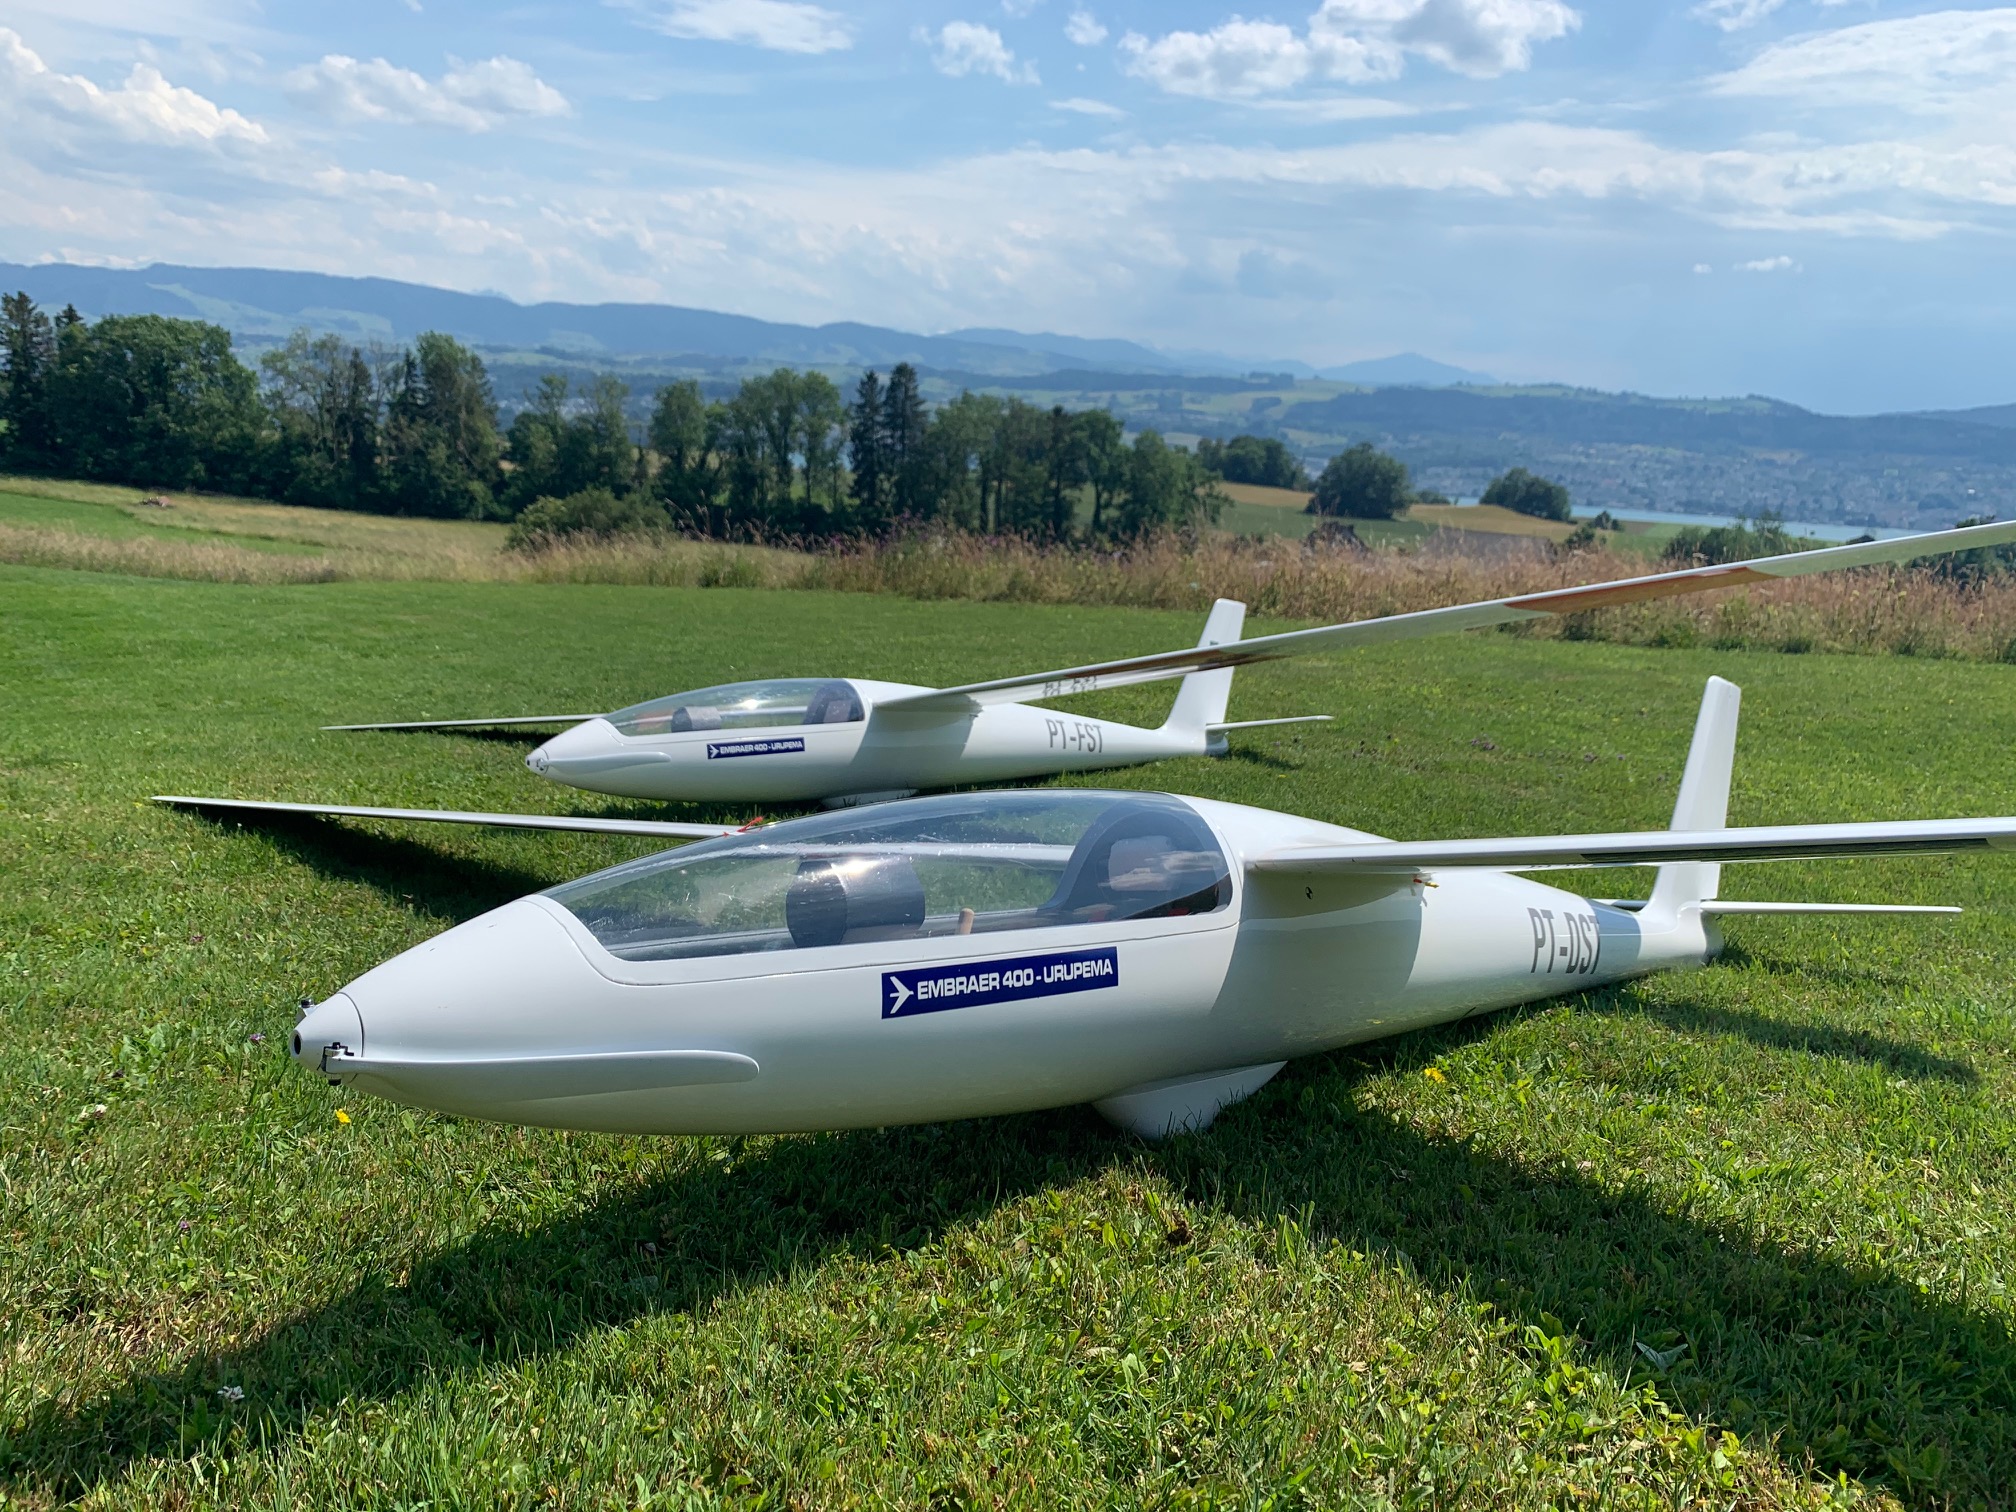
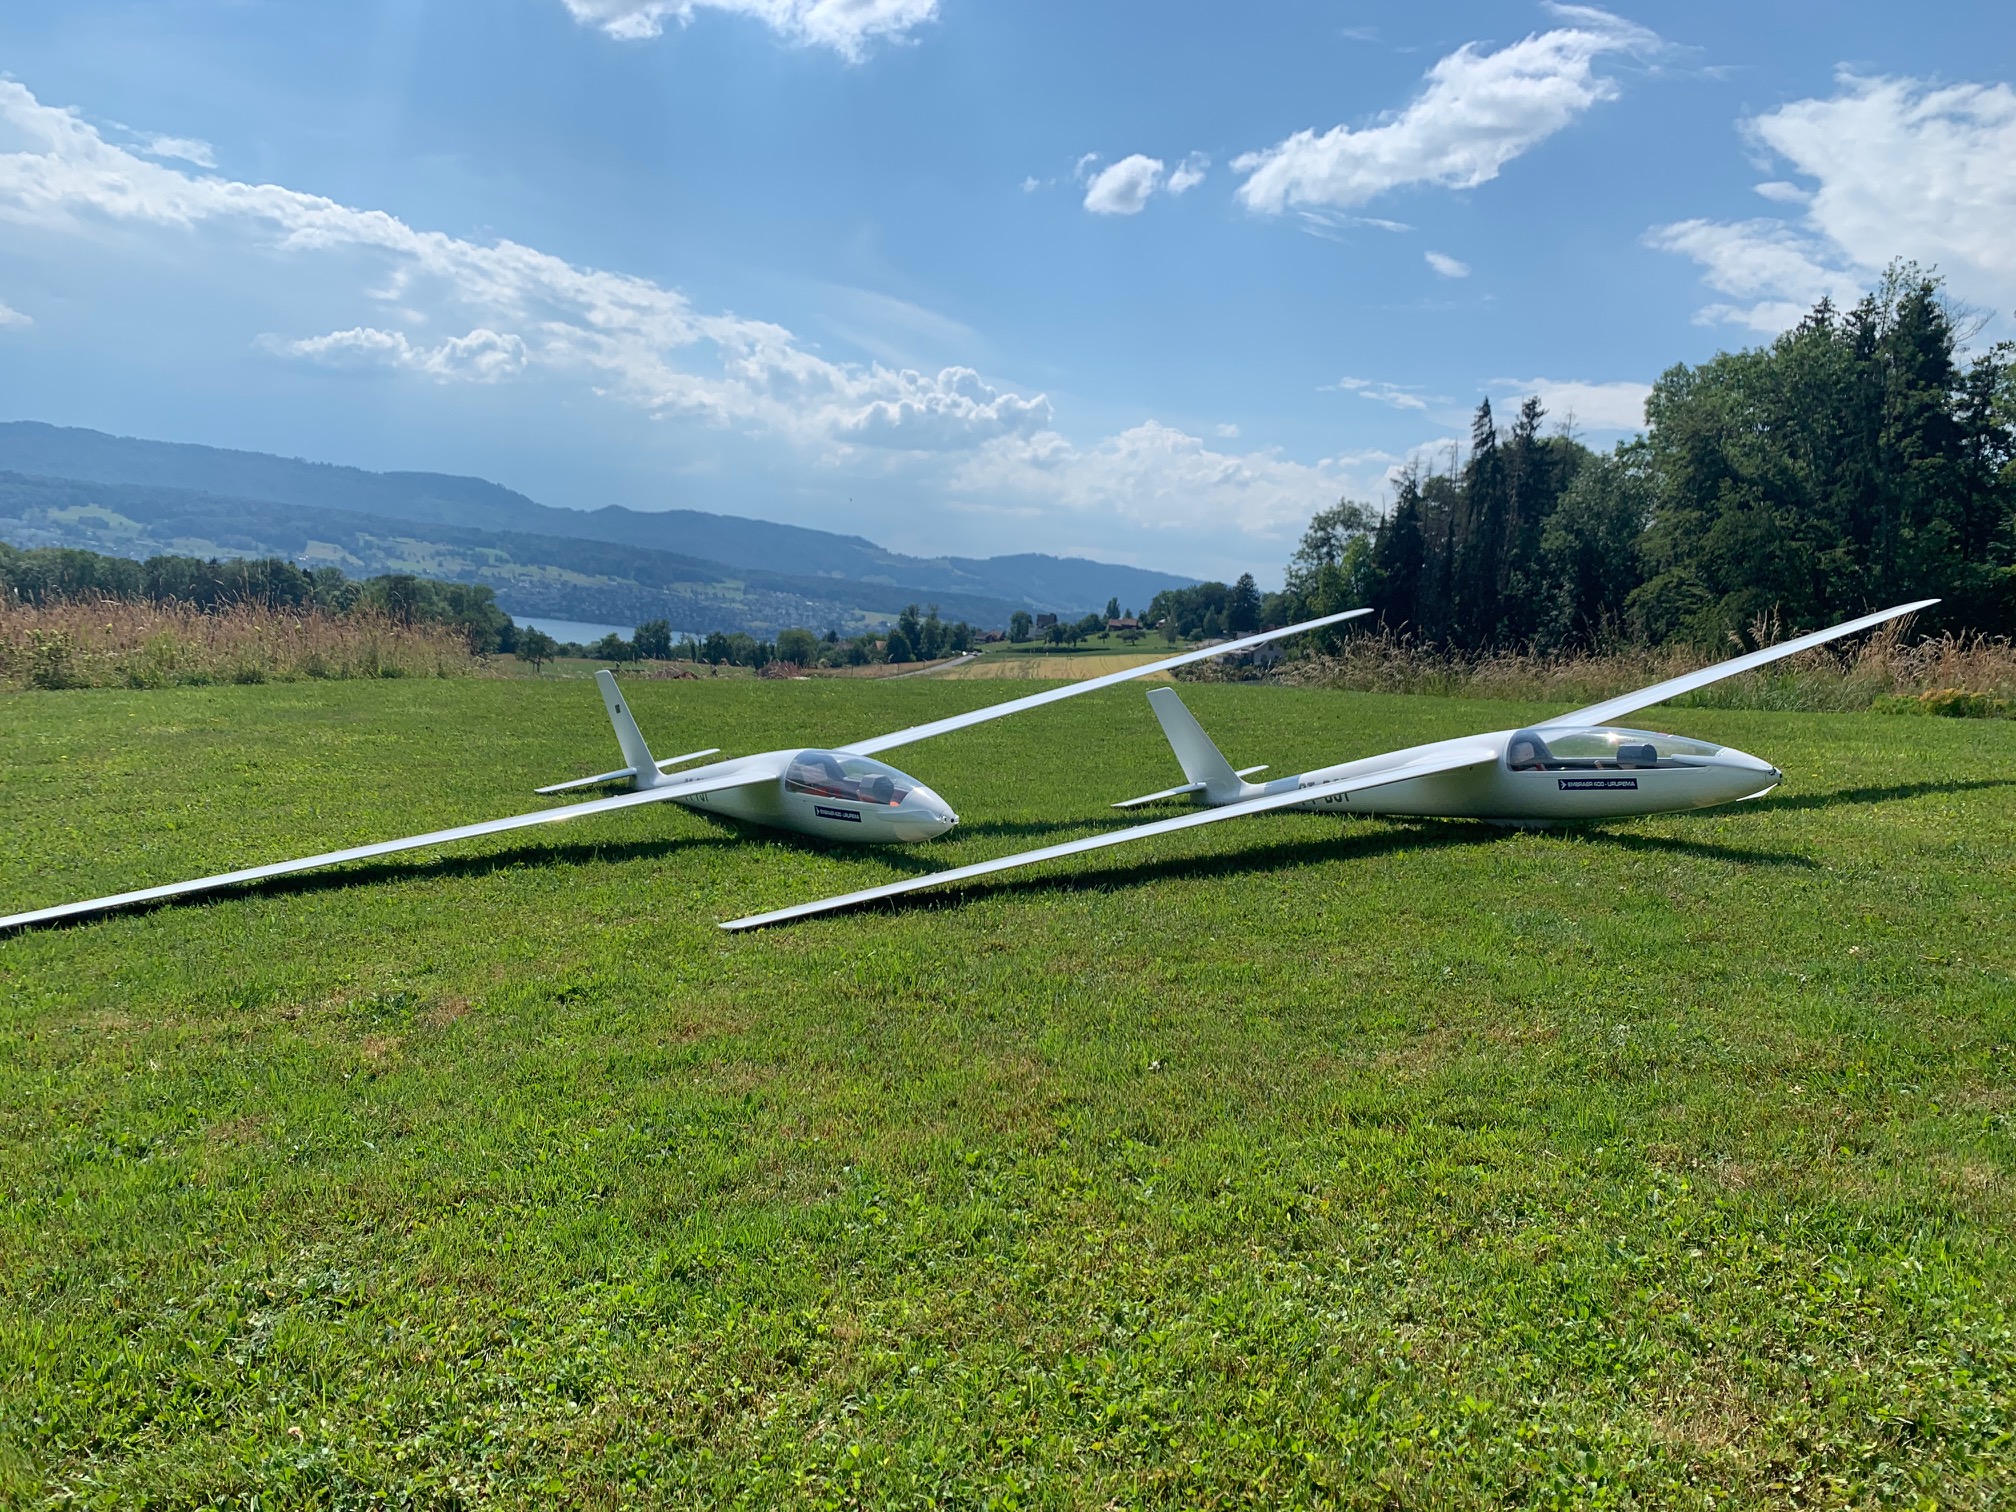
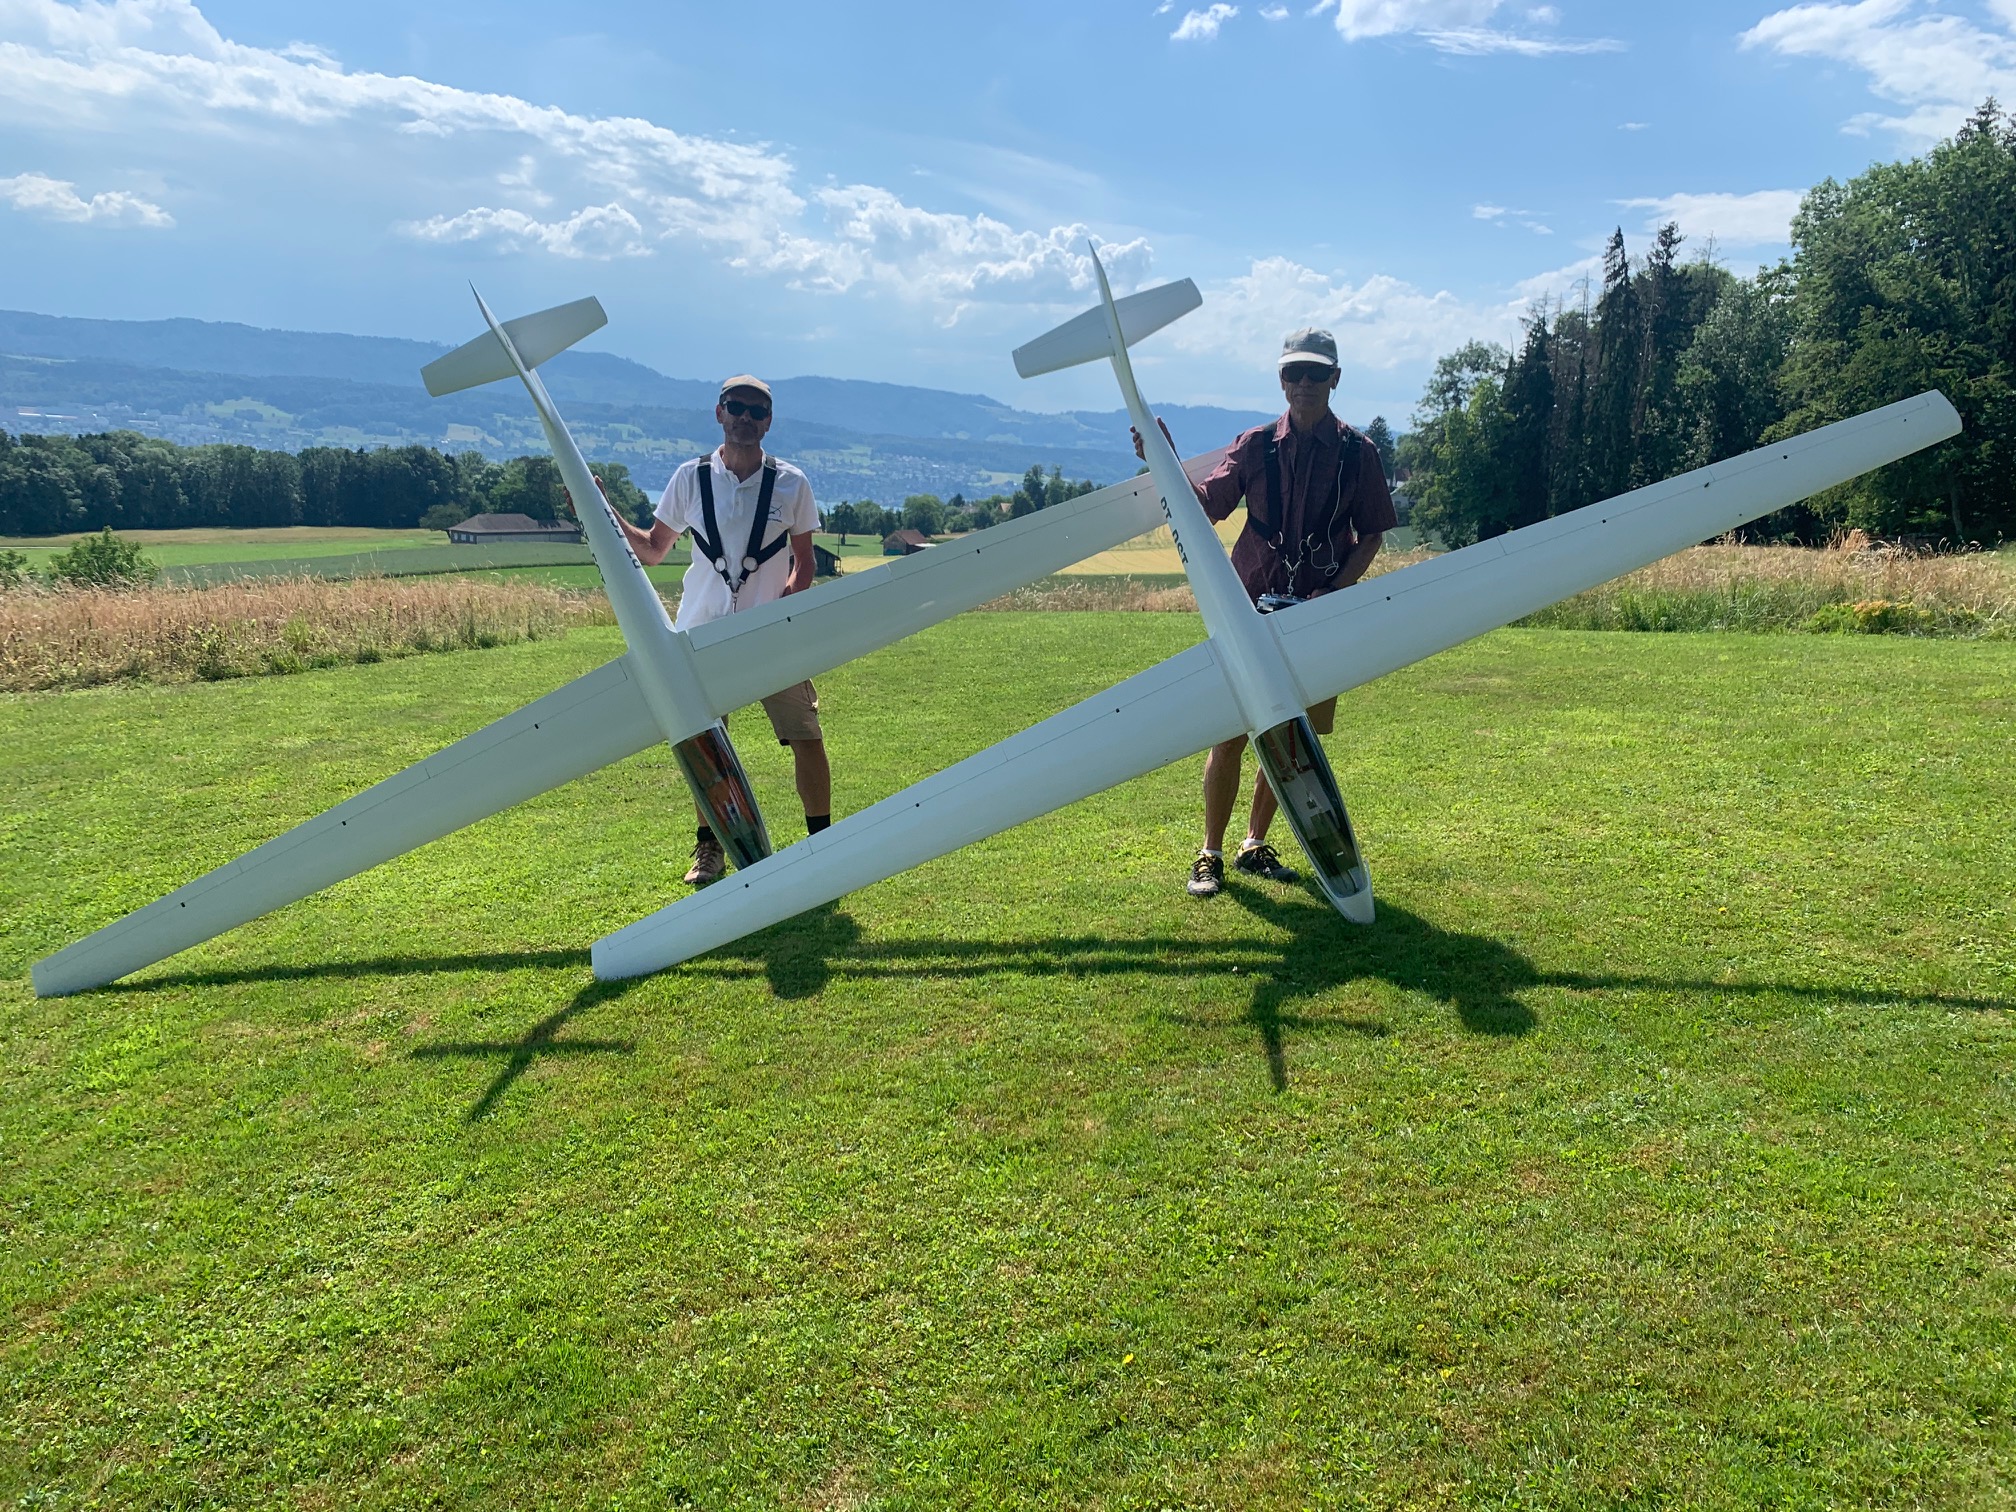
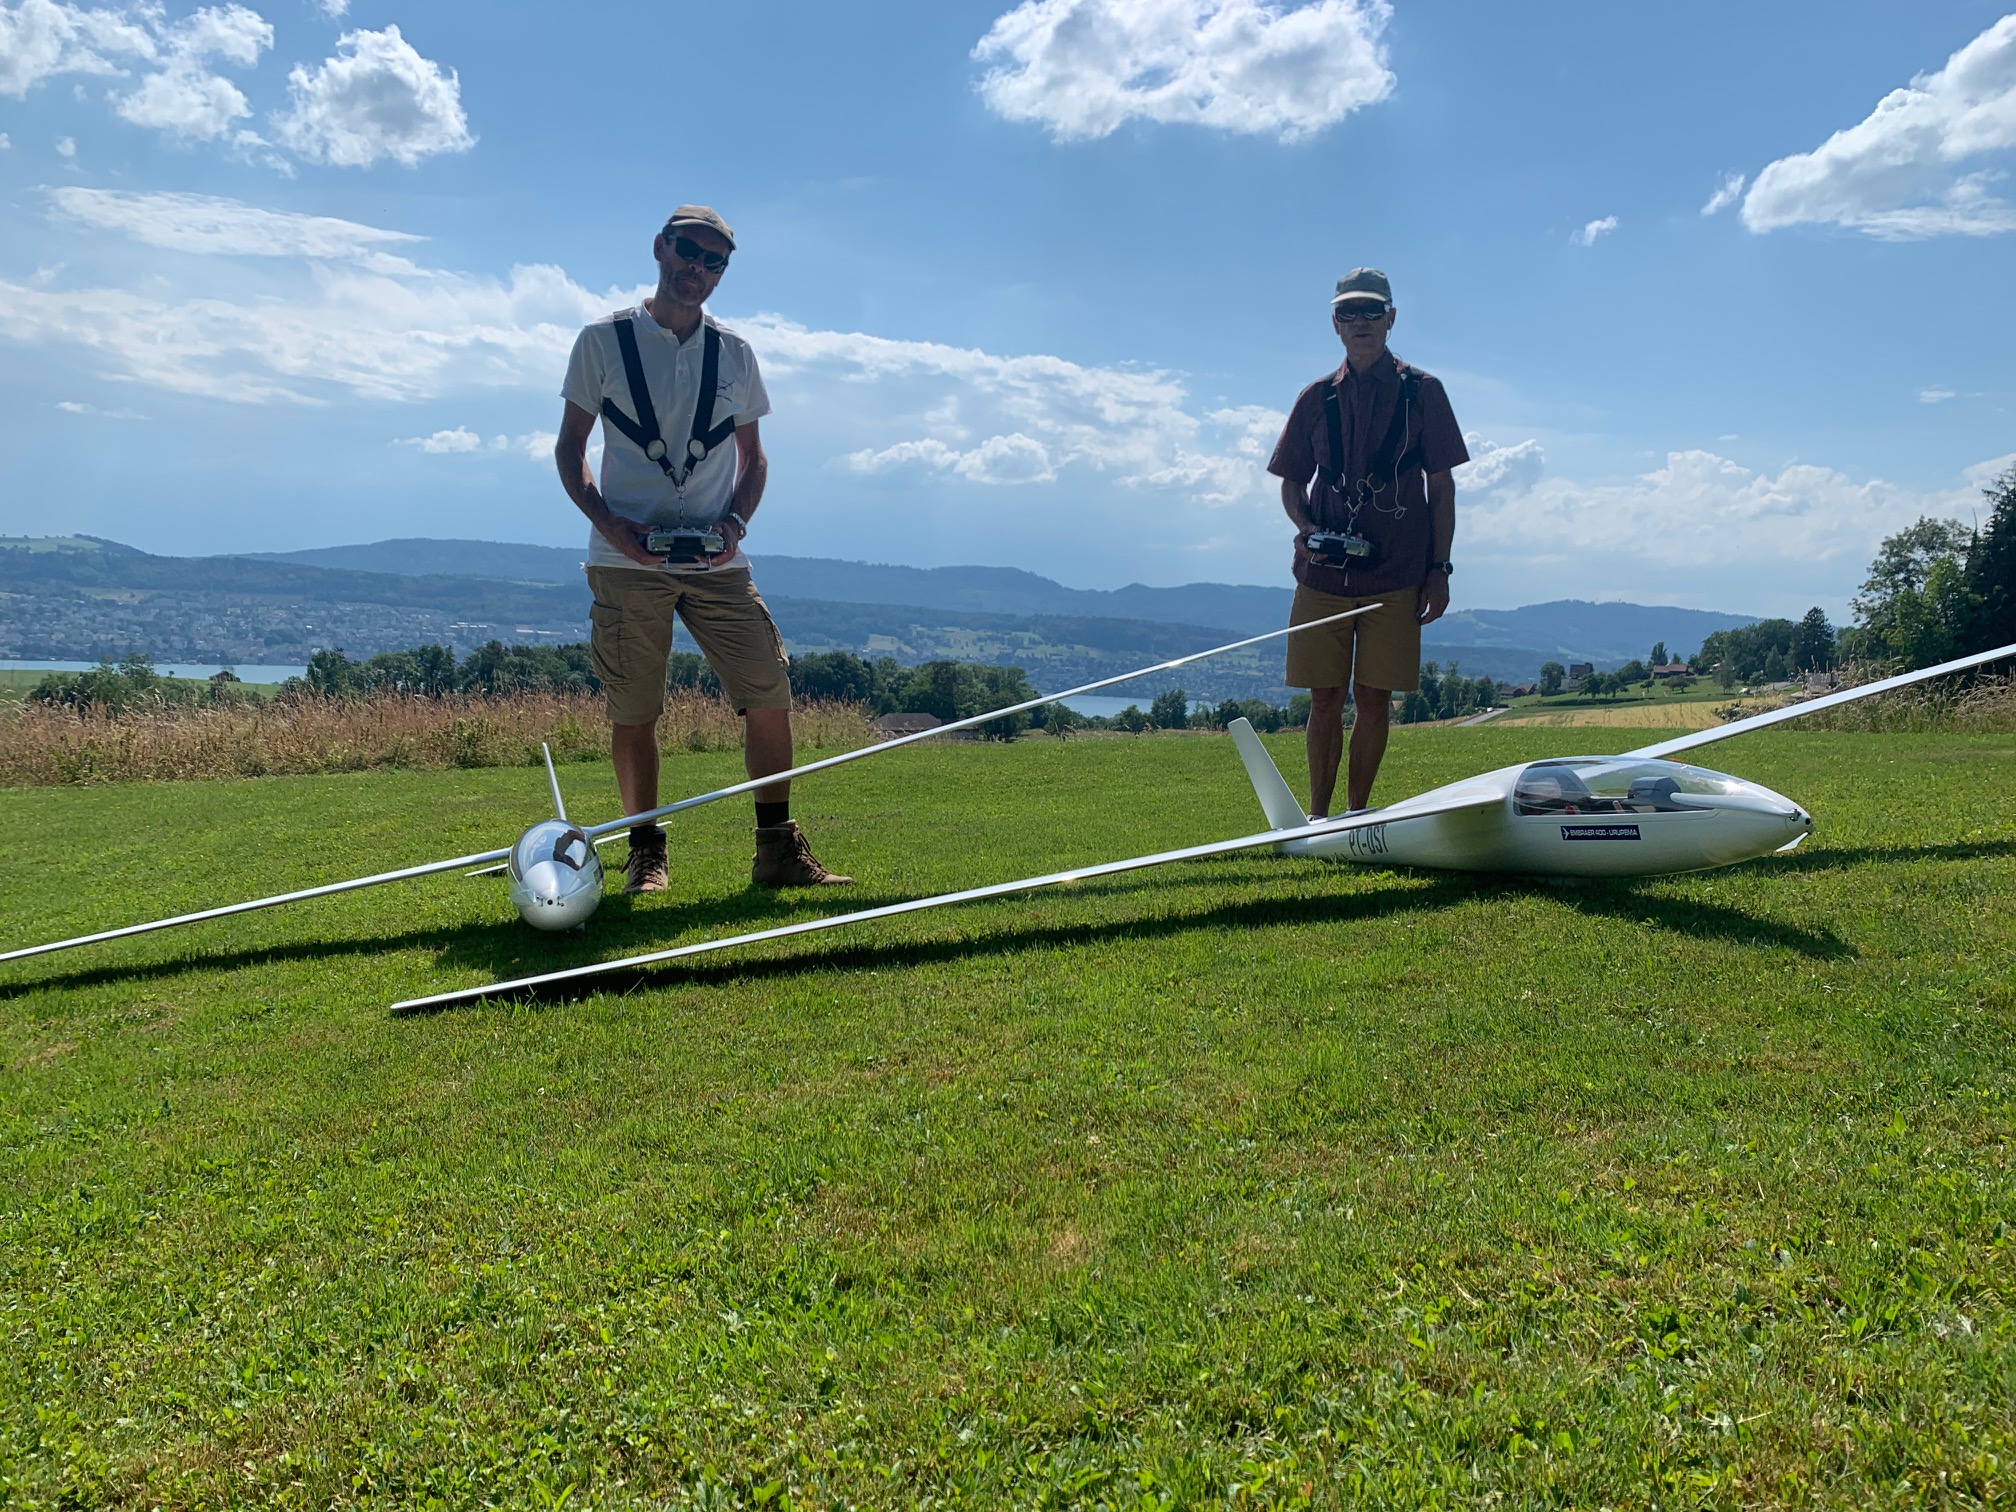
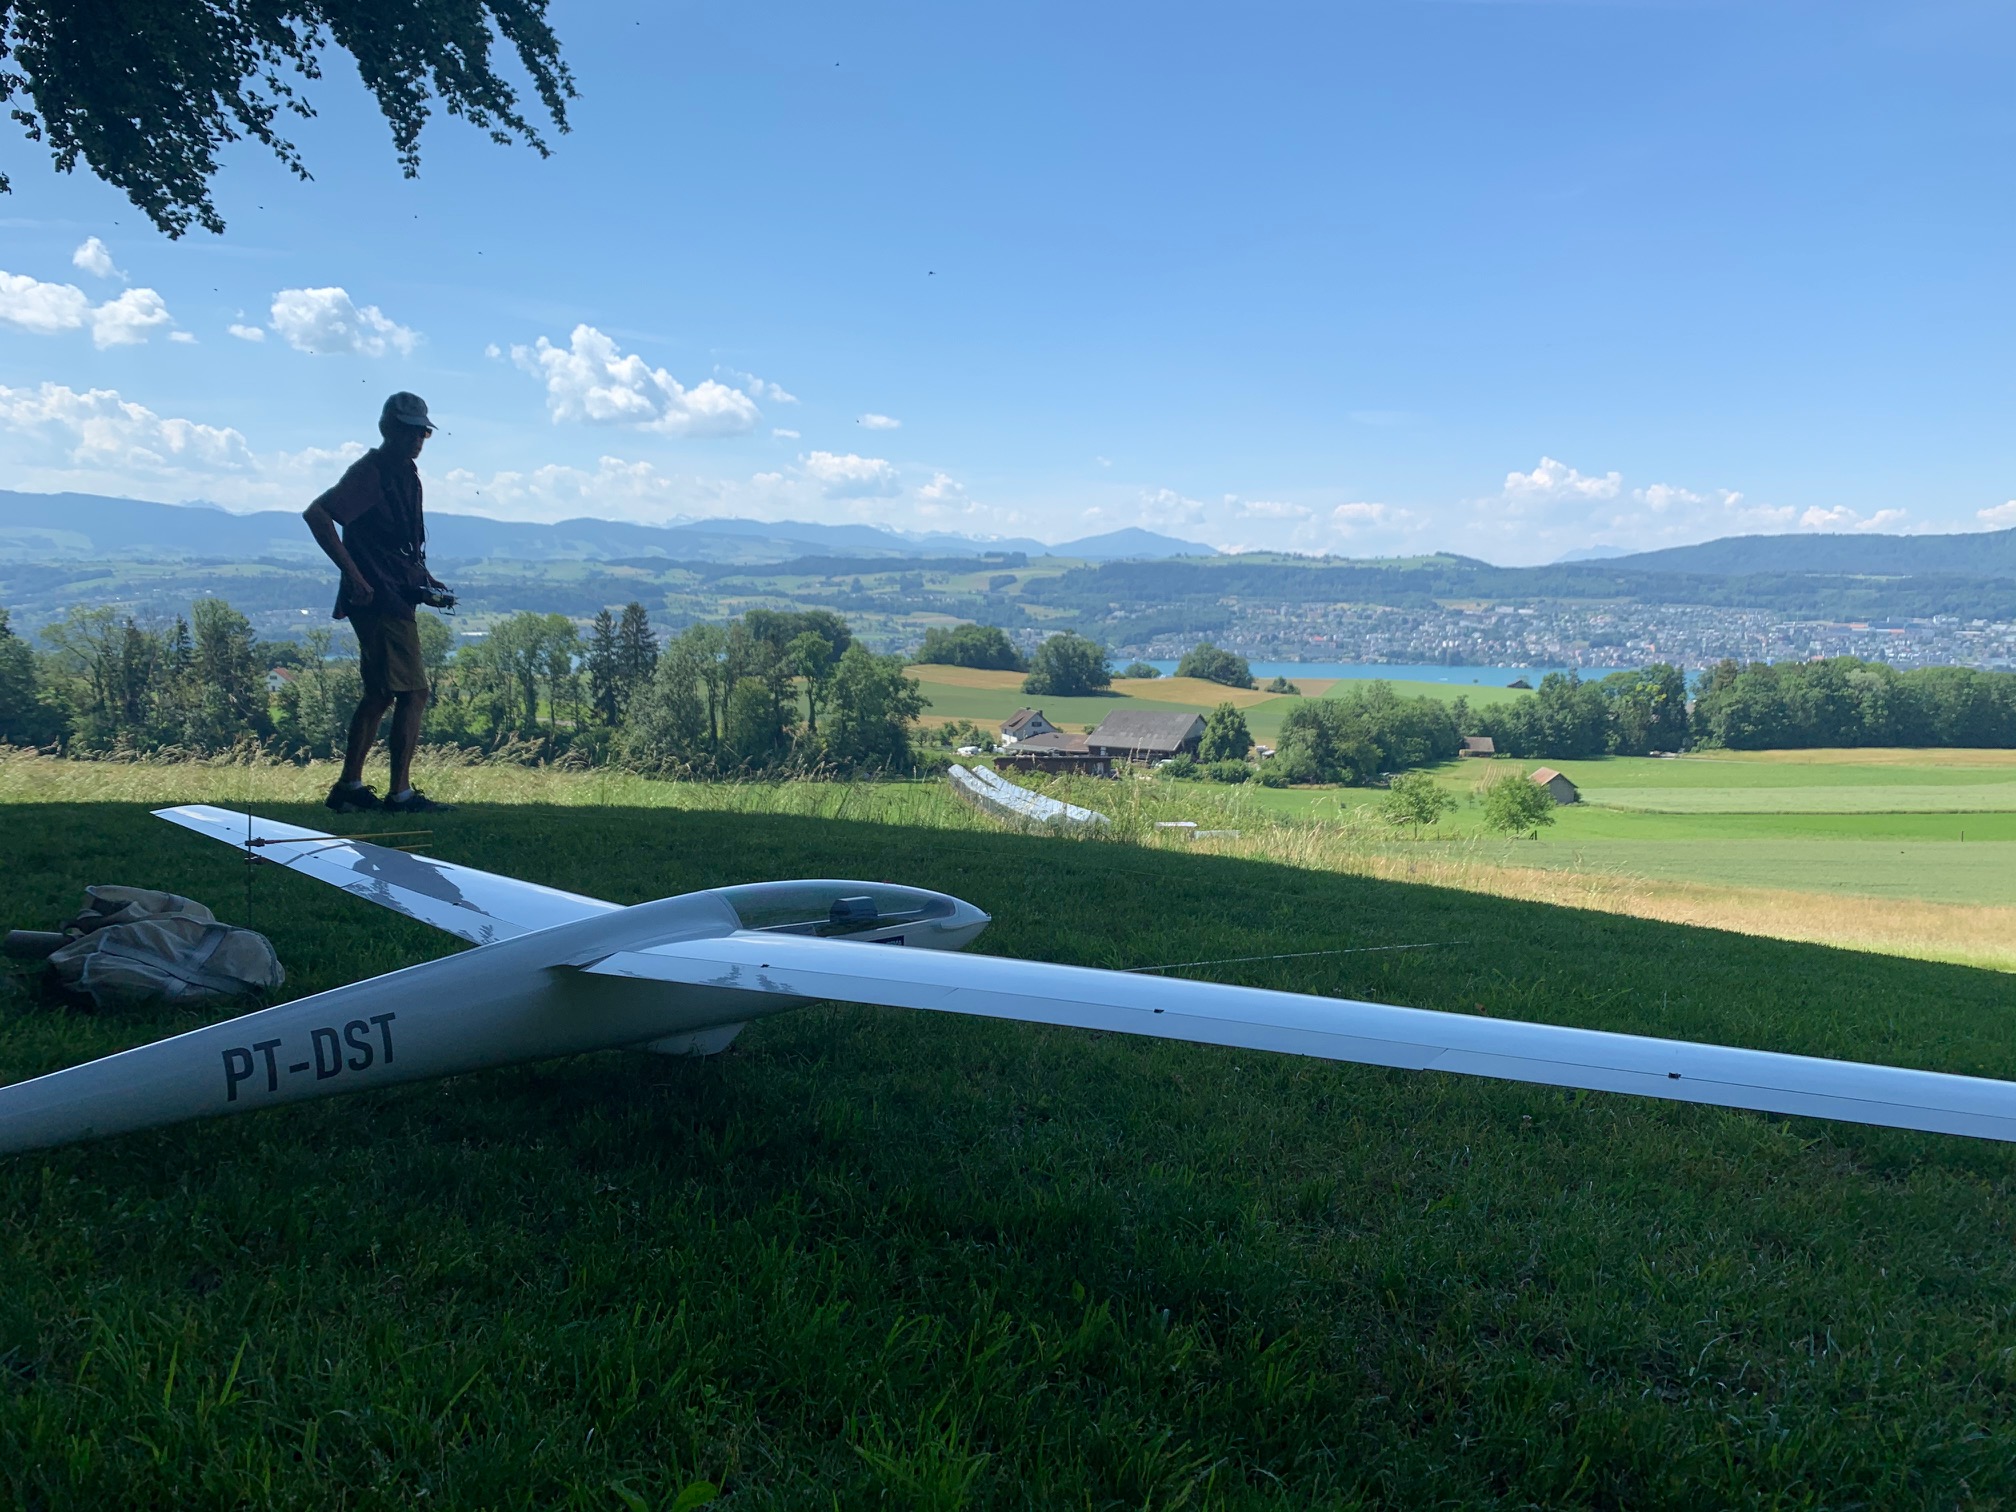
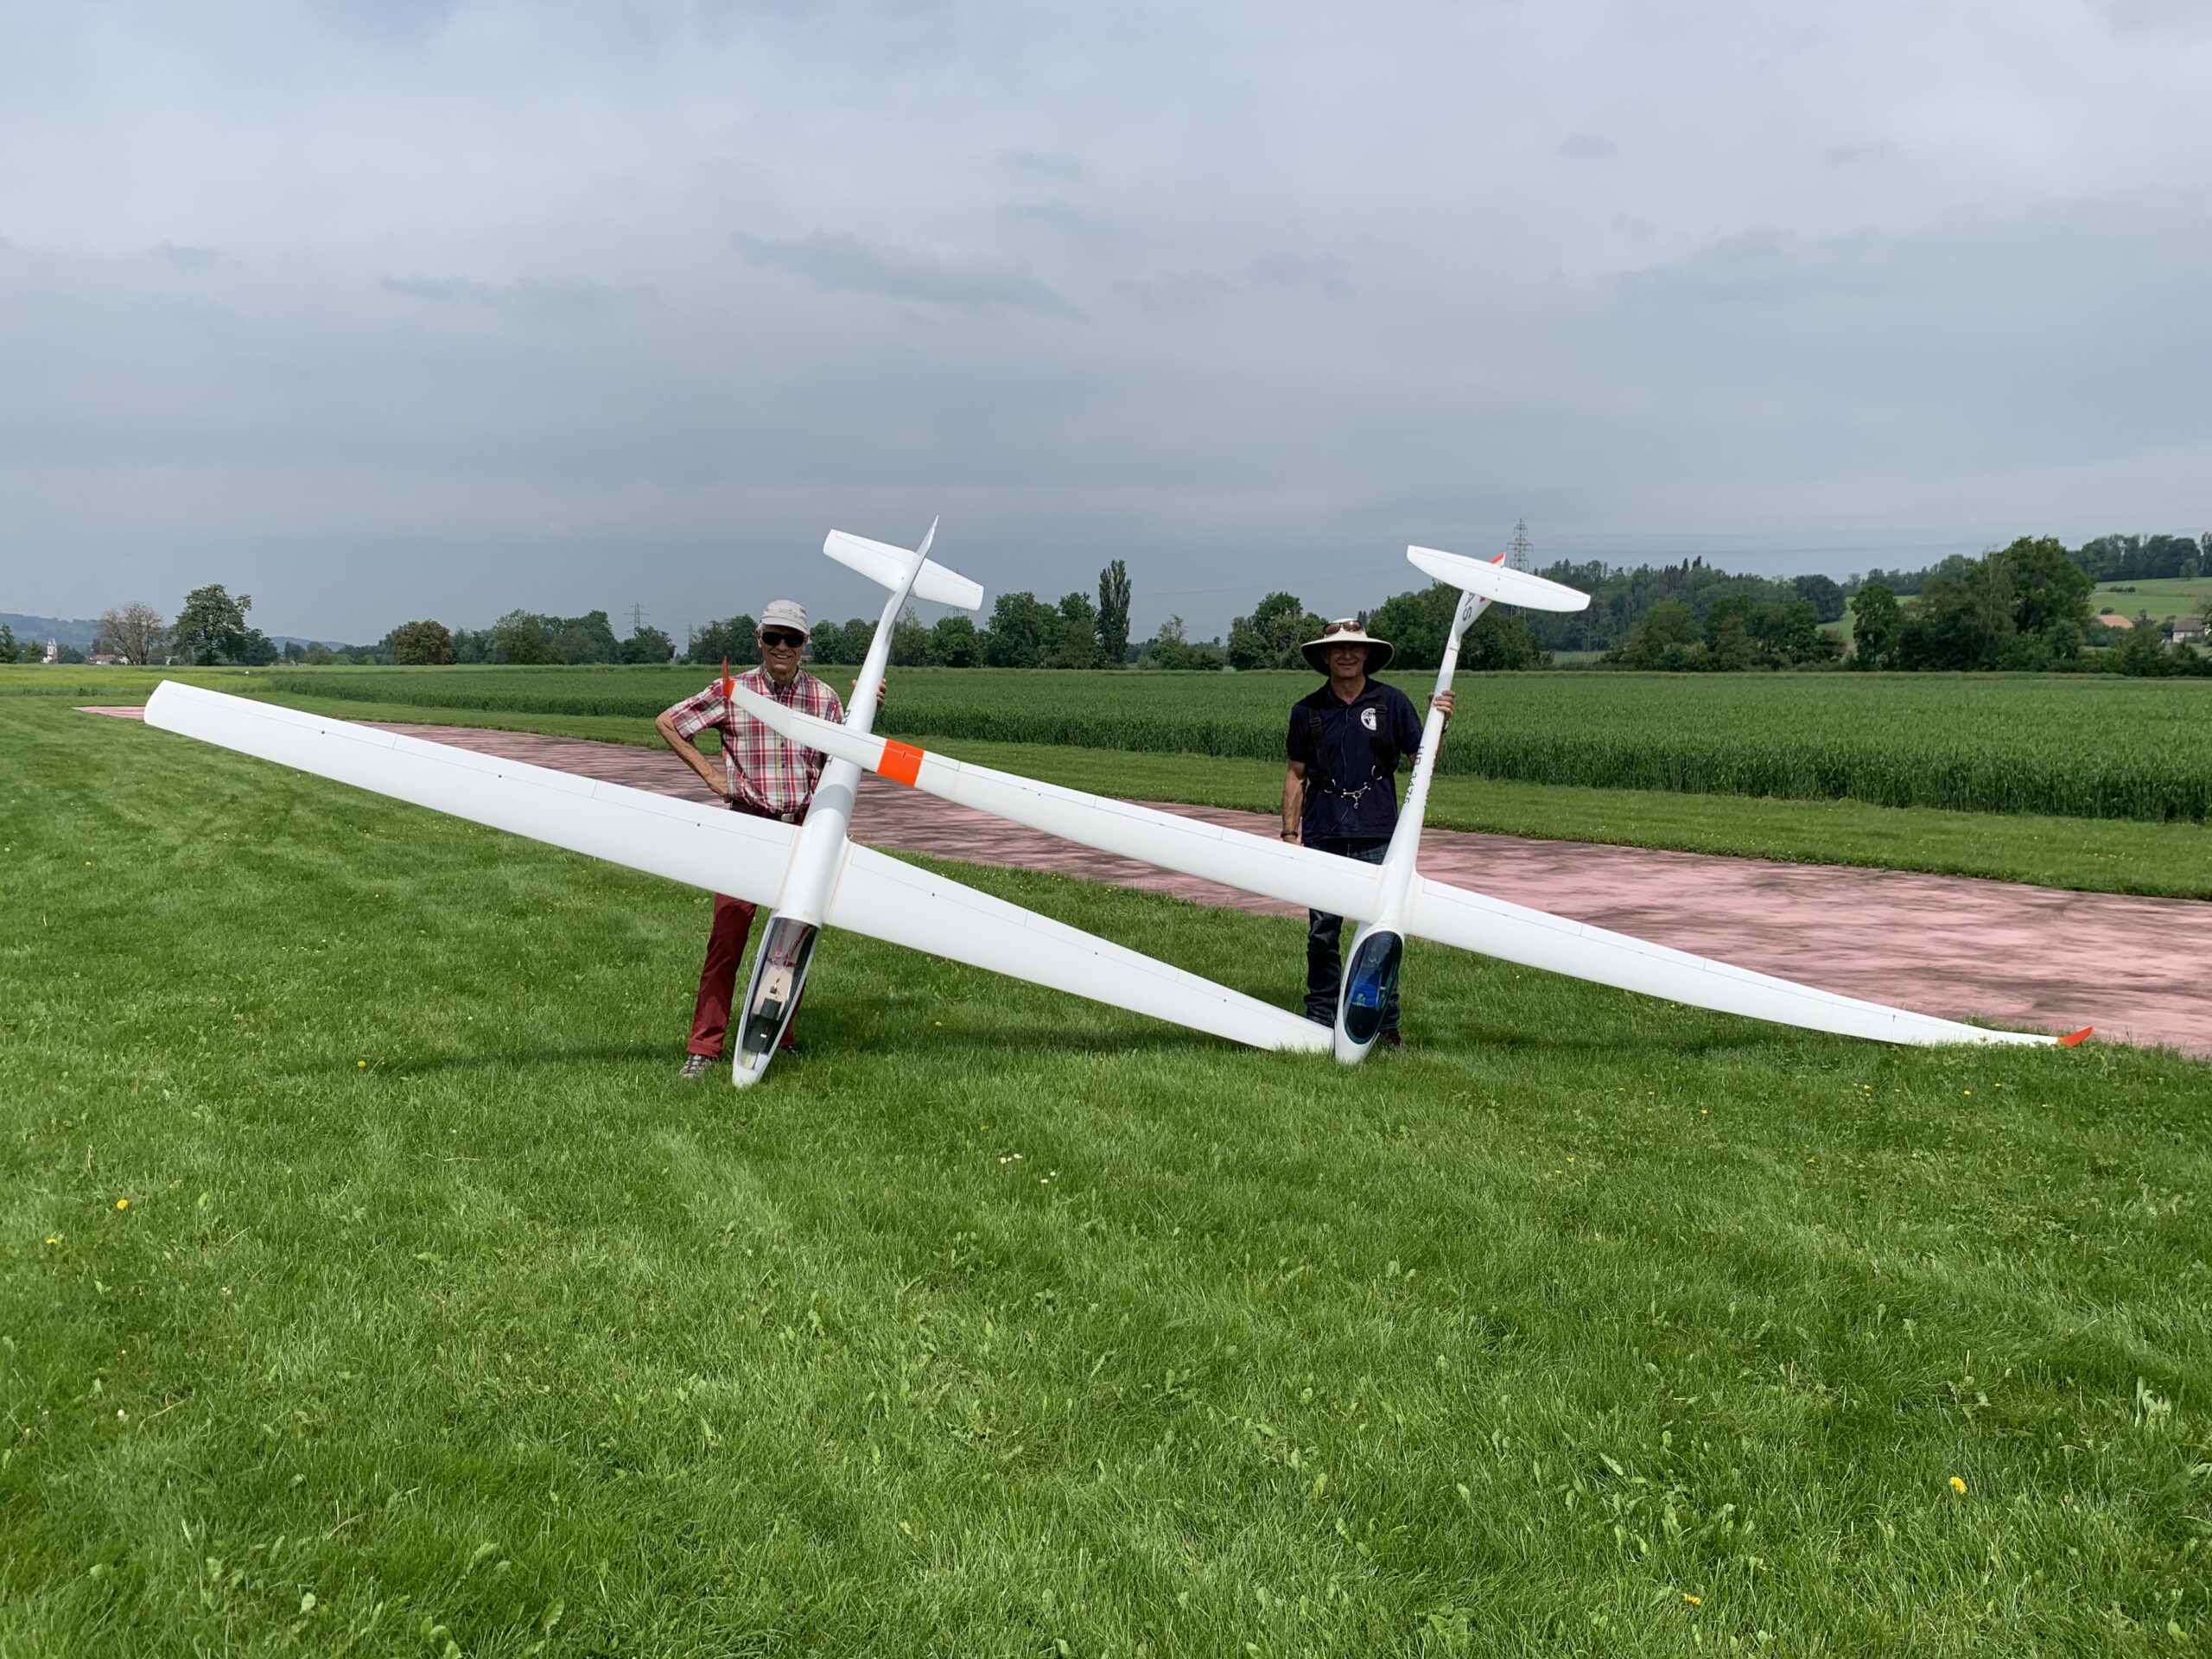
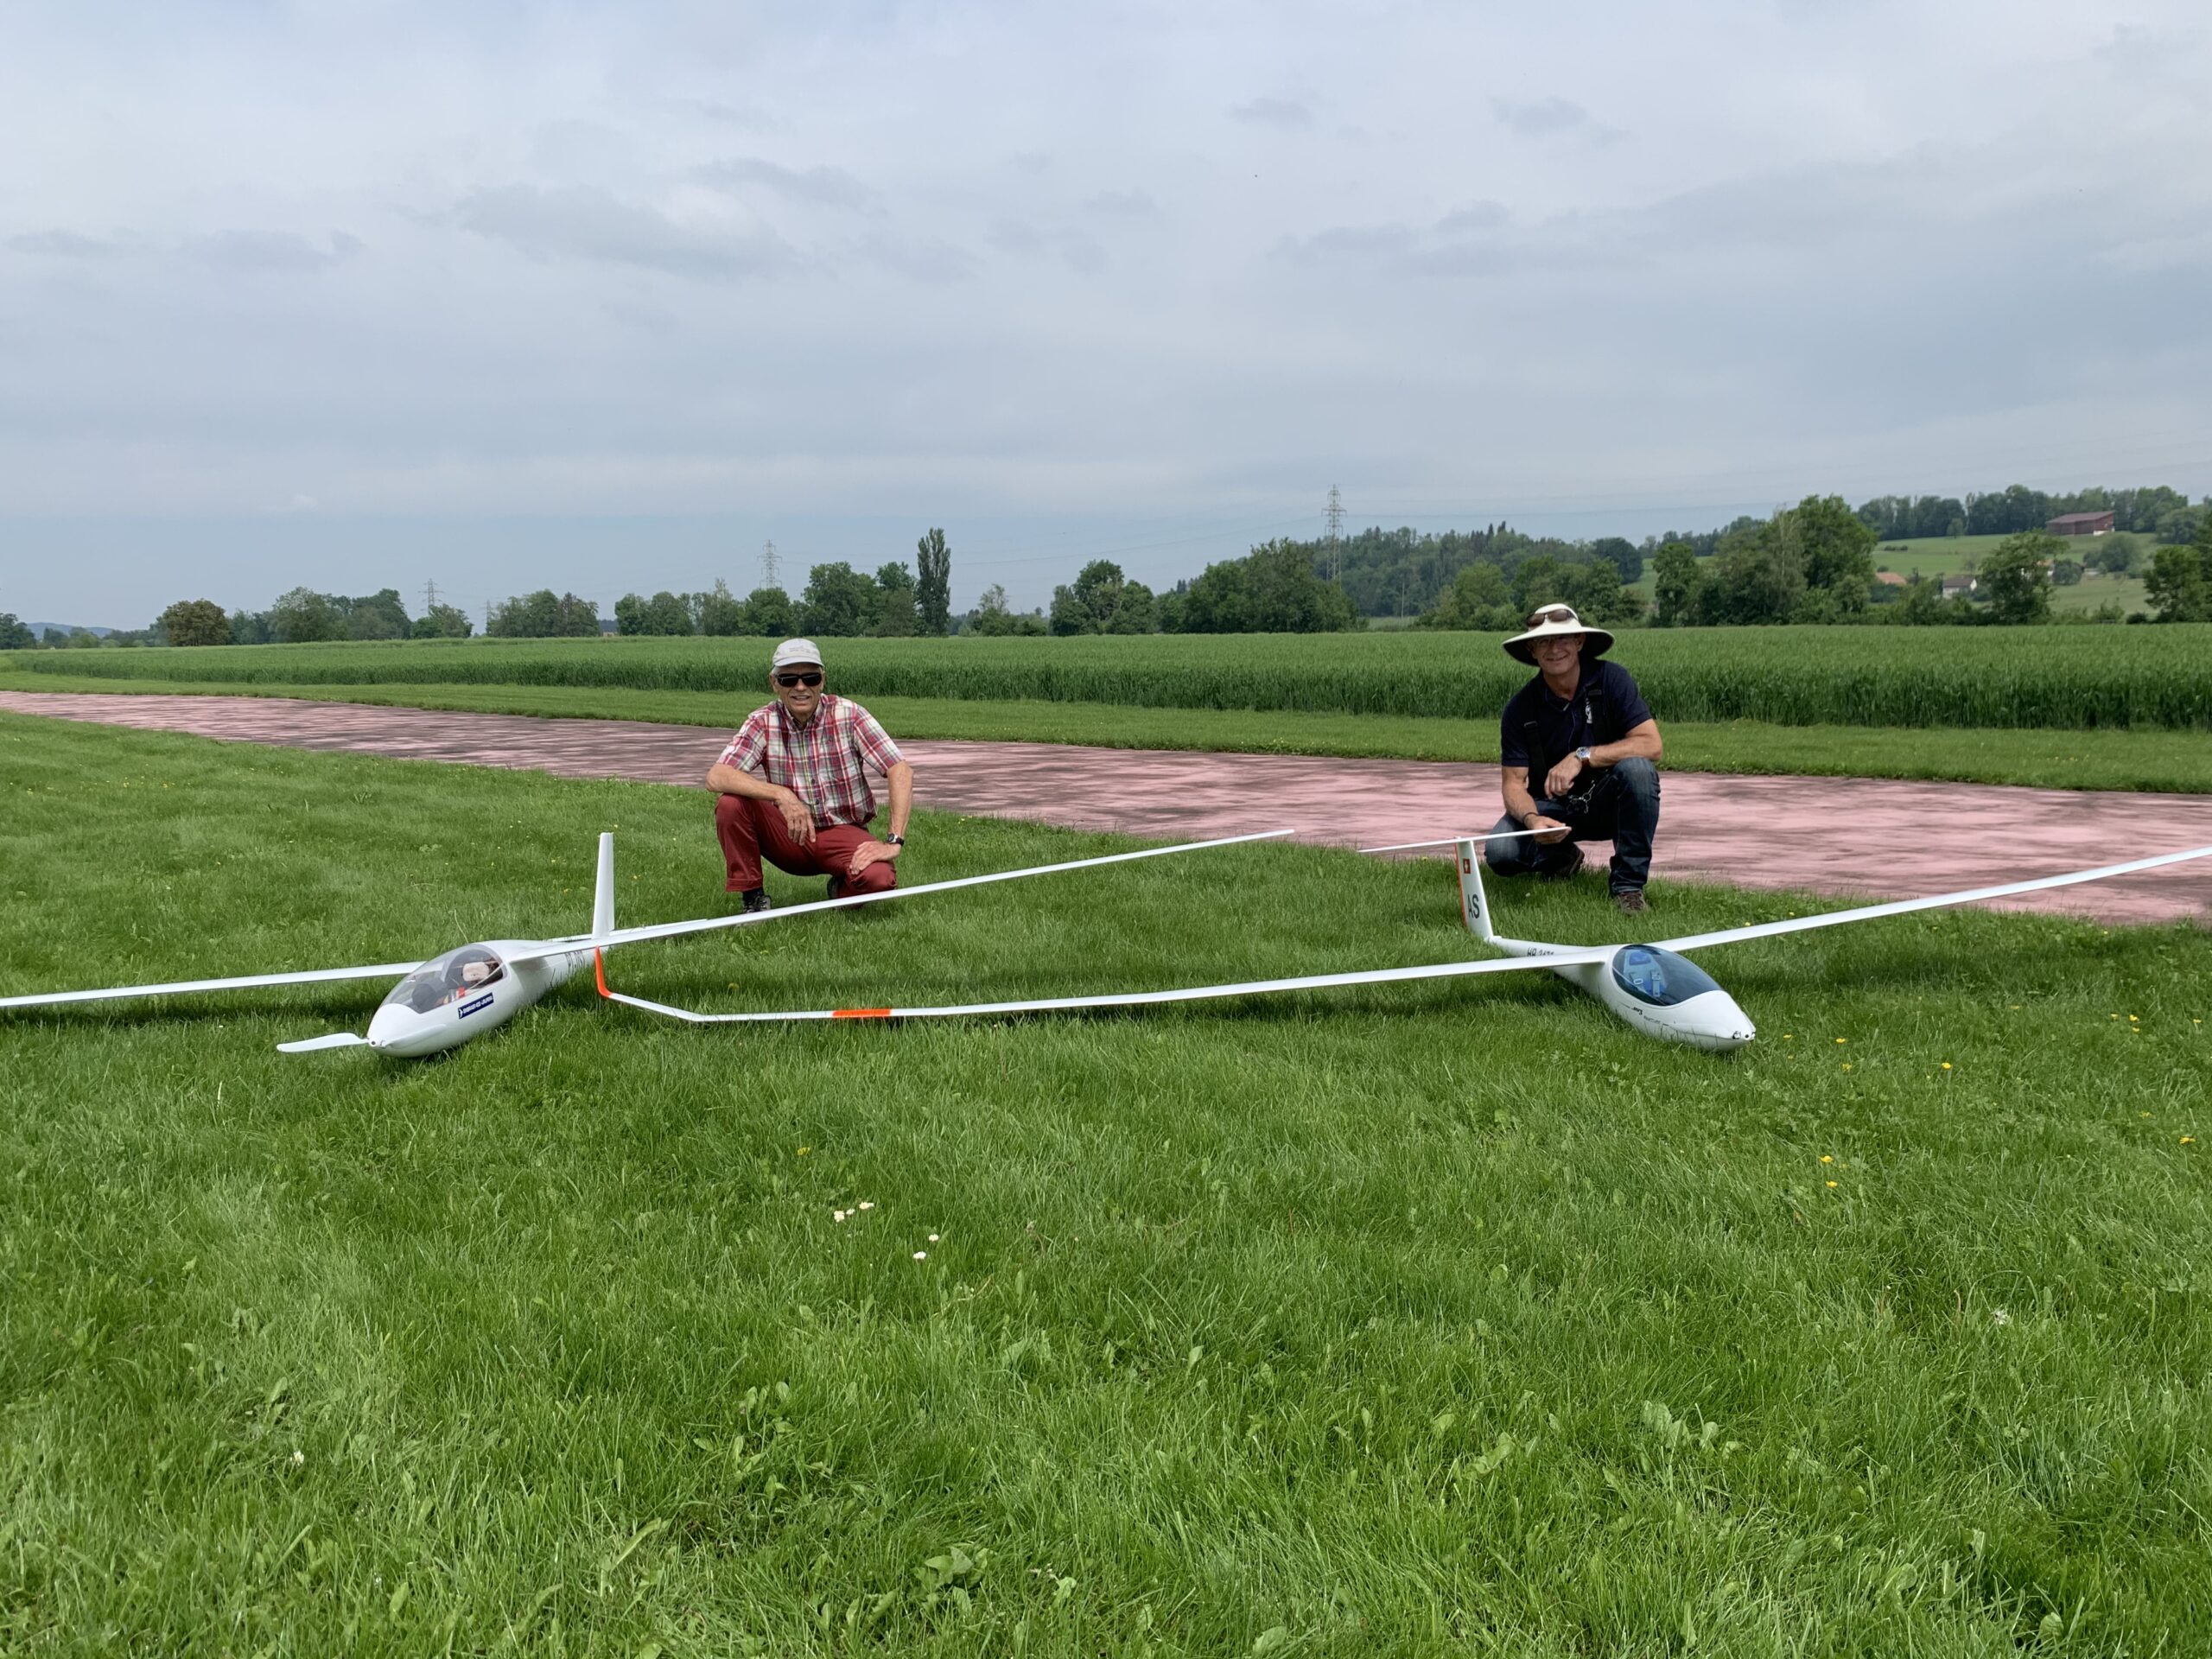
On Monday we had a wonderful slope outing with three Urupemas.

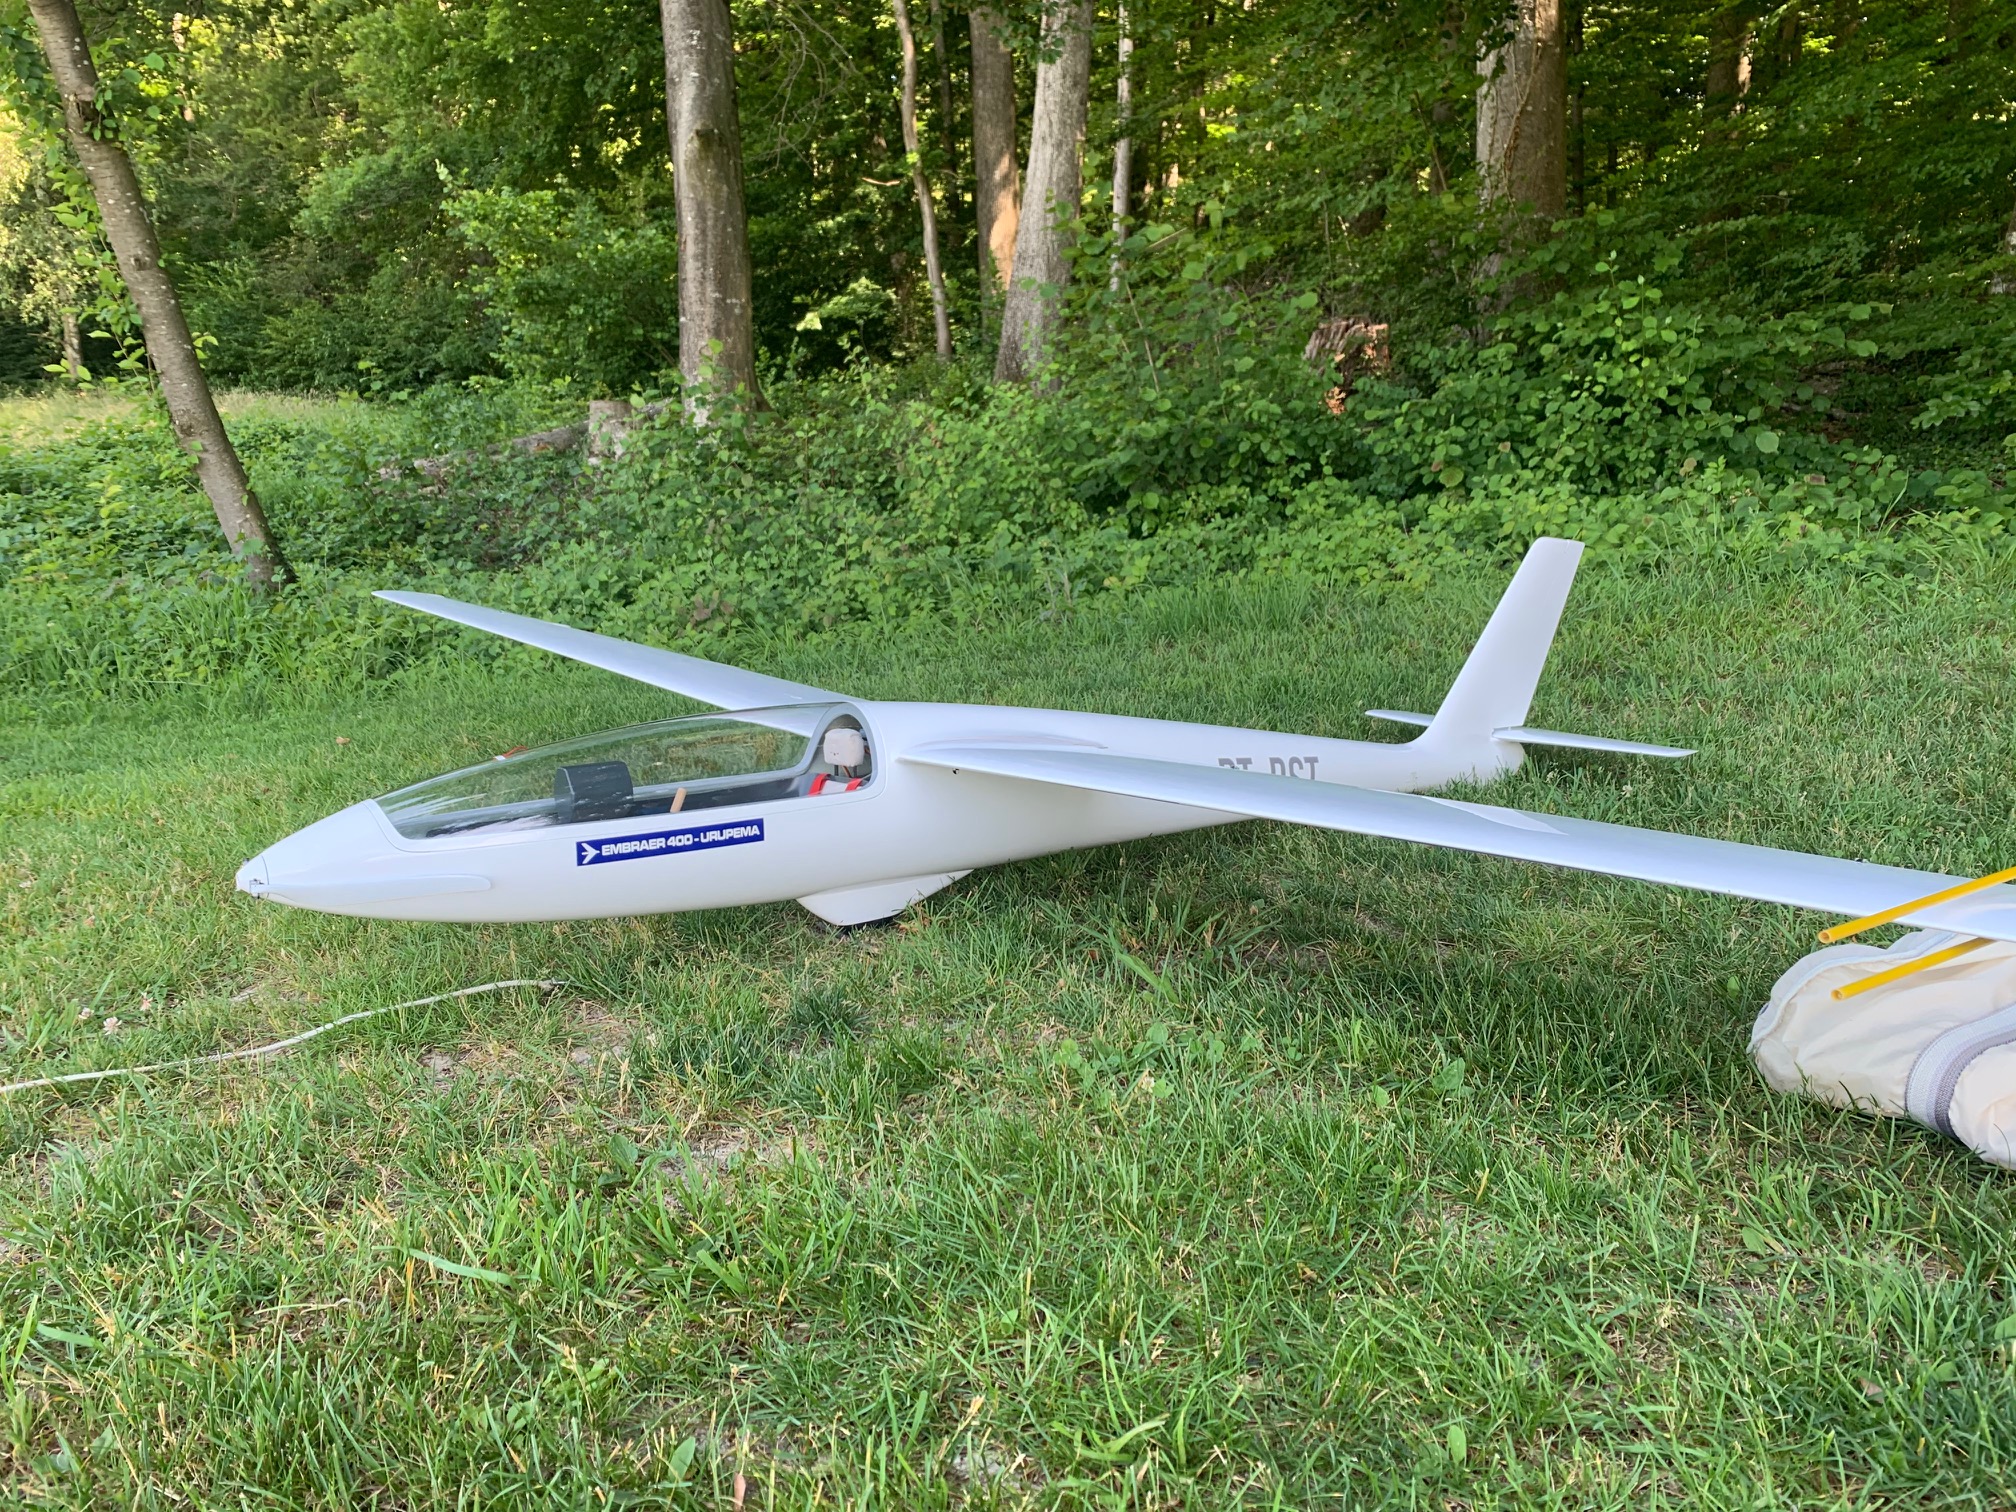
The unanimous agreement among the three pilots was that we need to fly this glider more often. The “wafer thin” wing profile (7.3%) with full carbon layup makes for super speed retention and among the friendliest stall behaviour on planes I’ve flown. It also allows for lots of camber to squeeze every last bit out of those thermals. This is a glider of contradictions, super friendly to fly and yet also scary as it picks up speed so fast with a bit of down elevator (even with full camber) and retains speed so long when flying figures.

Some new pictures of our slope outing below. Some earlier videos can be found here:


Urupema – cigarette commercial

A while ago somebody sent me a link to a really cool 70’s cigarette commercial featuring the Urupema. Somehow I forgot to include a link on my blog. Now corrected. Note: there is a brief shot of what seems to be the cockpit interior of the Urupema. Unfortunately that’s a fake, it’s actually a shot from the cockpit of a Blanik. Do turn on the sound for this video – it’s so seventies!

Link to the video on Facebook here


Urupema – new pictures and a first cockpit picture

I regularly get contacted with questions or suggestions in relation to our builds. I was particularly happy by an email I got from Marvin S., who is planning to build a Urupema with his father-in-law and has done extensive research into this unique Brazilian glider. Marvin shared some really nice pictures that I hadn’t seen before, including one of the instrument panel (which we were unable to find for our build). Marvin kindly allowed me to share these pictures on my blog. I hope that they can be of use to other builders. Thanks!


Urupema cockpit upgrade

I’m not usually one for great detail on my cockpits, but I wasn’t too happy about the orange cockpit seat and the square headrest of my Urupema. Also, some of the paint on the seatpan started to chip off. So I was very grateful when our building team colleague Richi offered me a beatifully made yellow seat inlay for my Urupema cockpit. Before sticking it onto the seatpan with hot glue, I also resprayed the seatpan, which now looks like new, and redid the headrest (now round). A great upgrade for an awesome plane methinks. 🙂


A day at the races – EMB400 Urupema in awesome slope conditions

Finally, spring weather! And added to that a stiff northern breese (“Bise”), means time to head out to the slope. Yesterday’s conditions were almost scary – a stiff and gusty wind, and very turbulent conditions. We decided to take our Urupemas, which were built for precisely such conditions, although the turbulent conditions pushed them to their limits. The tall grass unfortunately meant that a catapult launch is difficult and a dangerous hand-start was necessary – fortunately this went ok, although two starts were close to going wrong (planes over 6kg on a slope without a drop and gusty winds is challenging). Below a short video of yesterday’s flying.


A day at the Museum

For the first time we got our four Urupema’s together! The regional model aircraft association (Modellflug NOS), organised an exhibition of scale model aircraft in the FLAB Aircraft Museum in nearby Dübendorf. Part of the exhibition had scale aircraft positioned next to their originals (very impressive!). In addition, the exhibition showed the results of the work of model aircraft builders during corona times. We were invited to show our four Urupemas. Quite a sight, and we’re proud of the positive feedback we had from visitors!


Further slope testing of the Urupema

Georg has been busy fine-tuning the settings of his Urupema in Aerotow. The CG has been moved back quite a bit, and he has reduced the decalage back to around 0.8 degrees. The result is a much gentler plane, with excellent stalling behaviour, and an even wider speed envelope.

Last week Wednesday I got the first chance to fly my Urupema on one of our local slopes. Before heading out I applied the new settings to my plane. Wow, what a difference. Georg and I spent four hours non-stop airborne with our Urupemas. Even in light lift, the plane was a pleasure to fly. During the flight I swapped transmitters with my mate Richie, who was flying his JS3, just to see the difference between the planes and let him have a first taste of the Urupema (he’s about to finish his, nr. 4). They are definitely two very different planes, both much fun to fly. Of course the Urupema is not a thermalling junky like the JS3 (which just refuses to come down), but the Urupema still flies incredibly well even in light lift. After Richie landed his JS3 I handed him the controls to my Urupema again and asked him and Georg to do some formation flying, so I could do some filming (Richie is a much better pilot and I’m a much better cameraman :-). The result is below. Enjoy.


Maiden flight of my Urupema

Today I maidened my Urupema on our club’s airfield, using the club’s catapult. I usually prefer to maiden planes in aerotow, much lower risk, but as thanks to Corona this is currently not possible. It was either catapult or wait. Since I plan to spend a week in Soaring Dreamland Hahnenmoos in a bit over a week, waiting was not an option.

The start went well, but the conditions were terribly turbulent, with massive downwinds and rare but strong upwinds. The landing was adventureous, with a terrible down and tailwind, and too much downrudder mixed into the crow programming, causing the plane to come in very fast on our small airstrip. Fortunately all went well, and the second flight went much better already, and Georg and I even managed to do some formation flying.

We’re still finetuning the settings on this lady, but she’s special. The speed envelope is amazing. You can circle in thermals at close to 40kmh, but she very quickly picks up speed. Without pushing it, Georg already had well over 260kmh. She needs a lot of rudder when circling in thermals, and really likes leaning into the curve. And it’s very hard to stall her, when circling in thermals you can pull the elevator like crazy. I’m only just getting to know her, but this is one special amazing plane. Happy.


Slope testing Georg’s Urupema

This has been an amazing spring of contrasts. While Switzerland has been in a “soft” lock-down, we’ve been enjoying perfect weather and, most importantly, a highly unusual amount of so-called “Bise” days. Normally the prevailing wind is West. But the last few weeks we’ve mostly seen Northerly winds, the “Bise”. This means that it’s impossible to fly on our airfield (which was closed for a few weeks anyway), but also means time for slope soaring. I’ve spent many hours flying on our favourite slopes so far this spring. Pure bliss, although coming down from the mountain back into Corona reality was sometimes something of a shock. Below are some pictures, as well as a video that I did of the first slope testing of Georg’s Urupema. I’m still waiting for a normal westerly wind so I can maiden mine on our airfield – maybe the end of the coming week….


Maiden flight of Andi’s JS3 and Georg’s Urupema

A big congratulations to Andi and Georg! Today Andi had the maiden flight of his JS3, the fourth and last one of the four we built and Georg maidened his Embraer EMB400 Urupema. As the maiden flights were on a different airfield and due to Corona restrictions I was unable to attend (5 persons max and no guests). Andi took some pictures, which you find below. A video of the maiden flight and the slope testing is in the next post. We will maiden further Urupemas in the next few weeks and do some further flights with our JS3.


Urupema ready to maiden!

The final “small” things always take much more time than planned, but the Urupema is ready for its maiden flight! I still intend to add some red stripes and more decals. For that we will need access to the paint shop though, which is not easy due to the COVID-19 semi-Lockdown here in Switzerland. They will need to wait.

The plane weights around 7.2 kg (4.28m wingspan, scale 1:3.5). I can add quite a bit of ballast (up to a 800gr brass) in the ballast chambers built into the wings. Am curious to see how this one will fly. Unfortunately the maiden flight will have to wait a bit. I first intend to maiden my JS3, which has been sitting ready to maiden in the workshop since November last year. Then I want to wait for our building team colleague Georg to maiden his Urupema. Not only is he a master in getting the plane’s settings right, he also has access to an airfield where he can maiden his Urupema in aerotow (the safer option for a fully new own design plane), whereas I don’t (due to attendance restrictions for guests on most nearby airfields as a result from COVID-19).


Installing wing servos and IDS

In all my recent builds I’ve used Chocomotion servos  (supplied by www.leomotion.com) in combination with the IDS system supplied by Servorahmen.de. When deciding to install the IDS system, we’ve found that 1) you need good and strong servos; and 2) at ridiculously high speeds even the strongest servo may give up as the lever from the IDS system is simply too short. In our earlier builds we used Futaba 3174 and KST x08 (aileron) wing servos. Unfortunately I’ve had quite a few serious burn-outs and control surface flutter at speeds over 240kmh on my scratch-built Diana2, even resulting in one Futaba servo catching fire (fortunately the plane is still alive!).

The Chocomotion servos are much stronger than the Futabas (no breakage so far, and the newer versions now also have little or no play). For the Urupema’s flaps and flaperons we use the Chocomotion 10/10, as with our JS3. For the ailerons we’re for the first time using the Chocomotion 8/6 instead of the KST X08. The “normal” X08 is simply not strong enough for the ailerons using IDS in larger planes when you want to fly it fast (I’ve killed way too many of those…an they’re not cheap). The X08plus is much better (no breakage so far), but in view of our good experience with the Chocomotion brand, we decided to try out the Chocomotion 8.0/6.0 instead, as it should be a bit more powerful than the X08plus.

As we have quite large control surfaces on the Urupema, we also decided to replace the standard control horns on the control surfaces with our own, using a bigger lever to reduce stress on the servos. It was quite a bit of work to cut them out of glass board (by hand), but I hope that it will allow the servos to hold at higher speeds.


Elevator and Cockpit

I’m not very good in making nice cockpits. Although I admire colleagues that do perfect scale cockpits, I just can’t be bothered to take the time to do it myself and usually do a very rudimentary job. I’m too keen to get onto the next project or go flying :-). The Urupema cockpit was a bit of an issue, since we had no pictures whatsoever of what the original looks like. While Richie made a all of us very nice seat pans, we re-used the instrument panel from our Diana2, which looks to fit quite nicely. I also lack the skills to make a nice seat, so I usually just cut a piece of felt to size.

As our Urupema is built for higher speeds than usual, having a robust elevator is important. Usually we attach our elevators with plastic screws (allowing them to break with rough landings on the slope), but this time we attach it with a metal screw, but the front of the elevator is attached with a carbon rod (allowing it to break there if the elevator gets caught in a rough landing). The control horn is glass fiber. As the elevator hinge is on the topside of the elevator, the lower side doesn’t need an epoxy seal, I just use tape.


Setting the seals for the wing control surfaces

Learning how to make the seals for the wing control surfaces has been a bit of a process for me. We always use a silicon hinge (see two posts earlier), usually at the underside of the wing. This means that a nicely set seal really helps the plane look good, but of course also helps flight characteristics. In the past I’ve had to redo the seals quite a few times when they didn’t come out well, or I had to spend a lot of time sanding them. The Urupema, my third fully scratch-built plane, has the nicest seals I’ve made so far, and I’ve learned again for next time.

What I’ve learned so far: of course the tape is really important. We use a relatively hard PVC tape that is easily removed once the epoxy resin has cured. Also important is cleaning, especially when you have carbon in the wings. It just takes a bit of carbon dust to give you ugly black spots in the nice white seal. The first few seals I set I made the expoxy too thick, which meant that it didn’t distribute nicely the seals looked ugly. I still thicken the epoxy with micro-balloons and a bit of aerosil (and of course apply colorant), but it can stay quite liquid. Use a good syringe to apply it on the tape. Wait for it to cure to a point where it’s still elastic enough to bend, but no longer liquid. Then insert the tape under the wing (I use a ruler) putting the control surface at around a 20-30 degree downward angle. Fix into position and let the epoxy cure. If you apply colorant, you may want to give it some extra time to really harden out (depending on the temperature in your workshop). I usually leave it for two days, then remove the tape and sand the seals down to size (allowing enough upward movement).

For the Urupema I had a lot of work shortening the seals to get enough upward movement in the control surfaces, something to take into account for next time. They’re also quite thick, but then weight isn’t as much of an issue with this plane. I’m pleased with the result.


Urupema: cutting the wing control surfaces and setting the hinges

For the past few projects I always had one of my friends help with cutting out the control surfaces in the wings and elevator. It’s something that easily goes wrong and then ruins lots of hours of work on the wings. With the Corona lock-down rules, having seen it done a few times and actually having all the required tools in my own workshop I though it was time to do it myself. And it went surprisingly well, without any major hiccups, and was easier than I feared – although it does need a steady hand! I used an ancient Dremel with a 0.8mm bit for the underside of the wings (hinge) and a 1.5mm bit for the upper side of the wings. One of my colleagues in our club made a very clever add-on for the Dremel that allows you to guide it along an aluminium ruler. The rules is positioned and glued to the wing with bits of double sided tape. My mate Georg also very helpfully provided a template for cutting out the servo openings, which made it easy to do those.

After cleaning out the foam, I sanded down the upper leading edge of the wing, so it’s razor sharp, and applied a strip of 60gr glass to protect the exposed abachi wood and give the edge a bit more rigidity. Once that was hardened out I set the hinges using silicon glue. This will now need to rest for approximately 5 days, after which I can start doing the seal on the upper side of the wings.


Urupema back from the paintshop and fully polished

Earlier this week I also got the Urupema fuselage back from the paint shop. I spent quite a few hours sanding and polishing it to a shine. I first used 600 grain sanding paper, then 800, then 1500 and then a 3000 diamond polishing pad. After that I treated it with machine polish and shiner, using the polishing machine.

The paint shop and especially the polishing afterwards is always very unforgiving when it comes to small mistakes in the building. There are the inevitable spots where it’s not quite perfect, it’s obviously made by hand, but I’m satisfied. I’m particularly happy with the spray filler that I’ve used for the first time on the seam on the top of the fuselage and part of the wings. I was a bit nervous trying this out, hoping that it wouldn’t react with the final coat of paint. It came out well though. I couldn’t resist sticking a few of the decals on and putting the plane together for a photo session.

Now the hard work on finishing the wings starts. Next step is cutting out the control surfaces. No mistakes allowed there…


Watching Paint dry

Watching paint dry is not really my thing. Andi managed to secure a slot in the paintshop on Saturday and spray painted the wings and all small parts. The fuselage should be done in the next few days. I’m now waiting for the paint to harden out, after which the hard work of polishing starts.

I’ve been using the time to build a small glider, based on the mini-Uhu, but remote-controlled. Originally this was for our upcoming indoor glider-tow competition, which has now been cancelled due to the Corona crisis. I’ve also built a new Clik21 indoor plane, which had been lying around in my workshop for a while. I love that small indoor plane. I’ve built (and sold) multiple versions of it already, always trying to make it lighter improve it further. My current one weighs 93gr (no battery), but with a pull-pull rudder and elevator it wasn’t very precise to fly. Hence my wish to build another one. The new version looks again much improved compared to the previous one, with more stable ailerons and rudders, and a total weight of 95.6 grammes (without battery, i.e. flying weight 110gr).

I also finalised the Urupema decals and spent much time making the rudder control horns. Georg helpfully documented how he made his control horns, which I’ve copied. I’ll post a picture of the painted Urupema as soon as the fuselage comes back from the paintshop.


Urupema: ready for the paint shop

The filler/primer on the wings was sanded down again, to get a really smooth surface. Last week we also got the canopies, which we had produced by a friend, using our mould. I spent quite a bit of time fitting it to the canopy frame, before fixing it with epoxy resin. It looks quite good. I also fitted the towhook and bungee hook, as well as an extra bulkhead to hold the seat inlay. Today I prepared all the parts for spray painting (canopy is always a lot of work to prepare), as well as the tools to hold the parts during spraying and letting the paint harden out. Tomorrow I’ll bring all of it to Andi, the master painter in our building team. I hope he can get a slot in the paintshop over the weekend. I am very curious to see how it will come out…spray painting tends to be quite merciless in showing where you made mistakes……


Urupema wings and elevator: sanding the glass and applying filler/primer

The 49gr glass covering wings and elevator hardened out nicely, and I couldn’t help putting the plane together to see how it looks, now also with the landing gear :-).

Today I sanded the wings and elevator and cleaned them. After that I applied the primer/filler. First with a roller and then pulling it deep into the (few) pinholes using a spatula. I hate this part, as the primer stinks like hell. While it needs around 20deg C to harden out I cannot apply it outside, so I spent the morning in the workshop using a face mask. Now the primer can harden out over the weekend. On Monday it’s sanding time again….


Urupema landing gear and wheel cover

Fitting the landing gear required fiddling a bit with the correct position of the two spants to ensure that the center of the wheel is 2cm behind leading edge of the wing. Then cutting the hole at the bottom of the fuselage to the right size so that the wheel fits through. The suspension is a couple of rings of inner bike tube, which we also use for our retract able gears. I always first provisionally fix the spants with a few dots of 5minute epoxy, and once everything is in the right place I fix it using 12hr epoxy.

Fitting the wheel casing is done with two 4mm screws. I first cut some plywood to size, fixed it in the right position on the fuselage with a few dots of 5min epoxy resin, then drilled the holes, removed the plywood from the fuselage and fixed it to the wheel casing. Using a syringe and some coloured 12hr epoxy resin I filled the small gap between the wheel casing and the fuselage to ensure a perfect fit.