Scratch-built JS3 with new winglets

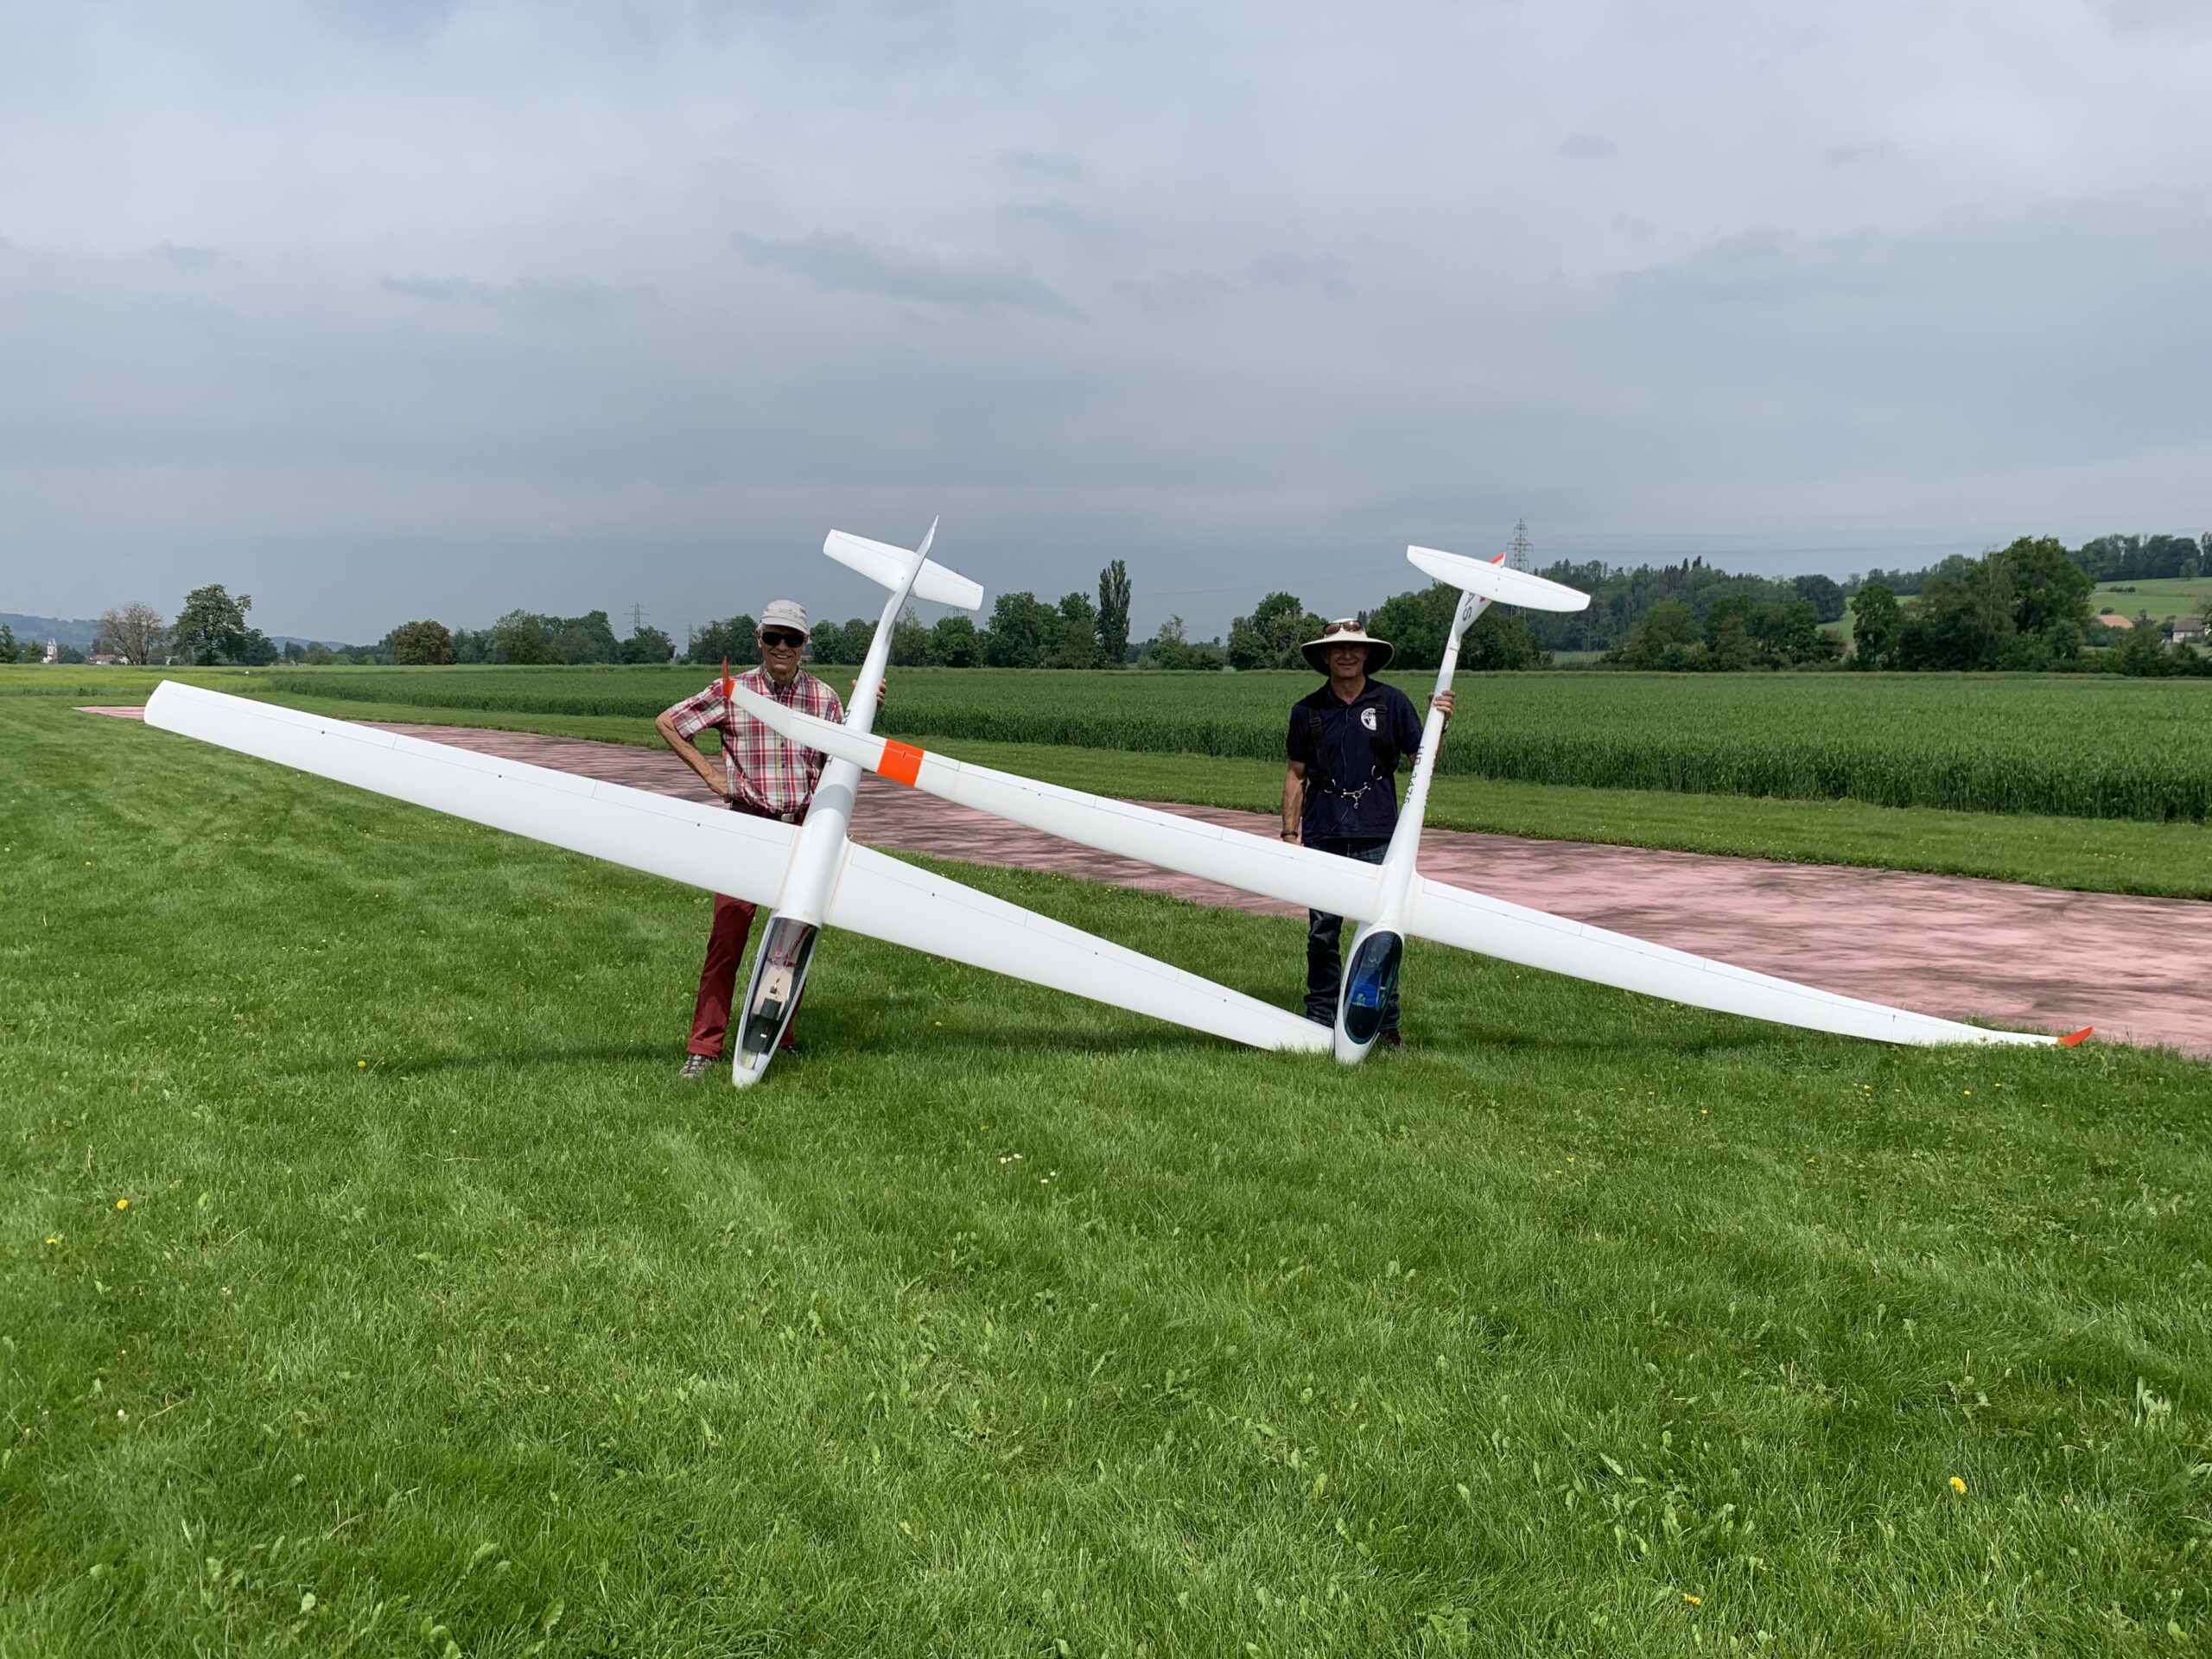
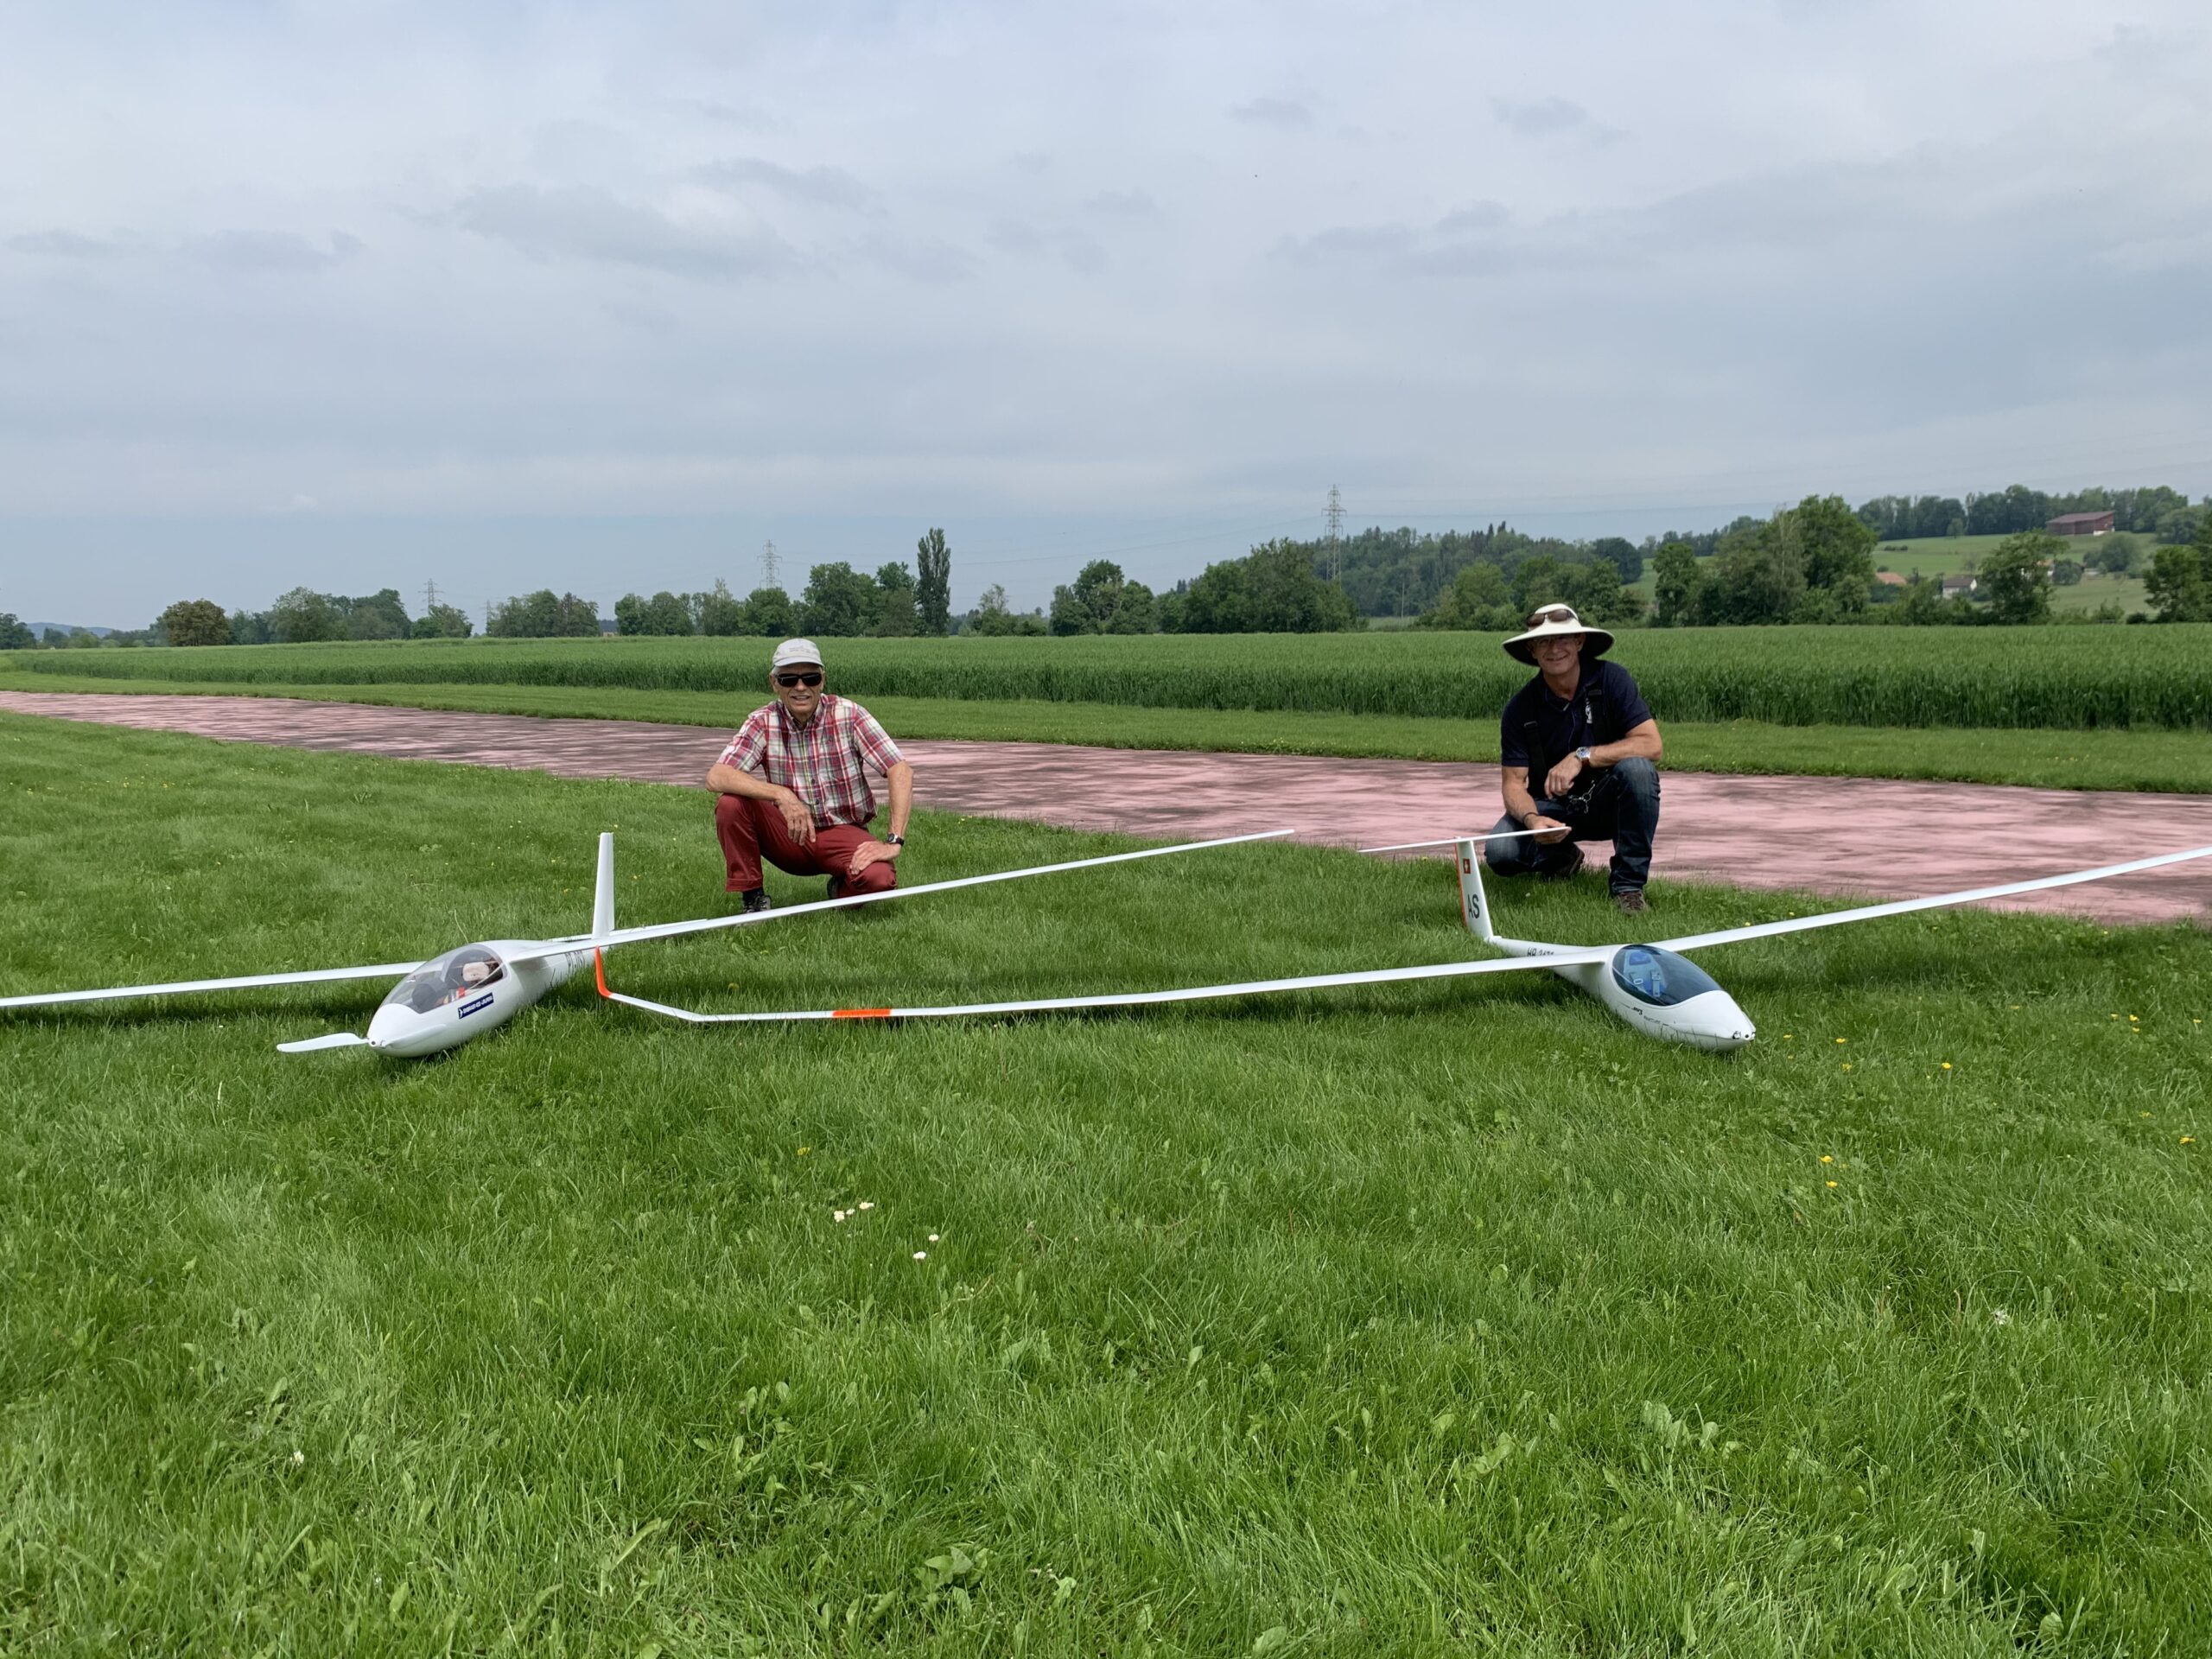
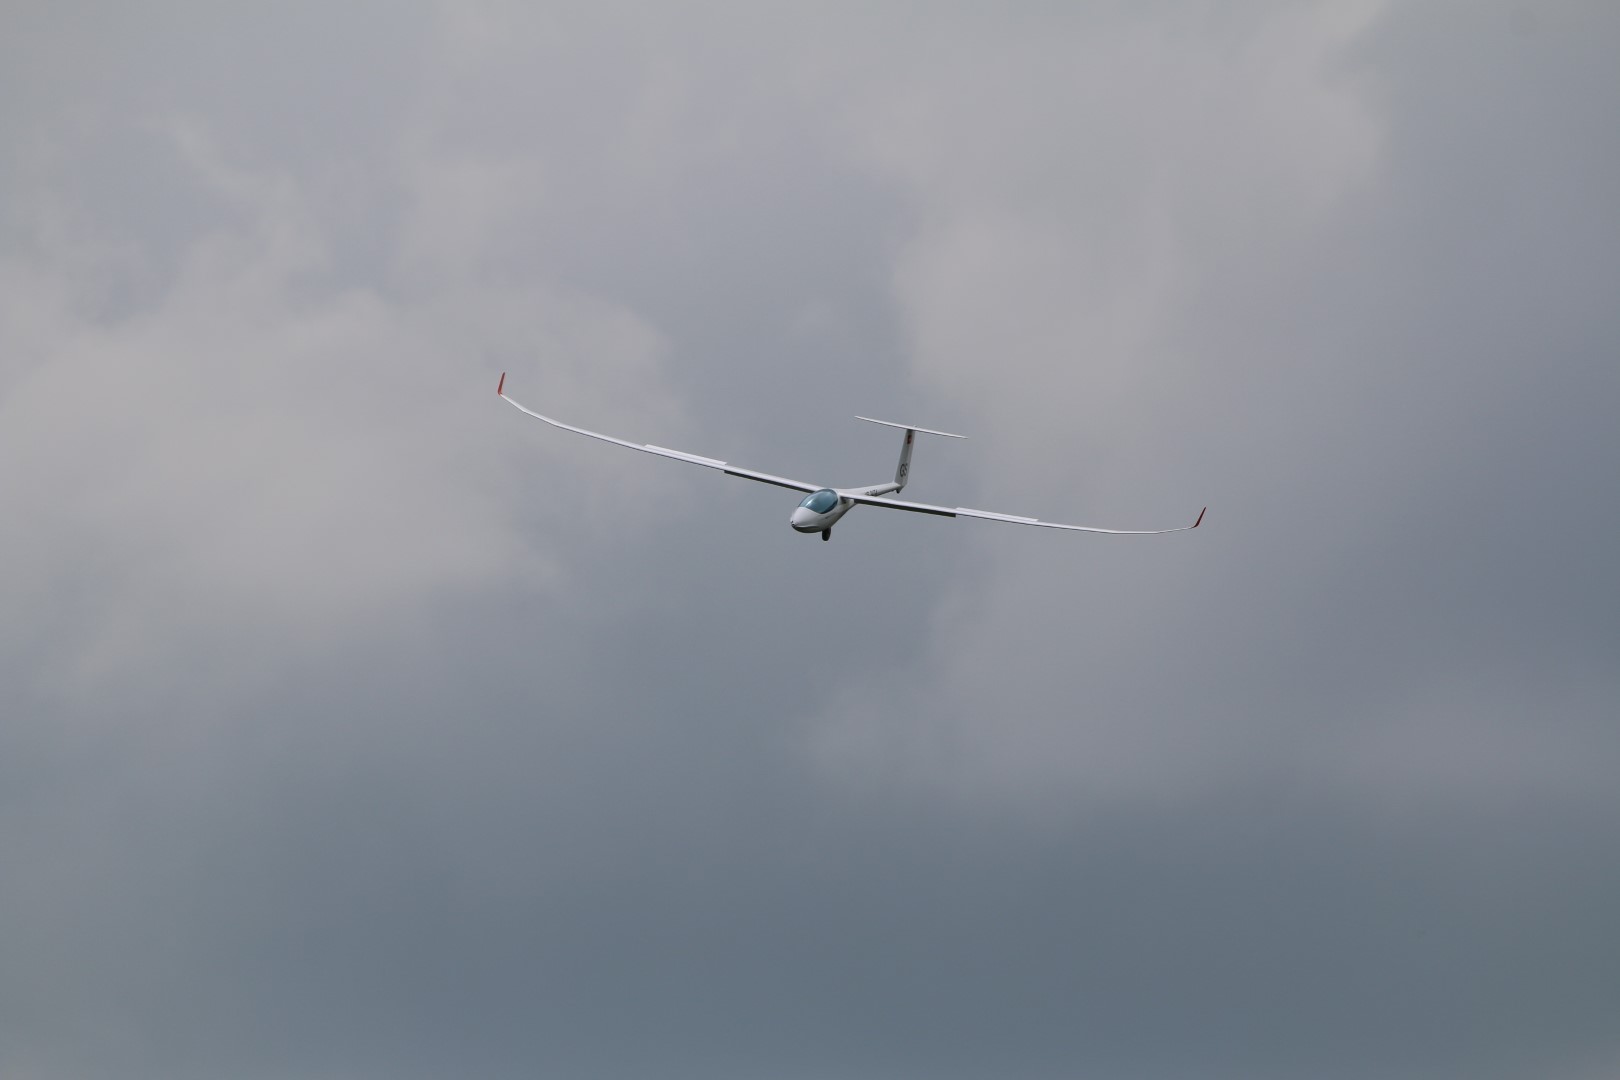
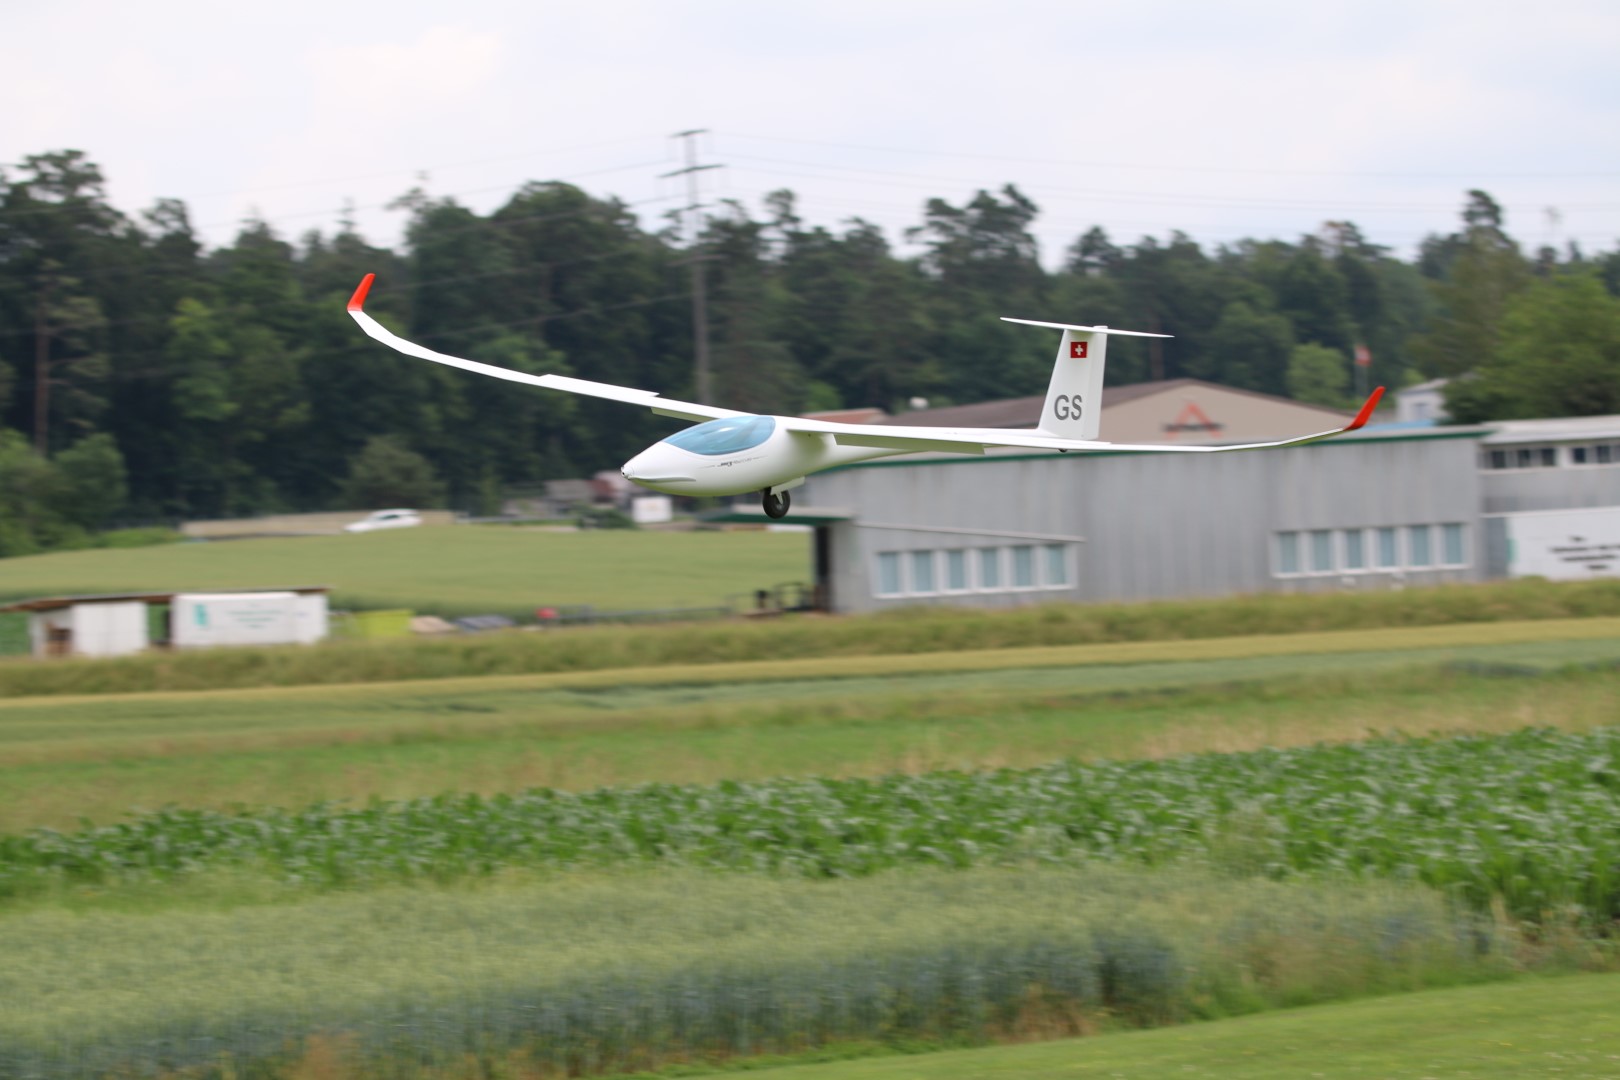
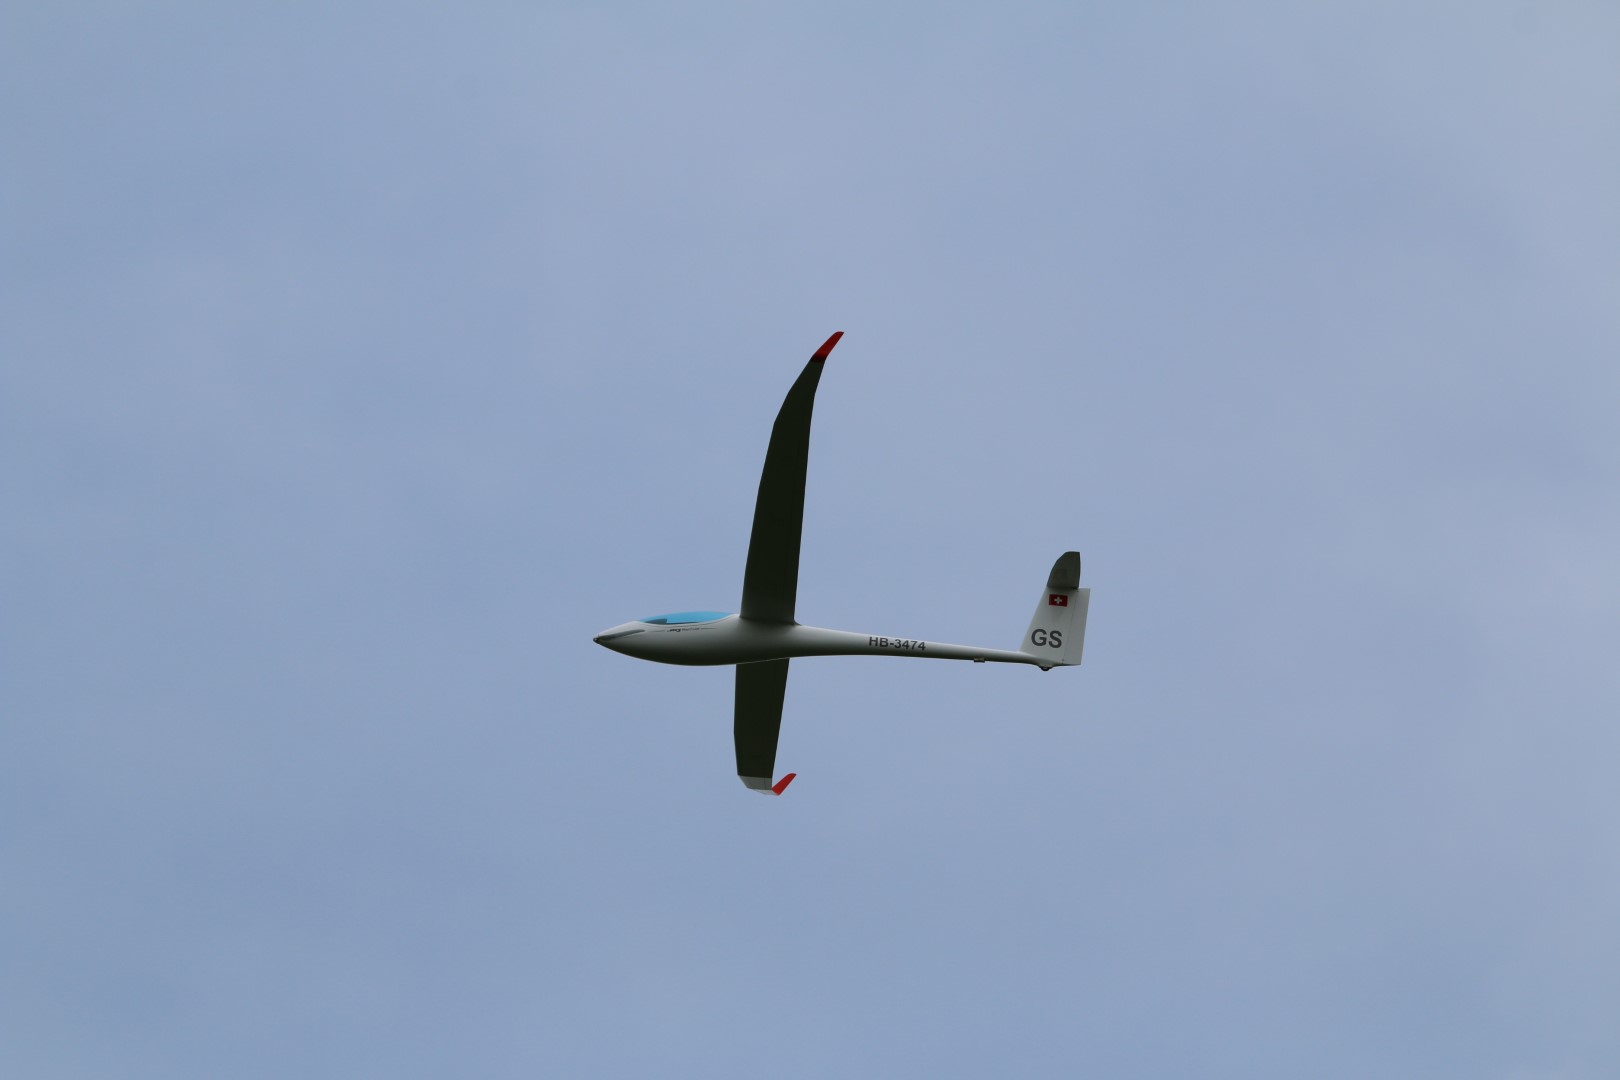
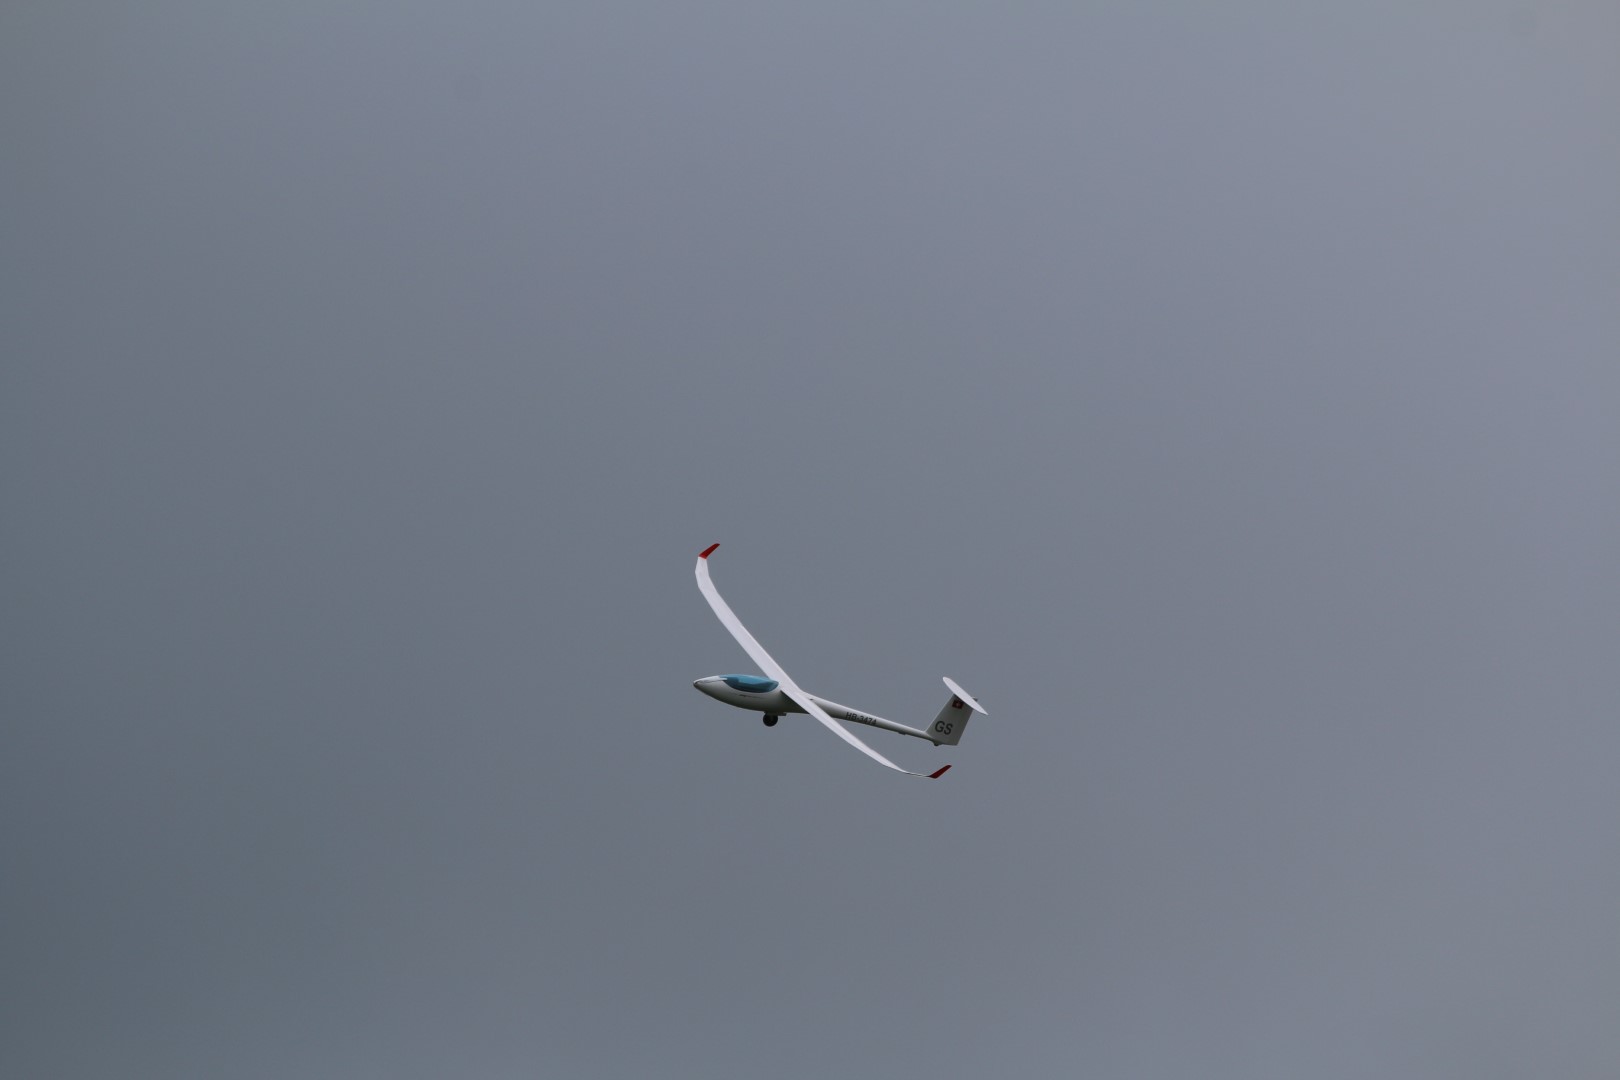
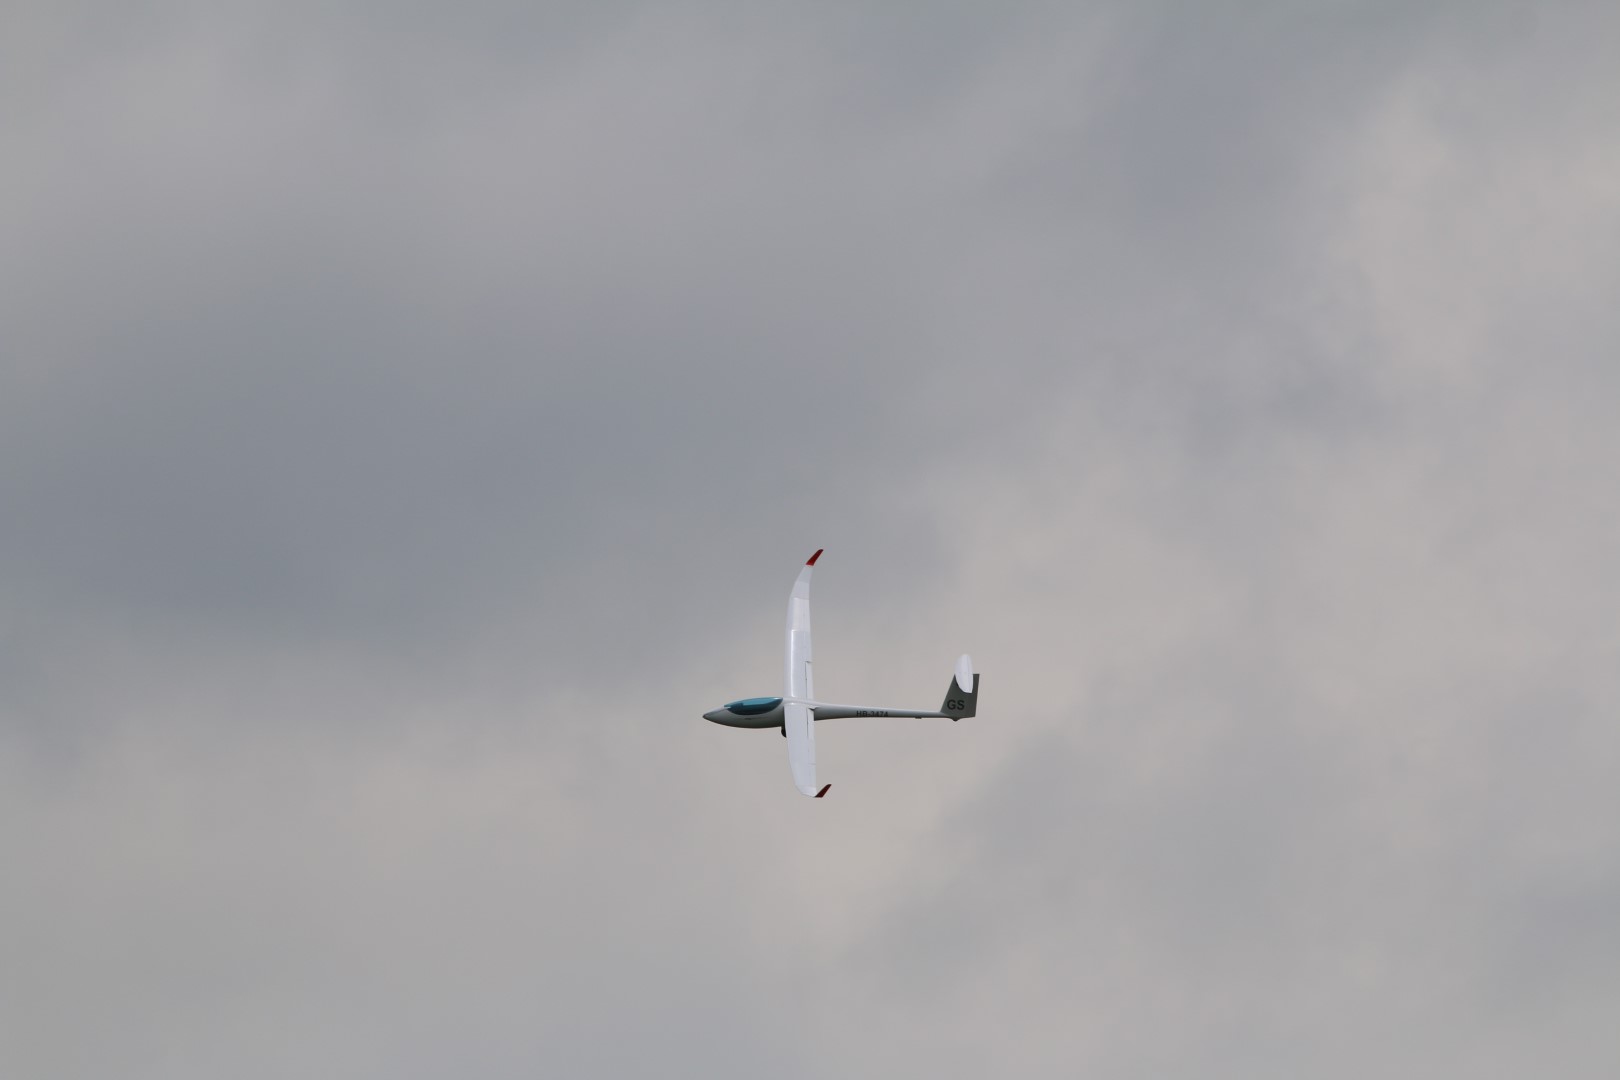
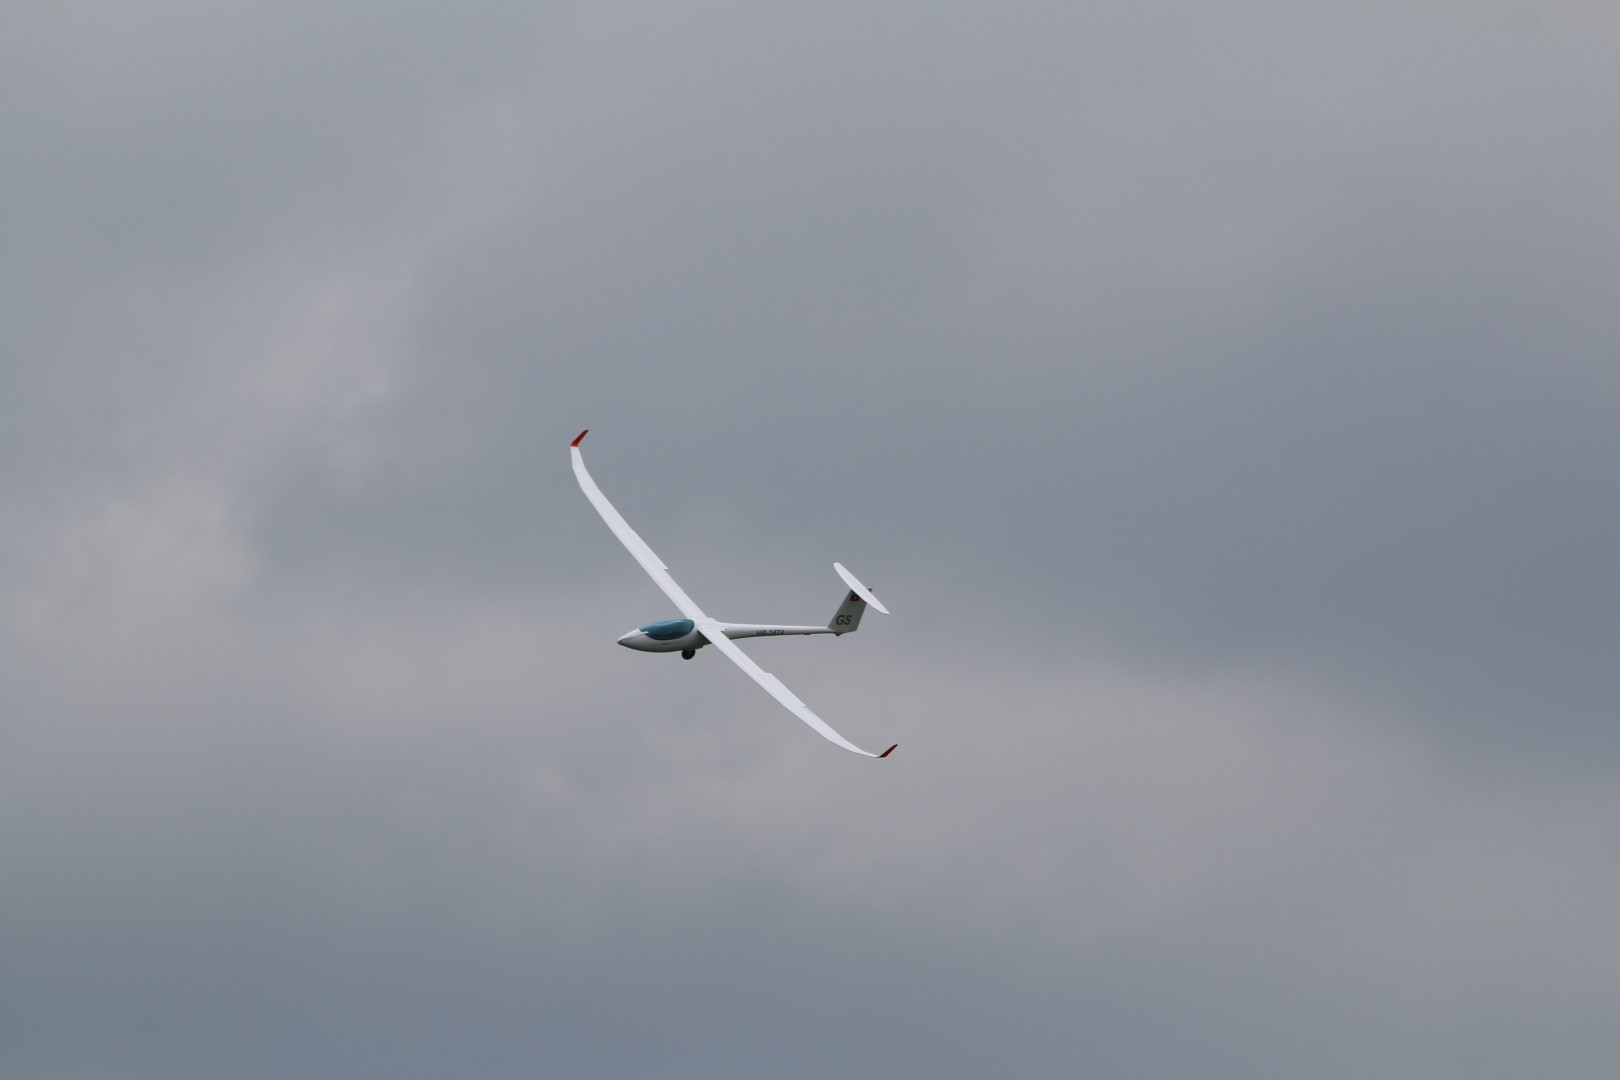
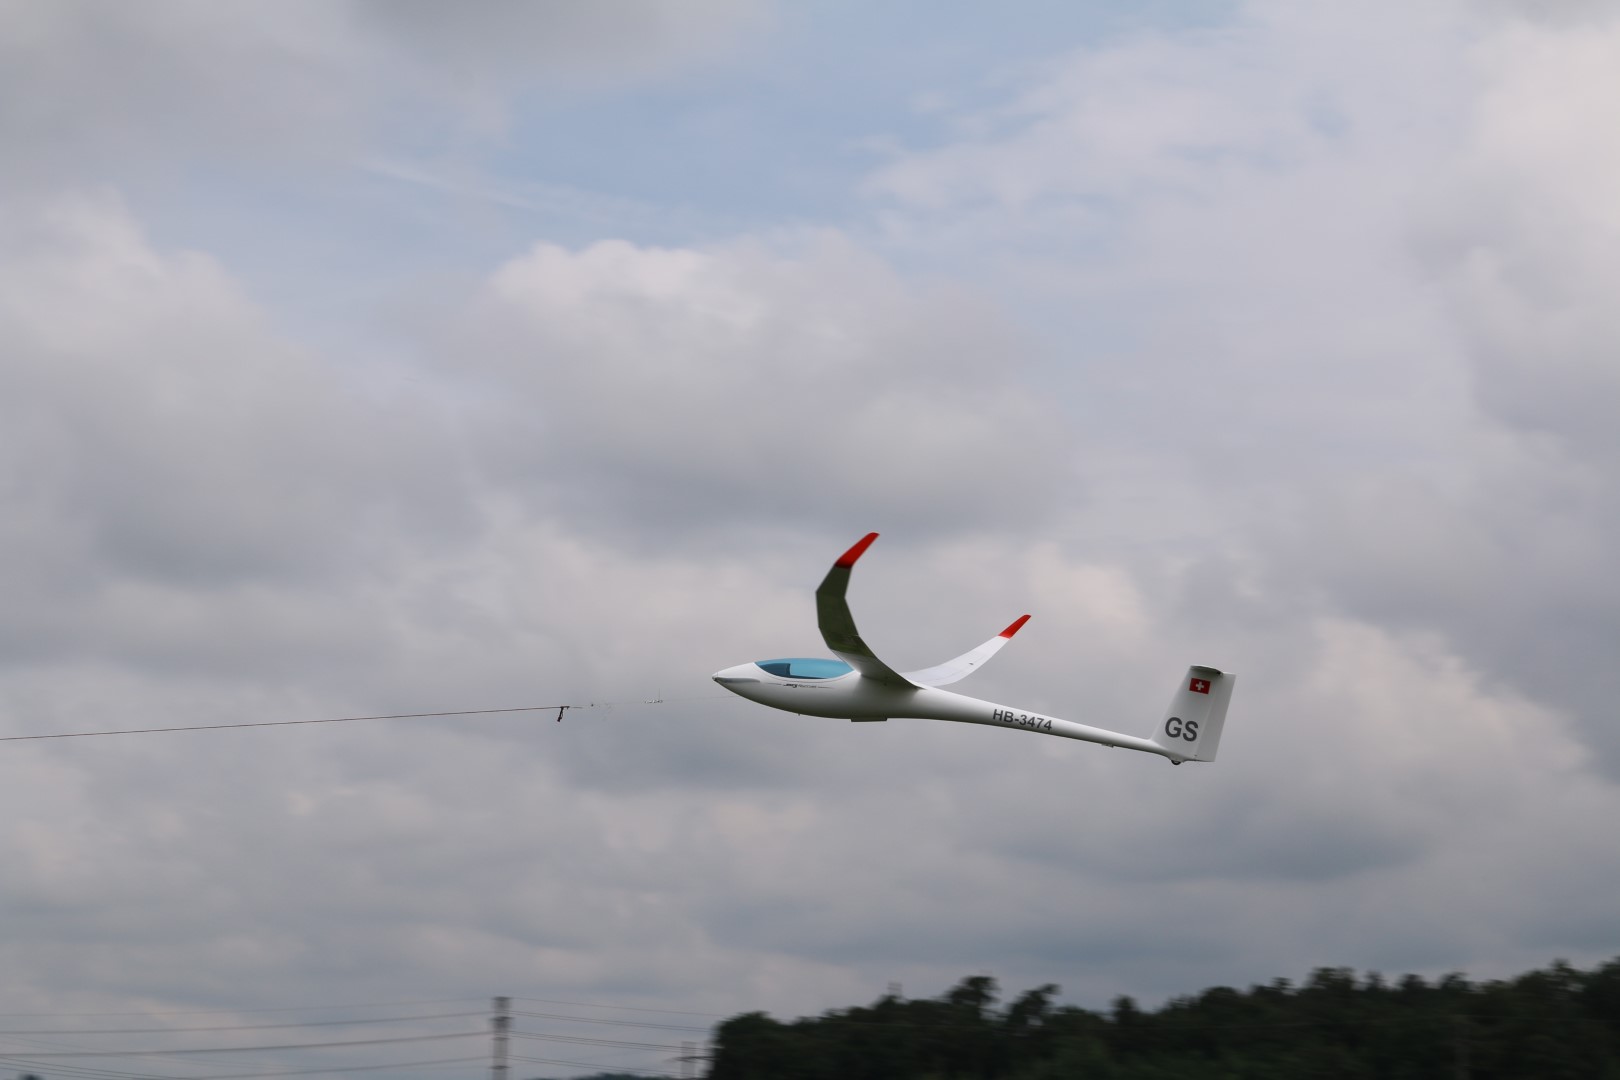
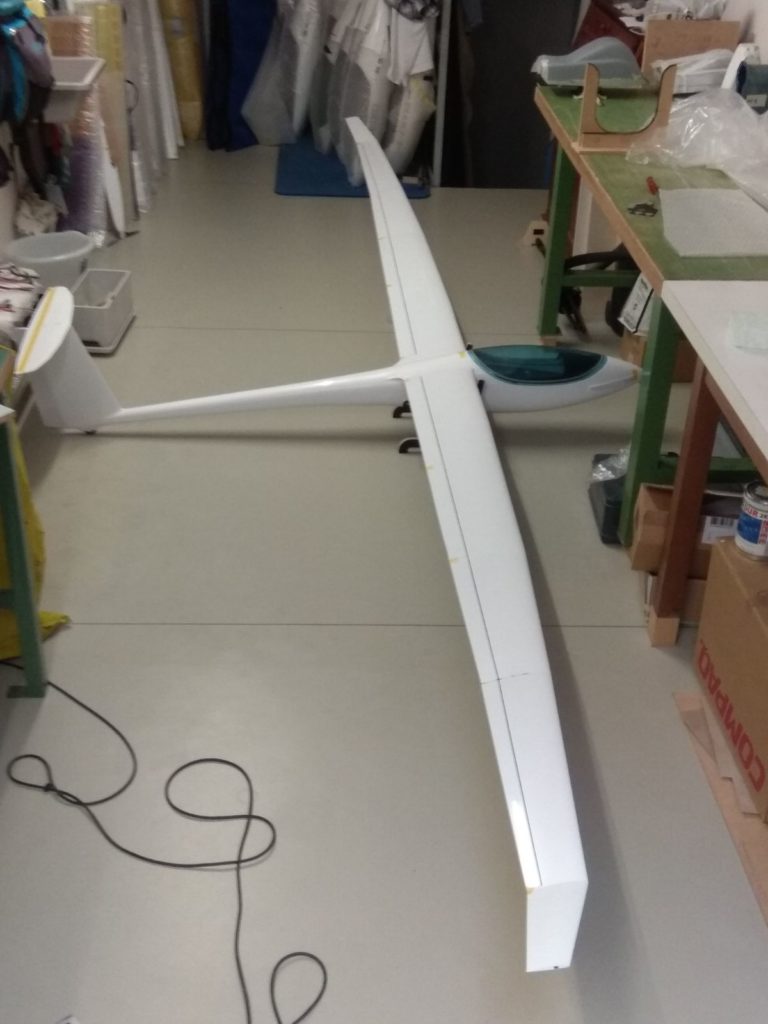
Last year was not a good year for either of my JS3. After the incident with my Chocofly JS3, which is fortunately flying again, I also had some bad luck with my scratch-built JS3 in September. We were racing triangles at our airfield in some of the most amazing thermals I’ve ever encountered, with a thunderstorm and heavy clouds coming in. I misjudged the height of the cloud coverage as well as the strength of the thermals. My JS3 was literally sucked into a dark cloud. I instinctively gave down elevator, which caused my JS3 to reappear within seconds. Unfortunately it picked up speed massively (my GPS logger later told me I hit 265kmh) which caused the winglets to flutter and torn out of the wings. After a quick check that all control surfaces were still functional, I managed to land the plane safely. The winglets were never found, and there was quite a bit of damage to the end of the outer wings, but fortunately nothing that could not be fixed.

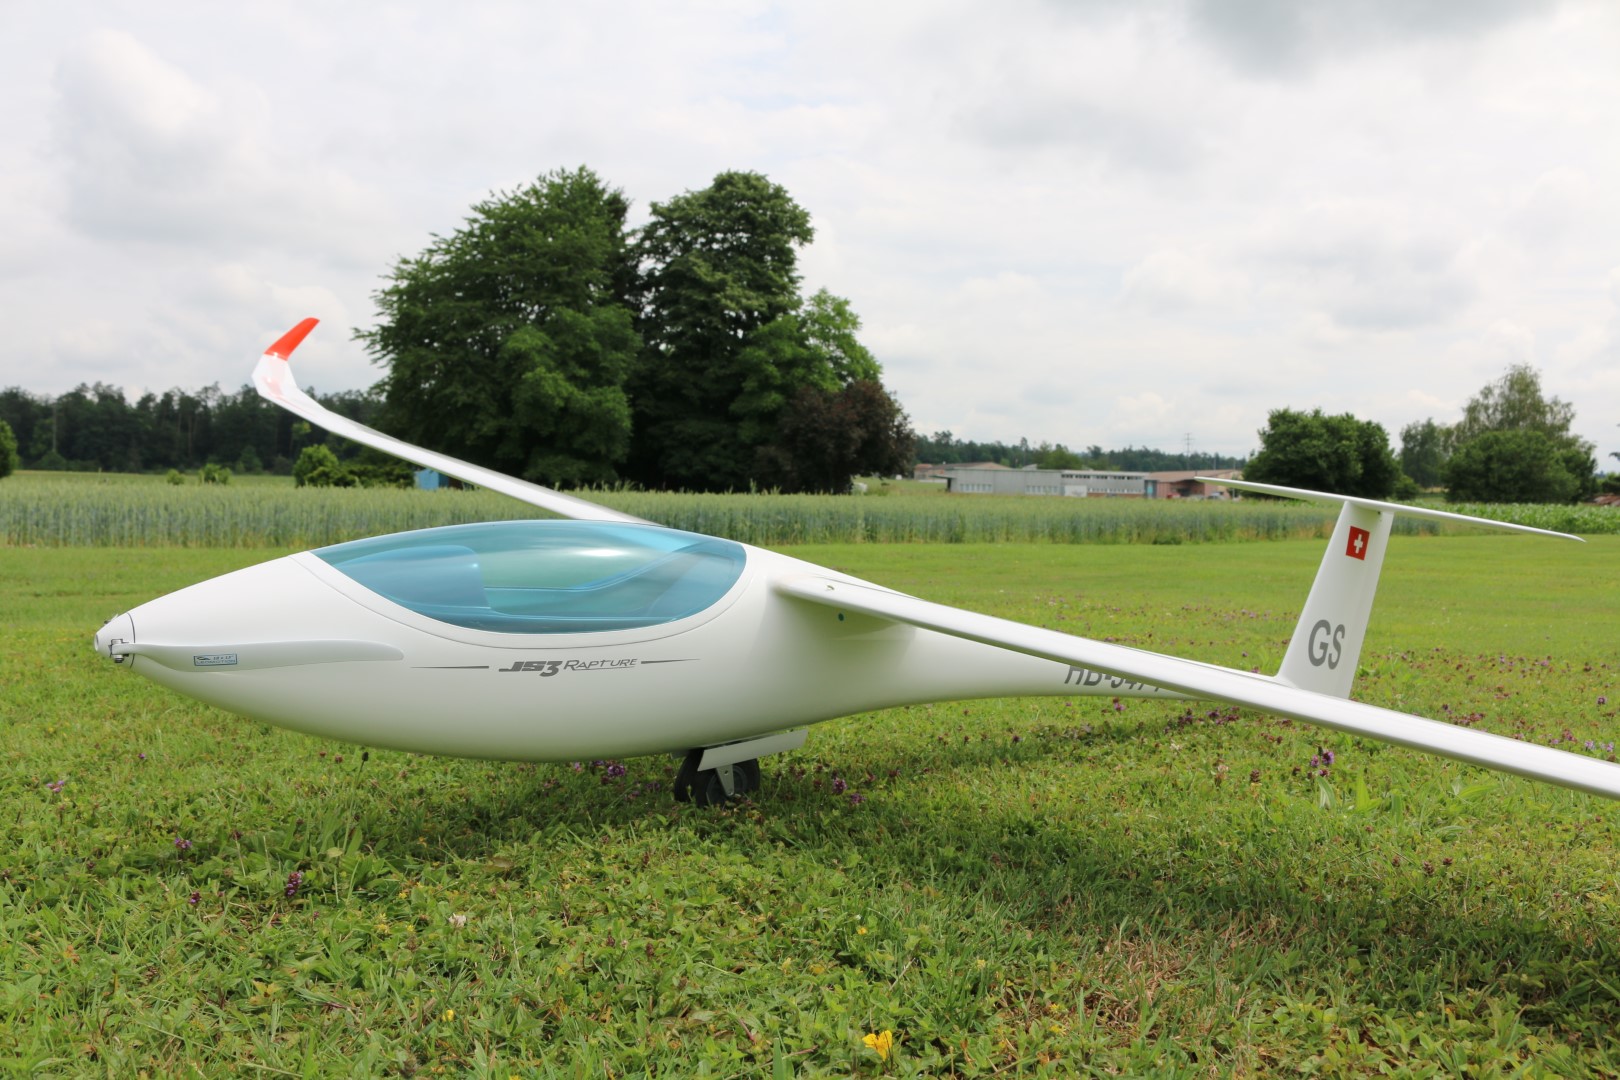
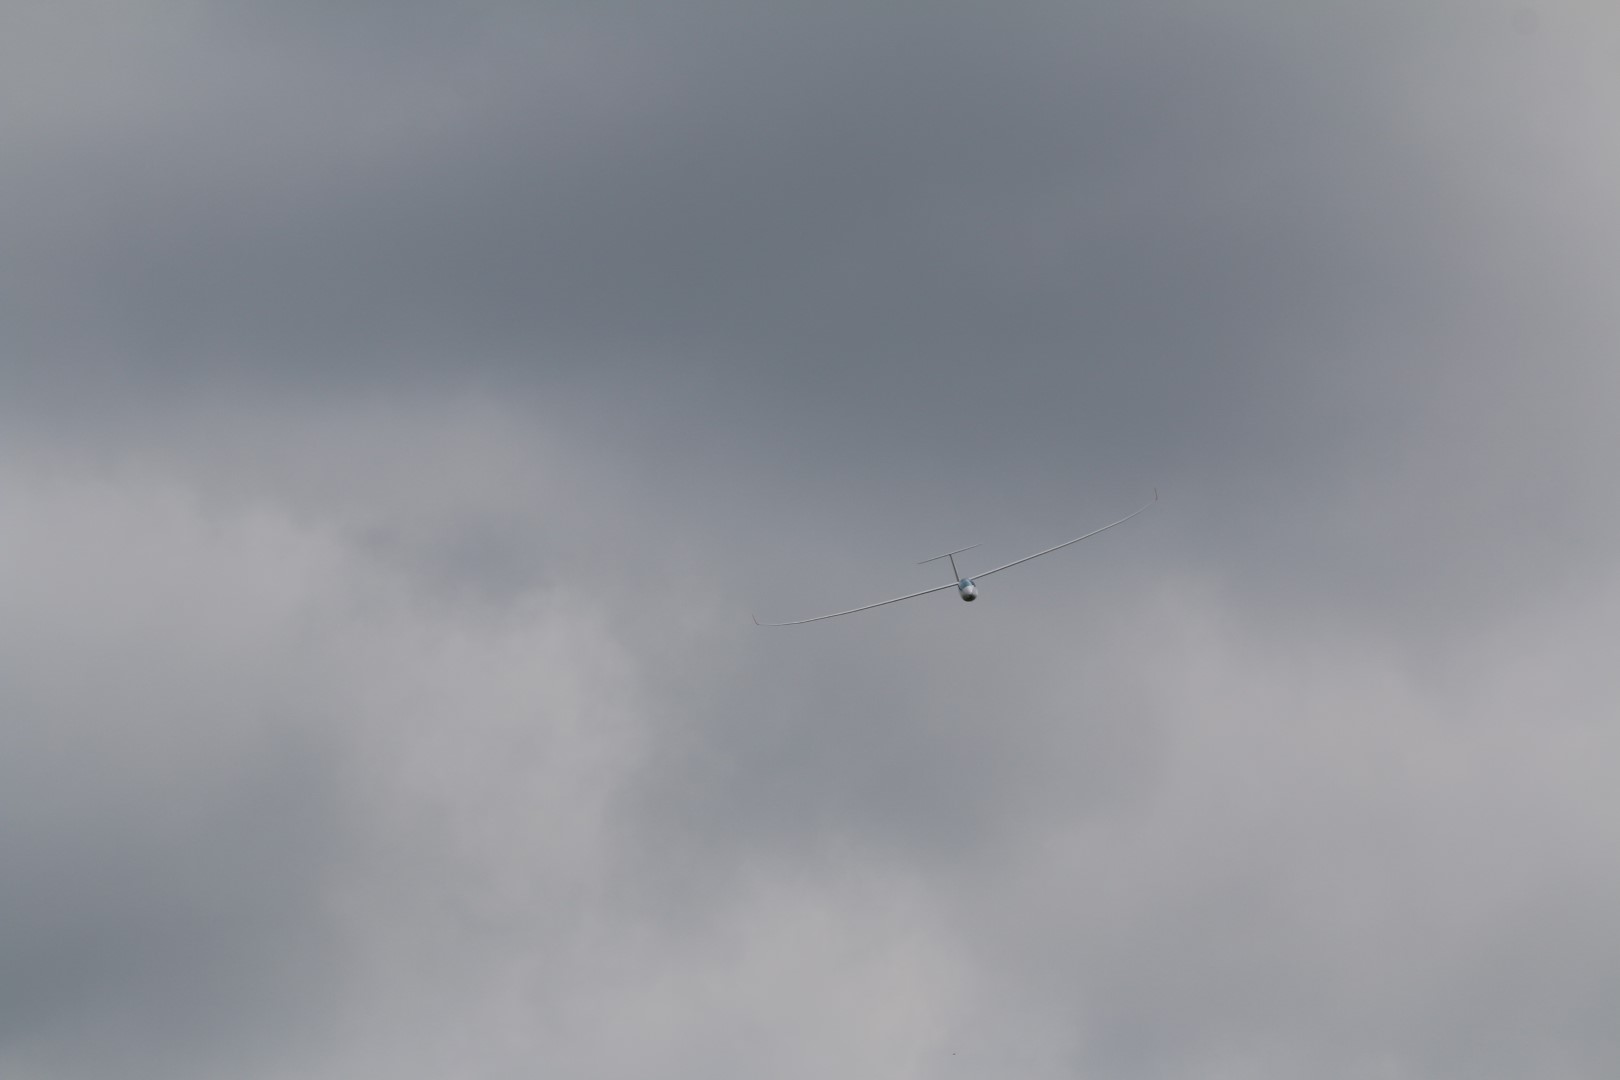
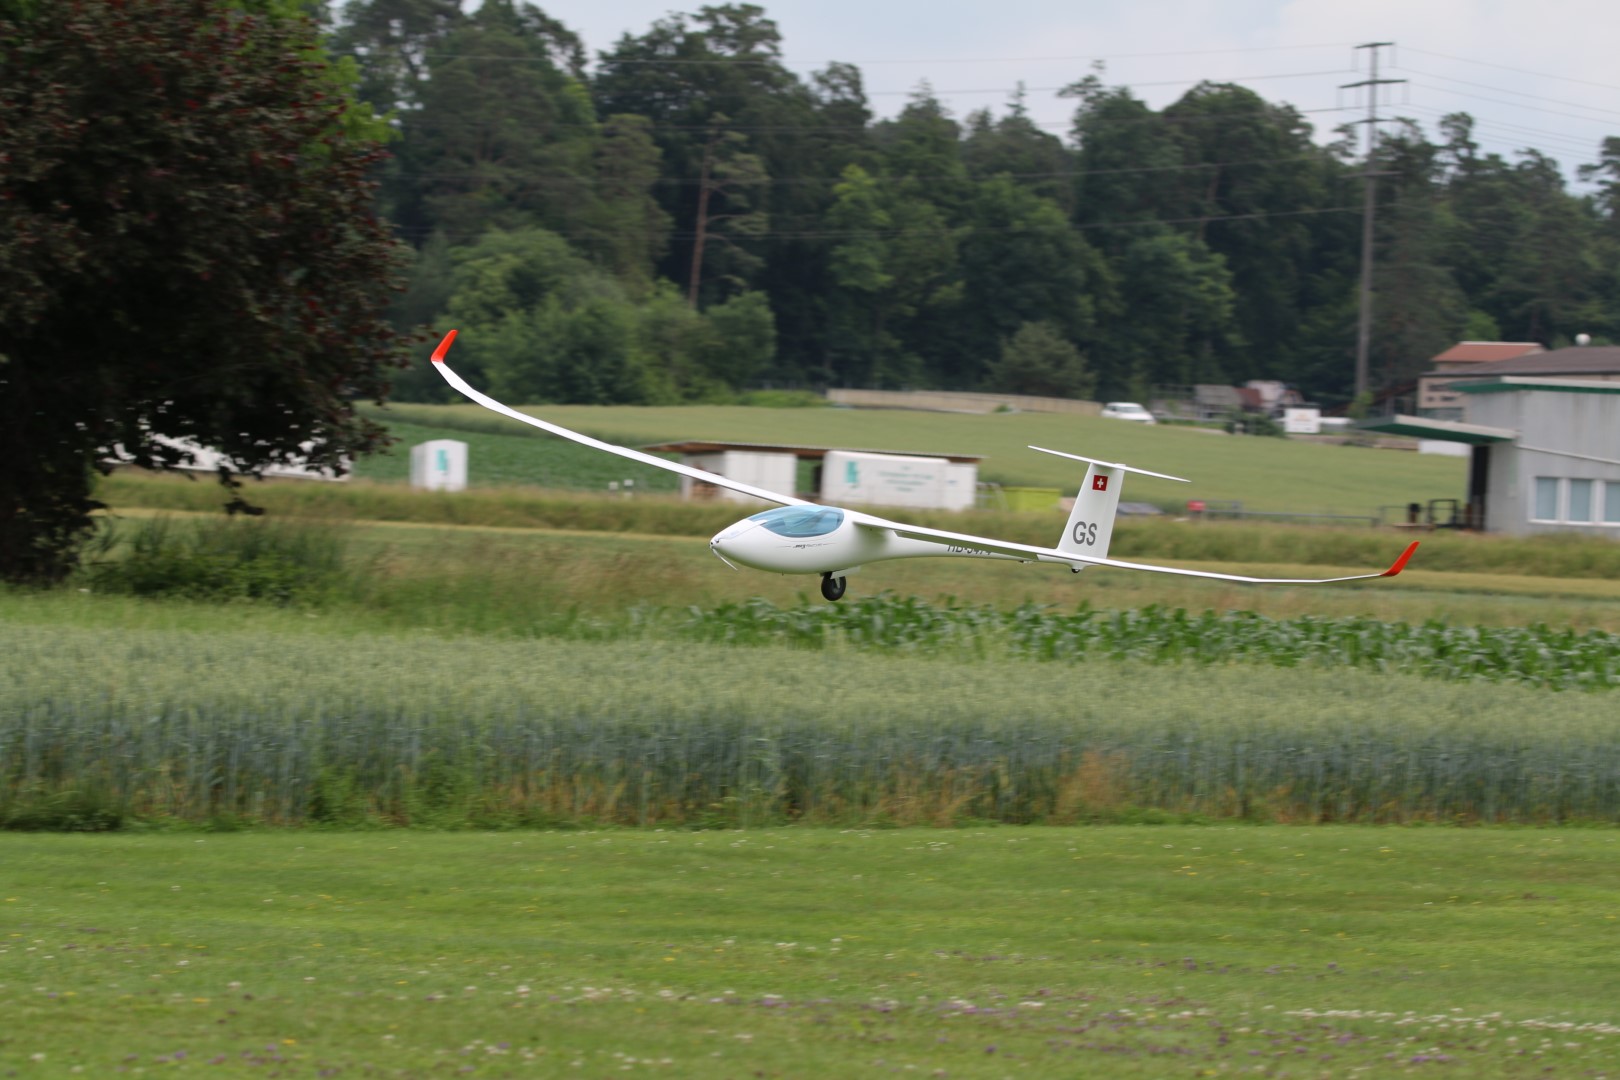
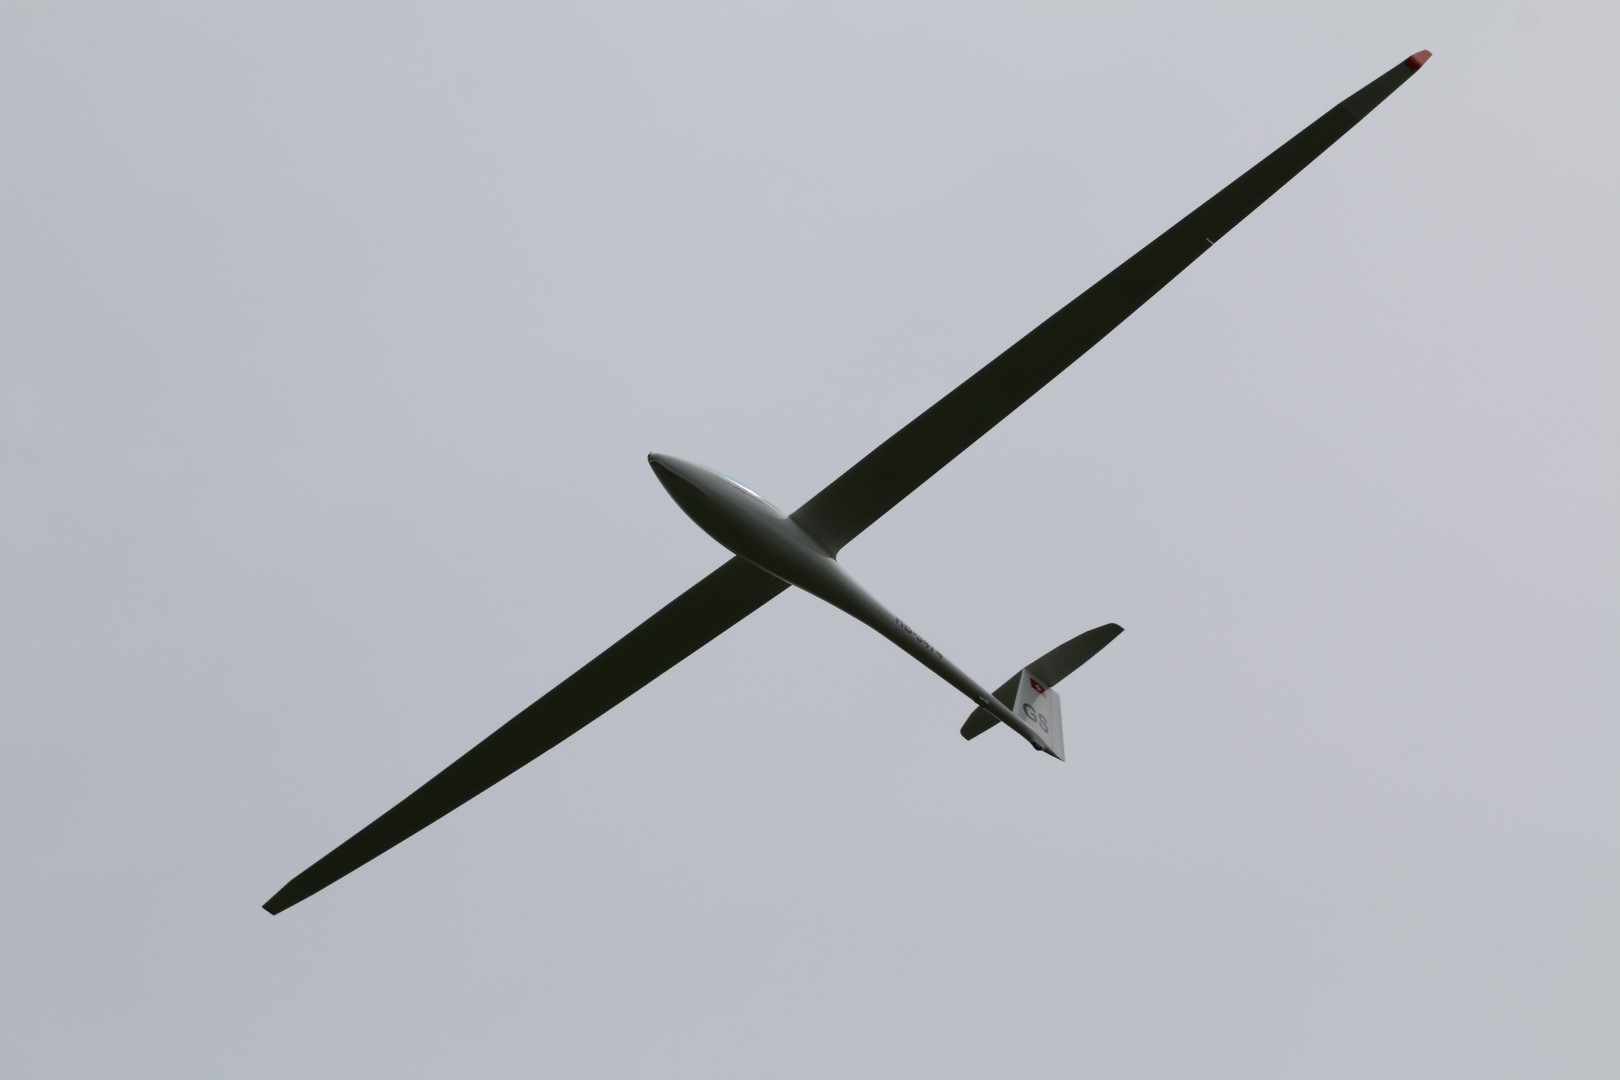
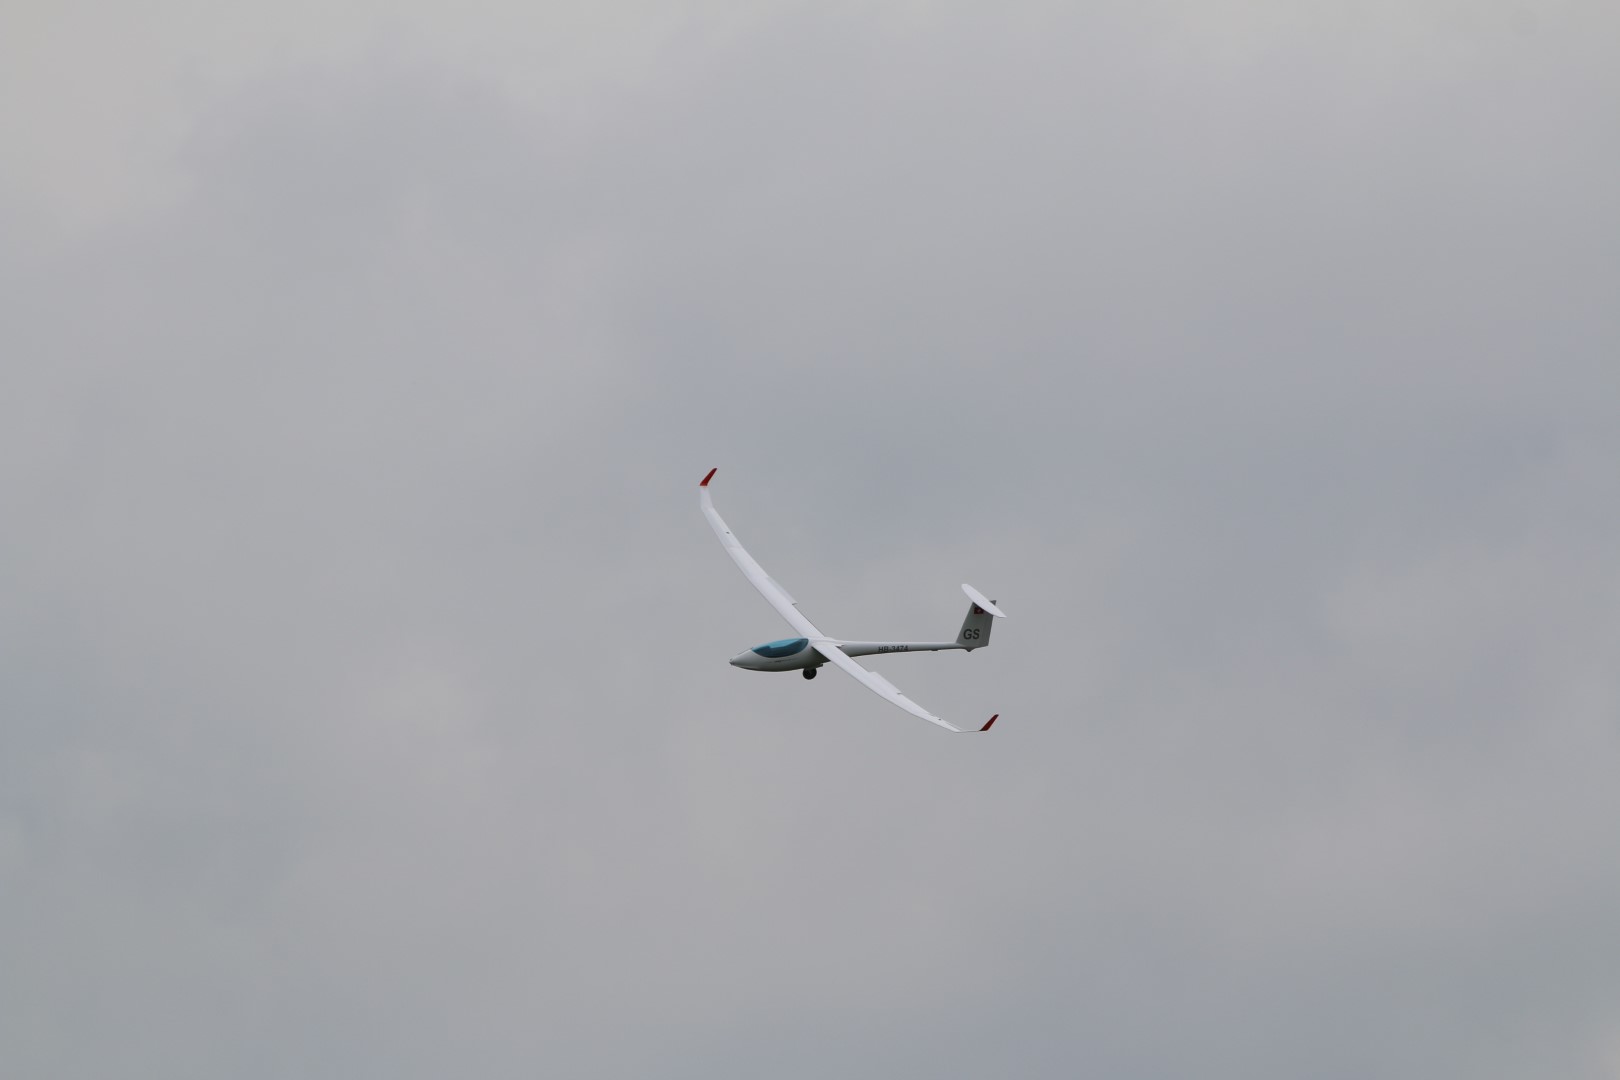
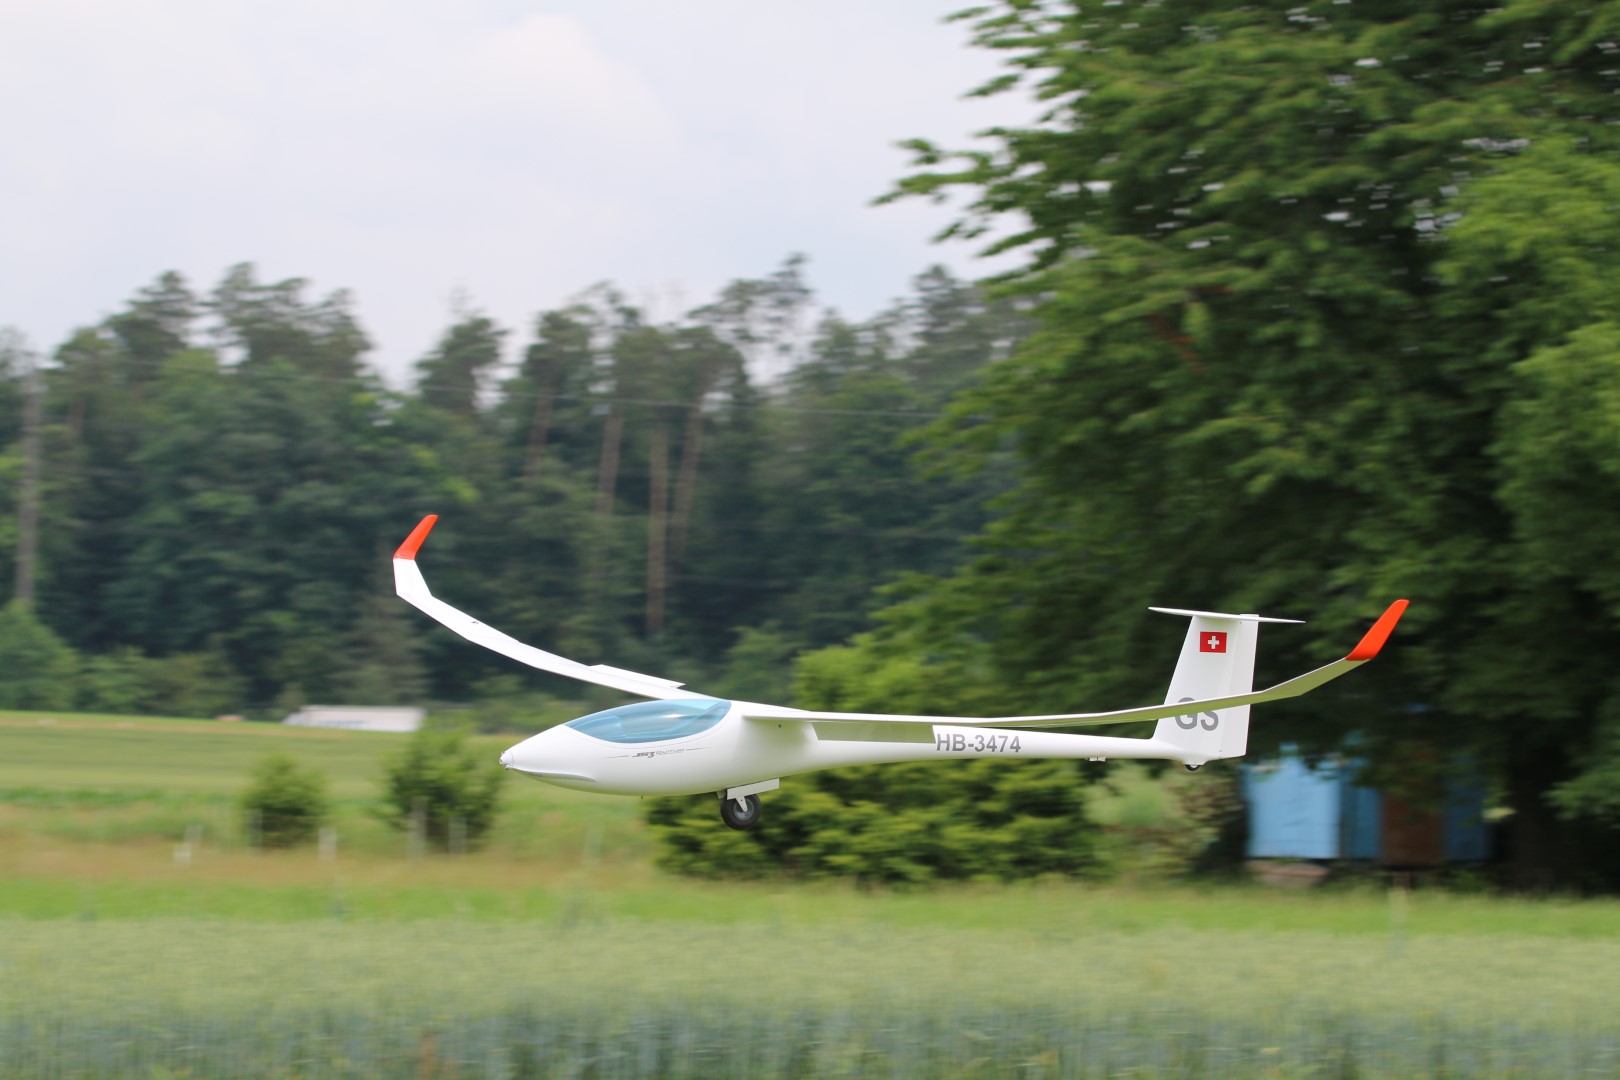
Chocofly kindly provided me with a set of moulded JS3 winglets, which fit perfectly, saving me the task of making them myself. Fitting them and fixing the outer wings took a bit more work. Two weeks ago I then also finally managed to get the wings spray painted and today my JS3 happily took to the skies again, flying as good as ever. I love this plane.


JS3 – and then there were three!

Today my JS3 had another 2.5 hours of flying in light lift on our local slope. It was also the first time that we had three out of our four JS3 (Georg’s, Richie’s and mine) airborne on our slope at the same time. So much fun. The more I fly my JS3, the more I like it. It’s by far the best plane in light thermals in my scale glider collection. Even in light thermals it picks up every bit of lift. It loves tight curves, adding meter after meter of altitude. Stalling behaviour is excellent, even with large camber and lots of up elevator. It just needs rudder for a nice tight curve, and reacts amazingly well to even the tiniest of outer aileron throws. It’s a dream to fly, so easy, it mostly flies itself, and amazingly responsive. As I’ve only flown the 5.14m (18m) version so far I’ve been taking it easy on the fast flyby’s (the wings are very flexible and I don’t want to risk a flutter), but it does seem to like them too. I’m hearing that the prototype of the commercial version, to be produced by Chocofly, is nearing completion – I’ll report on that one as soon as I get some postable material.


Maiden flight of Andi’s JS3 and Georg’s Urupema

A big congratulations to Andi and Georg! Today Andi had the maiden flight of his JS3, the fourth and last one of the four we built and Georg maidened his Embraer EMB400 Urupema. As the maiden flights were on a different airfield and due to Corona restrictions I was unable to attend (5 persons max and no guests). Andi took some pictures, which you find below. A video of the maiden flight and the slope testing is in the next post. We will maiden further Urupemas in the next few weeks and do some further flights with our JS3.


Maiden flight of my JS3

Almost three years after we kicked off our JS3 project, today my JS3, the third of four that we built, had it’s maiden flight. See some pictures and a short video below.

The first flight went very well, lasting 1.5hrs, and ending up racing GPS triangles together with Georg and his virtually identical JS3 (the first one built, which maidened almost two years ago). Pure bliss. It needs a bit of fine-tuning still, and will take a few more flights to get it perfect. It’s amazing how fast this plane picks up thermals – the best in my scale collection. And it almost flies itself. You park it into a thermal with a bit of rudder and it does all the flying for you. It’s incredibly stable. I’ve only flown the 5.12m (18m) version today, and am very happy with the amount of flex in the wings, which gives it a great “scale” look, “hanging” in the sky.

A small mishap had a good ending: At the end of the 2nd flight I lost my canopy when I was far out at around 100m elevation (note to self: check lock and secure with tape). We saw something drop down from the plane, but couldn’t see what it was. Fortunately my friends watched closely where it landed and we managed to recover it quickly – amazingly without a scratch! Landing without canopy was no problem, which also says a lot about how stable this plane is.

Andi is planning to have the maiden flight of his JS3 in the coming week. I’ll post some further pictures and movies on the JS3 in the future, hopefully also of our four JS3 together.

I do hope however that my next post will be about the maiden flight of our latest project, the Embraer EMB-400 Urupema, with a bit of luck in the next week or two.


Maiden flight of Richie’s JS3

Yesterday Richie’s JS3 had its maiden flight. As he builds all his planes without FES and super light, he went for a hand start on our favourite slope. Today his JS3 was joined by that of Georg. Here are some pictures and a short video that I cobbled together from the last two wonderful days. While the boys were playing with their JS3 I put my Diana2 (yesterday) and my AvantiHawk (today) through their paces. Tomorrow I hope to have the maiden flight of my JS3, more on that later.


JS3 – ready for its maiden flight!

The last bits of getting a model ready always take longer than planned, but my JS3 is ready for its maiden flight! I’m pretty excited about the final weight, around 6.6kgs with the long wings, so it should thermal very well. I still want to add some stripes to the underside of the wings and do some more work on the cockpit interior, but will wait with doing that until after the maiden flight.

We started the project in June 2017 (beginning of this blog) when we first laid out the enlarged plans on the floor of Georg’s workshop, fell in love with the plane and decided to build it, sharing out the work according to availability and skills in our team of four (Georg, Richie, Andi and myself). Georg, our lead designer, maidened his JS3 in spring 2018 (I think it was the first JS3 scale model to fly). Andi’s JS3 was finished a few weeks ago, and Richie is about to finish his. I’m so looking forward to the maiden flight of my JS3, and seeing all four of them in the air together.

This is only my second fully scratch-built plane (not counting the AvantiHawk), and the first one where I’ve been involved in every step of the process. But it was by far the most difficult build so far. The complexity of the wings, two sets of winglets and the exchangeable outer wings were a lot of extra work. My JS3 is far from perfect, there are many mistakes in it that I wouldn’t make again, but I’m still very happy with the final result. Having seen how Georg’s JS3 flies, I know all the work will be worth it.


JS3 – seals and installing servos in the wings

In between the work on our Urupema project I’ve been putting the finishing touches to the wings of my JS3. The seals on the control surfaces came out well in the 2nd try (messed up the first try and had to start again). All servos have now been installed, using the IDS system from Servorahmen.de. I still need to do some soldering and then prepare the covers. The JS3 should be ready to maiden soon…..


JS3 Fuselage almost done

Bad weather means workshop time. The JS3 fuselage is as good as done, all servos installed, wiring ready, decals done. I’ll be using the Dualsky Gemini 3018 for the first time, curious to see how it will work.

Next step is the seal at the top of the wing control surfaces (resin with micro balloons) and installing the wing servos. Still a lot of work, but it’s nice to see the work entering the final phase.


And then there’s still my JS3

Work on our JS3s is still ongoing. Andi finished his JS3 a few weeks ago (top picture), and we hope to maiden it soon. Richie and I are still working on ours. This week I finished polishing the fuselage and wings, cut the wing surfaces, set the silicon hinges and have started installing the electronics in the fuselage. Still a lot of work to do, but I’m slowly getting there.


JS3 off to the Paint shop

On Friday I finished all the sanding and put the plane together for a final check. It’s now ready to go to the paint shop (the elevator is already there). It’s such an awesome looking plane, I can hardly wait to fly this one! The pictures below show both the 18m and the 15m version (we did two sets of outer wings). Unfortunately it will take a while to get it painted as the paint shop we use is pretty busy. I do however have two other projects to work on during the wait. More on that later….


JS3 Winglets and Canopy

While the AvantiHawk (Duckhawk) is still waiting at the paintshop, I’ve picked up work on the JS3 again. The winglets were a lot more work than expected. The crude mould we used to shape carbon around a foam core proved a bit too rudimentary. The result needed a LOT of work (filler, sanding, repeat….), but I’m now almost there. I’ve also finished the canopy frame, and cut the canopy glass to shape. All that’s left is a final sanding of the winglets and fixing the canopy glass to the frame. Then the fuselage needs a final sanding and a bit of filler to cover up the seam where the two halves of the fuselage were joined, and then it’s also off to the paintshop.


JS3 Winglets….

Ok, we now officially decided that the JS3 is the most difficult build we’ve taken on so far. We’ve spent quite a bit of time cutting and rejoining the wings to that they get their nice multiple V shape. Now we’re working on the winglets. As we are building both the 15 and 18m versions, we actually need two pairs of winglets for each plane (they’re fitted to the wing at a different angle for each version…). Georg kindly prepared two simple moulds that he used to construct his winglets. The core of each winglet is foam, cut with a hot wire, then covered with carbon. After fitting them to the wings and sanding we add a layer of glass, then primer, sanding again, and finishing off with spray painting. But first we need to produce four pairs of these.


Back to work on the JS3…

We’ve had quite an amazing summer, with fantastic weather, and many days spent flying on our airfield and slopesoaring in the mountains. The great weather also meant that I spent very little time in my workshop, and the time I did spend there was mostly to maintain my planes. In addition I also worked on two other builds: a prototype of the Chocofly 2.8m Taranis with outrunner, and a Wistmodel SZD54. The Taranis was maidened a few weeks ago and is by far the fastest glider I’ve ever flown. More about that later. The SZD54 is still under construction and should be finished in the next few weeks – if we get a few rainy days.

All of this also means that Andi and I had little time to work on our JS3. Last week we started working on our JS3s again. We intend to finish them this coming winter and maiden them early next year. Last week we finished fitted the wings to our JS3 and this week we finished covering them in glass. Next week we will paint the wings with filler and sand them to the final shape.

In the meanwhile Georg’s JS3, the first one built under our project, has spent well over 50 hours airborne. The more he flies it, the more we’re impressed. The performance of the 5.14m (18m) version also in weak thermals is unequalled by any scale glider I know. Last week I flew both my 1:3.5 Diana2 and my 1:3.5 SB-14 in weak thermals and had to land after 45mins at most. Georg spent well over two and a half hours airborne, picking up the slightest of thermals on our airfield. The 4.28m (15m) version has also been put through its paces on the slope. It’s fast and agile and as good as, if not better, than our Diana2 (the verdict is still out on that :-). Georg is still tweaking the plane’s settings and programming, and the performance continues to improve almost every time he flies it. I’m so much looking forward to flying mine early next year!

Here’s a short video of Georg’s JS3 shot last week of a flyby in weak thermals.


JS3 Slope Tested

We spent a week flying at the Hahnenmoospass (near Adelboden, Switzerland) where we also slope-tested Georg’s new JS3. He flew both the 5.14m (18m) and the 4.28m (15m) versions. Both versions performed very well. As expected, the 18m version thermals very well and is very stable, whereas the 15m version is more agile and faster. As Georg continues to fine-tune the plane’s center of gravity and longitudinal dihedral the plane’s characteristics continue to improve. It’s a beauty to see and fly. Check out the video of the first slope start. One of the best flights was when Richie was piloting his scratch-built 1:3.5 JS1, the 21m version, together with Georg’s JS3 in its 18m version. Great to see the two planes with their characteristic wing shapes thermal together.

During the last flight the JS3 was involved in an unfortunate mid-air collision. Fortunately the JS3 survived without major damage, just a few paint scratches and bruises along the entire right side of the fuselage. With a bit of polishing and new decals the damage should be hardly visible. The other plane, an old Alpina, whose pilot caused the crash through a thoughtless maneuver that caused it to crash into the JS3 from below, suffered major damage.

Check out some of the photos below, including a group picture with my scratch-built Diana1.


YES! The first JS3 maidened today!!!

On 29 June 2017 I had the JS3 plans enlarged and Georg and I first laid them out in his workshop. Seeing the plans at the scale that we intended to build the plane (1:3.5) we needed little convincing that we were going to build this beauty. This morning, a bit over 11 months later, we maidened the first JS3 in our team. Georg, our master designer/builder, has been working very hard in the last few weeks to finalise his JS3 so that we could maiden it this week still. The plane is not quite ready yet – he still needs to finish putting on the decals and finalise the cockpit interior, but we did not want to miss the opportunity to have the majority of our team and our excellent tow pilot and team member Andi together for the first maiden.

Georg flew both the 15m (4.28m) and 18m (5.14m) versions. The 18m version has eight wing control surfaces, the 15m version has six. We expect to use the 15m version mainly for slope soaring, and the 18m version for flying on our club’s airfield. Both versions performed very well. As expected, the 18m version is amazing in thermals, whereas the 15m version is a bit more agile and faster. Georg will be finetuning the setting of the plane over the next few weeks, but on the basis of the three flight today it is clear that this is an amazing glider.

Note: larger versions of the pictures below can be obtained through clicking on them or in the gallery section


The small details…

The small details really make the plane. I’ve been spending quite a bit of time to get the decals just right. Richie in the meanwhile has done a great job supplying us with the seat inlays and the headrests. He even stitched the JS logo into the headrest, for which he first made a form out of metal and then spent an evening stitching the four headrests by hand. The result looks pretty cool…


Not long to our first JS3 maiden flight?

While Andi, Richie and myself are still far away from maidening our JS3, Georg, our chief designer, is racing ahead and not far from maidening the first JS3 in our team. After painting his plane has now been fully sanded and polished to a shine. He’s also cut out all six wing control surfaces and made the silicon hinges, and is now working on installing the wing servos. The below pictures are from the 15m and 18m version of his plane, but without the winglets.


Slowly but surely….

It’s been a while since my last post. As we suddenly had almost a full month of fantastic weather we spent most of our spare time outdoors, rather than in the workshop. But work is progressing slowly but surely. A few rainy days this week meant that my fuselage is now progressing well: canopy lock, retractable gear, gear flaps, rear wheel and elevator servo have been installed. Next up is installing the rudder and finishing the canopy frame. Today Andi and I also spent a few hours sanding the wings, which can now be fitted to the fuselage and then covered in glass. I’ve also spent a lot of time with my new Silhouette Cameo3 Cutter and have been doing decals for my Diana 1, Diana 2 and our JS3. We still have a long way to go, but I’m looking forward to fitting the wings to the fuselage shortly.


Georg’s JS3 painted!

As said before, Georg is way ahead in building his JS3 compared to where Andi, Richie and myself are. He spends much time building moulds and tools that the rest of us then use to build ours. Yesterday Andi spent a good part of his day spray painting Georg’s JS3. Georg went to pick it up at the paintshop this morning and I quickly took some shots when I dropped by his place to pick some stuff up. It’s now starting to look pretty much like the final result – and the picture of the wing below very much looks like the real thing. We’re also very happy with the spinner/propeller combination, which are a perfect fit. Both were custom made for Leomotion.com, who kindly made them available to us. Unfortunately we did not have the time to put the whole plane together in good light for some decent photos. So for now only a few shots in bad lighting, hopefully some better ones soon.

After letting the paint dry out for a few days, the next step is fine sanding and then polishing, to give the plane its shiny surface. Then he can finish installing the electronics in the fuselage, cut out the control surfaces from the wings, make the hinges (silicon) and install the IDS and servos. Still a lot of work to do….


Decals – trial run

Getting the decals for our planes made has always been a very tedious job. We either spent a lot of money having them produced commercially or had to beg friends with access to vinyl cutters to make them for us. As the newcomer in the team, and somebody who loves to play with computers, I decided to bite the bullet and bought a vinyl cutter myself. It’s a Silhouette Cameo 3. Not only is it good value for money, but it has excellent and very easy to use software.

I’ve started preparations for the decals for the JS3, which are going to be challenging. As a trial run, I redid the decals on a 14-year old Diana 1 (1:3.4, 4.28m) glider that I took over from Richie. Even though the Diana1 is 14 years old, it was one of the first planes built using the same techniques that we are now using for the JS3. With only 5.3kg it’s a light weight, excellent for more difficult conditions. I maidened it last week, after giving it a full refit of its electronics (and new decals!). Below some pictures of the old decals, done 14 years ago, and the new ones done on the Silhouette Cameo 3. I’m very pleased with the result. I’m even more pleased with my refurbished Diana1, which now looks like new and flies like a dream!

Oh, and I couldn’t resist adding two pictures of my new Diana1 and myself on the slope last week….