Practicing fuselage building

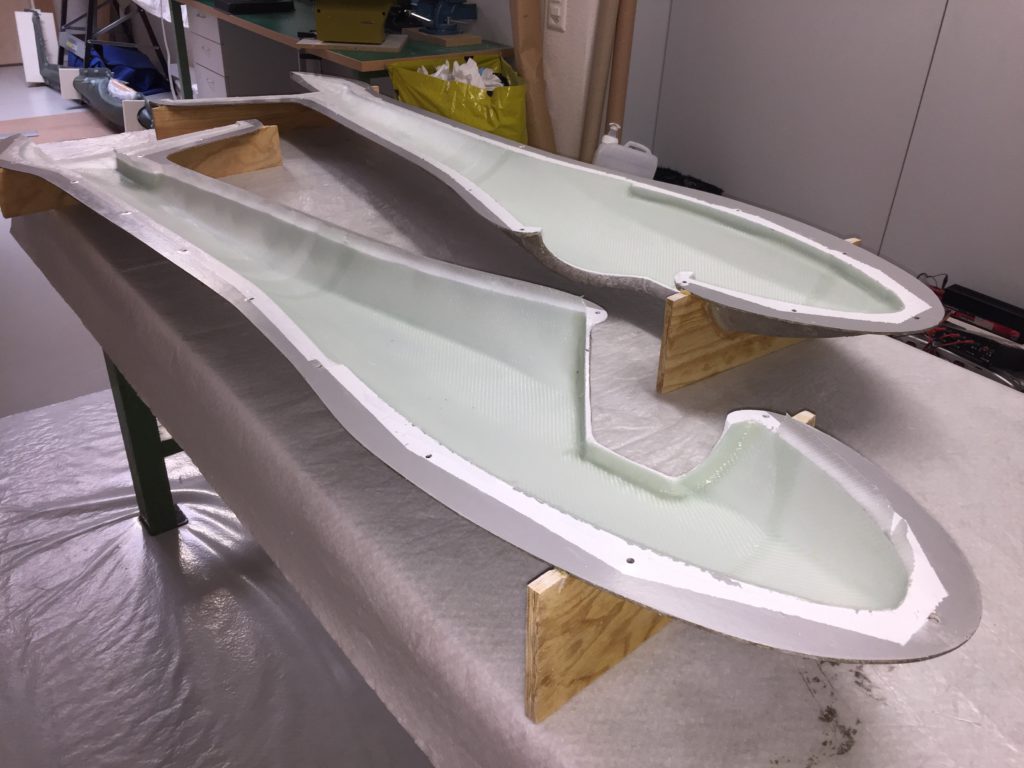
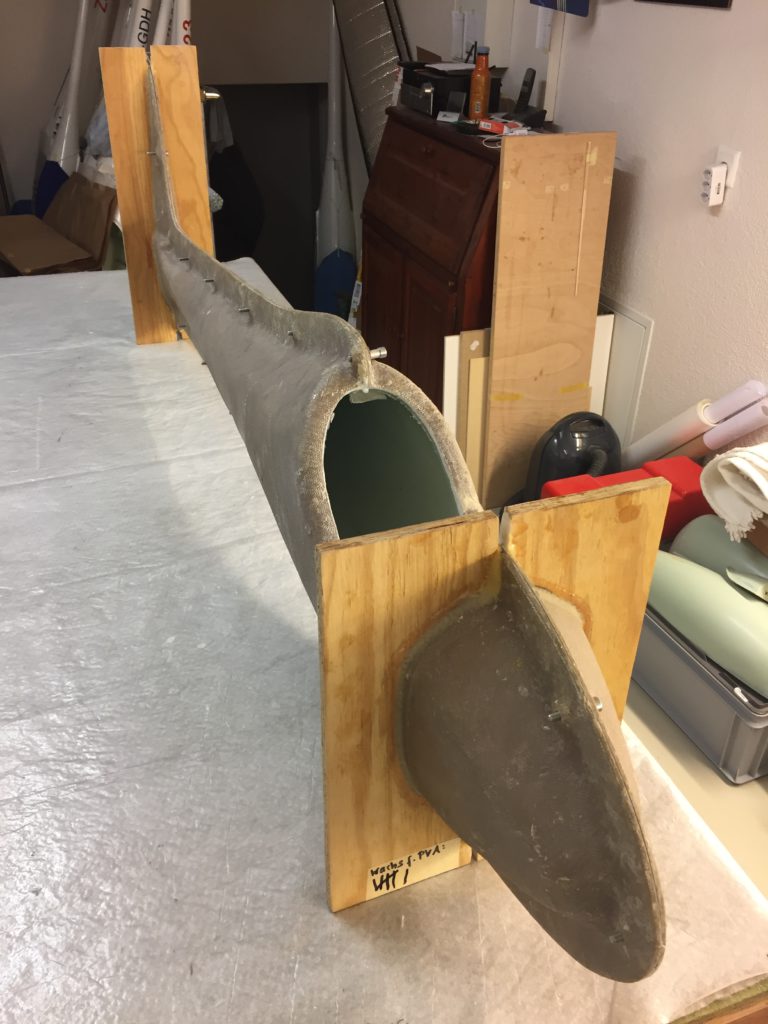
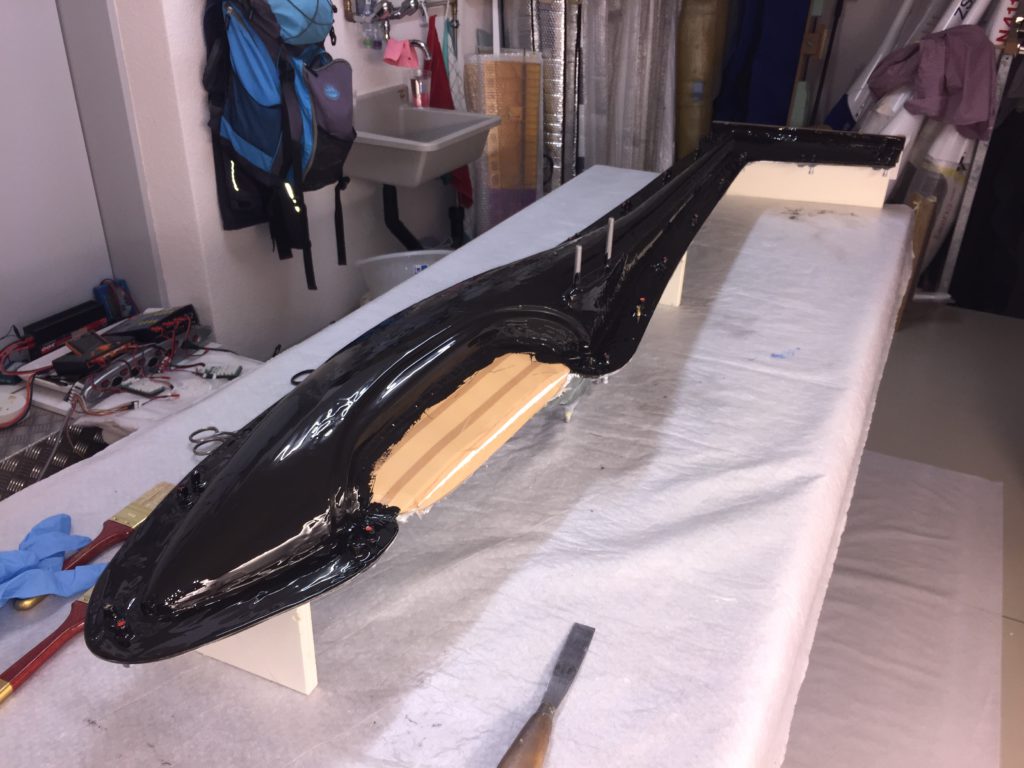
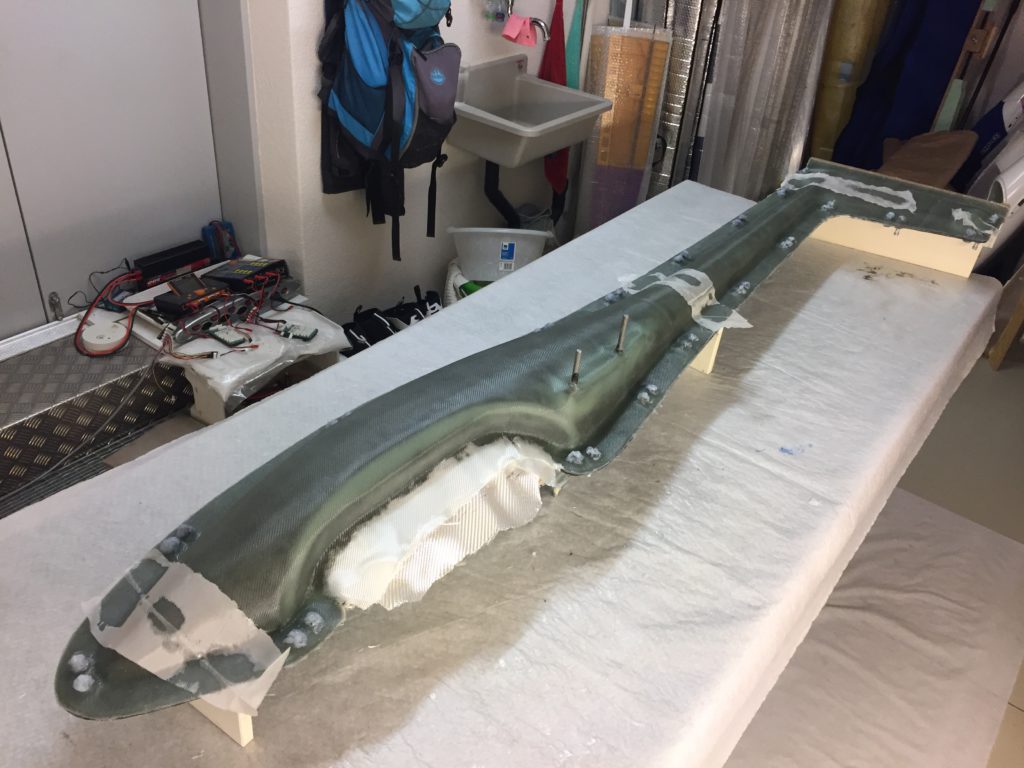
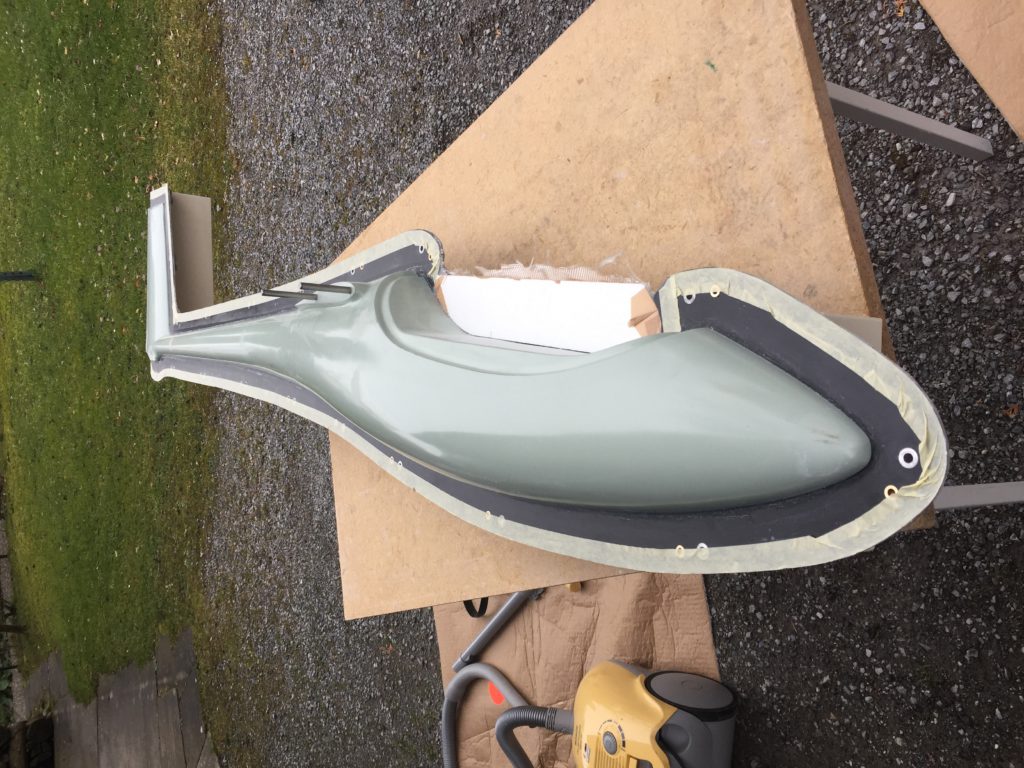
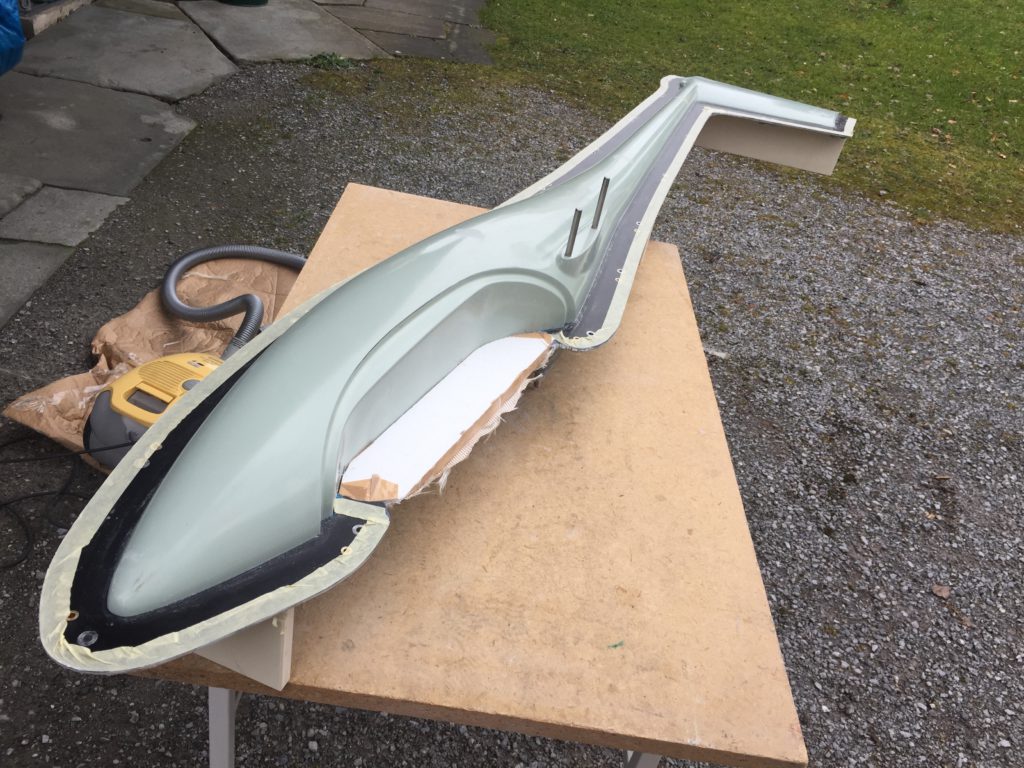
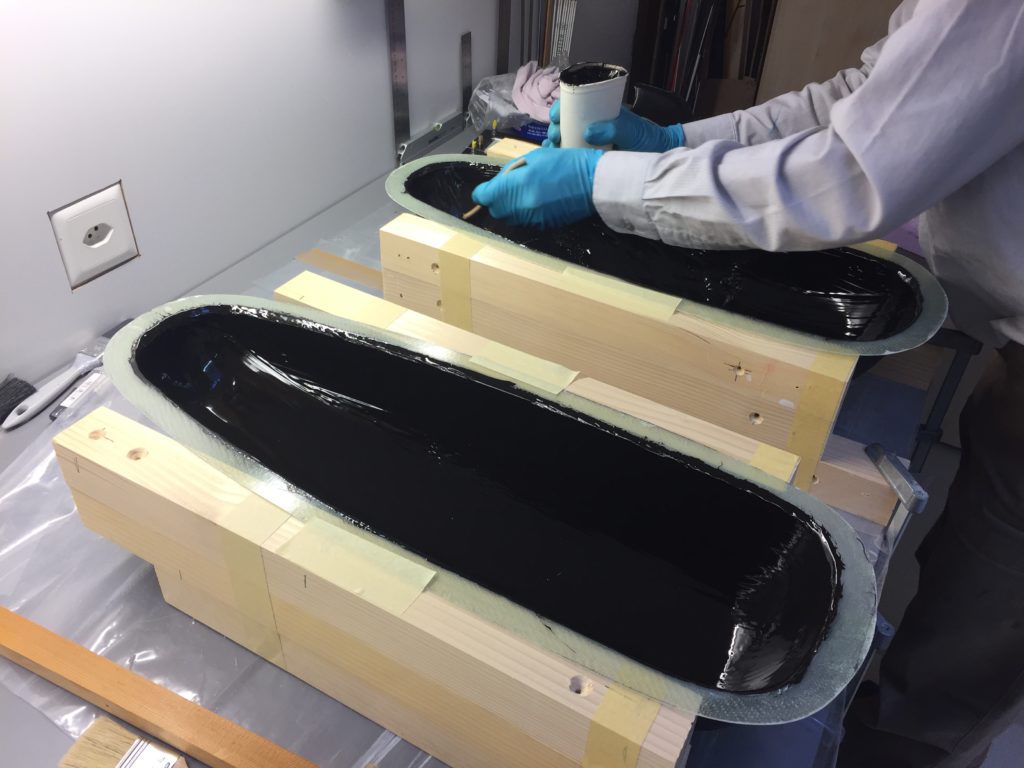
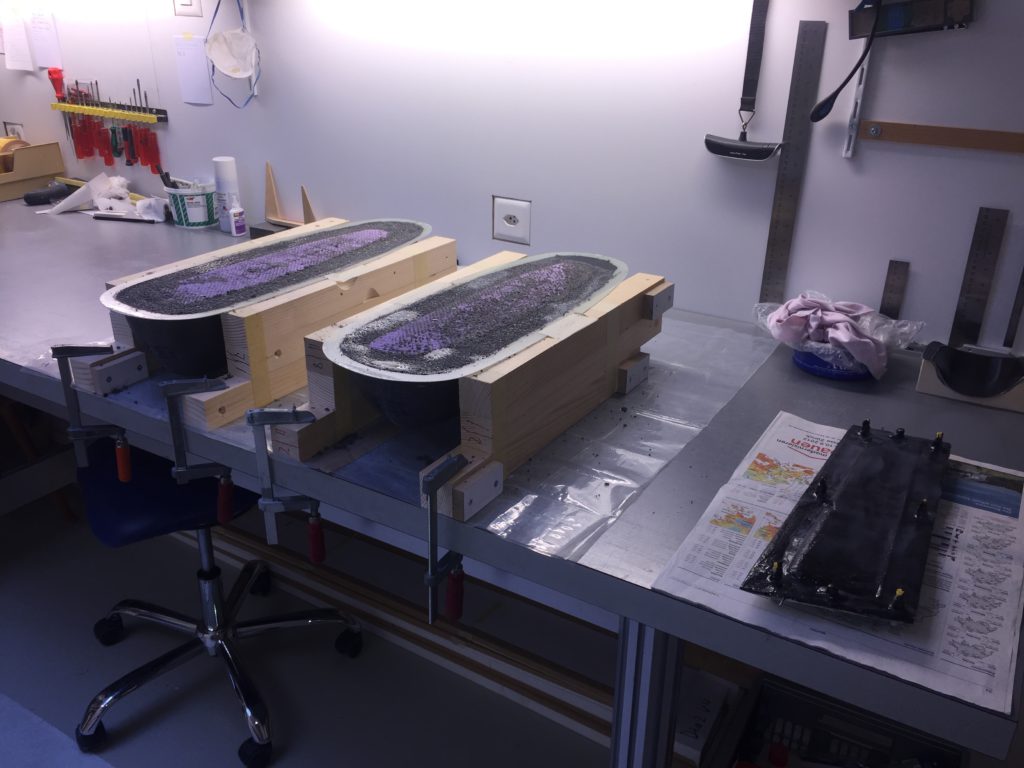
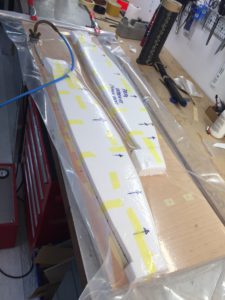
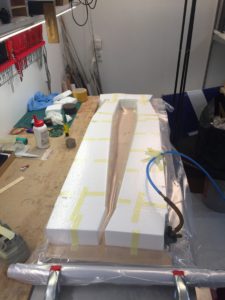
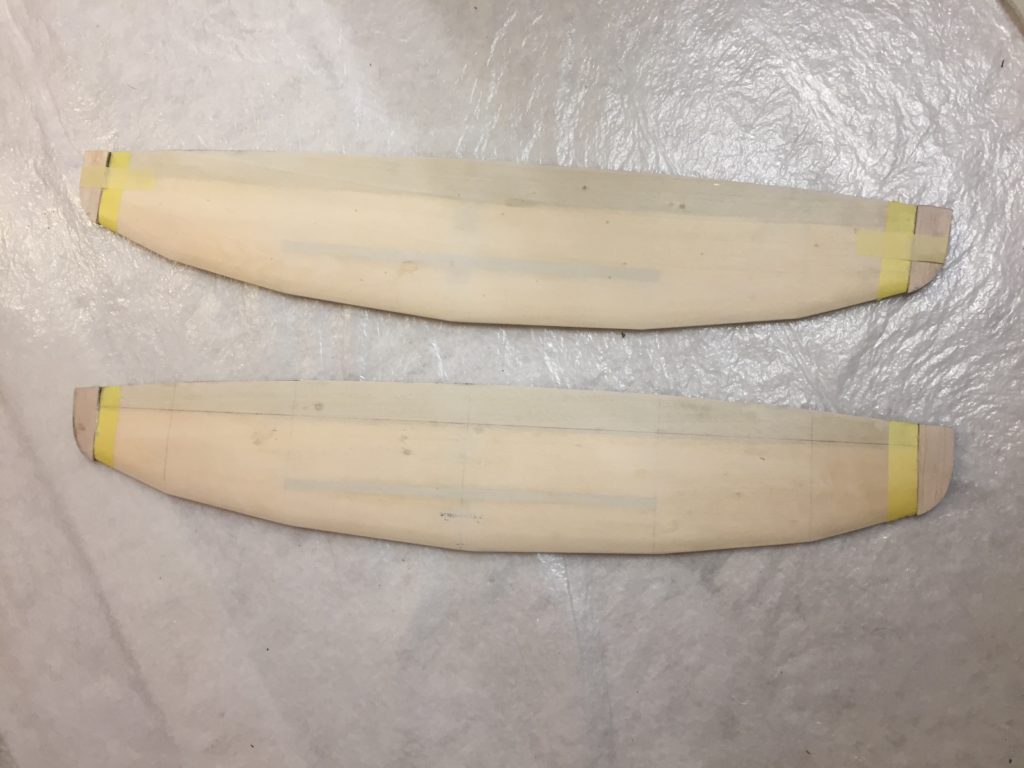
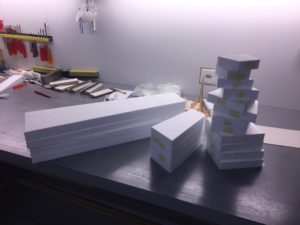
We’ll need to produce four JS3 fuselages over the next few months. To make sure that we get these right we decided to do two practice runs, using the almost 40 years old moulds of the Moswey III classic Swiss glider. Georg built the first model of this glider in the late 1970s/early 1980s and still flies it at least once a year. It’s a must in every Swiss RC Glider pilot’s hangar. Georg and I still have a set of ribs for the wings, elevator and rudder of the excellent Frank Albrecht kit, so we decided to make two more fuselages out of the old moulds to enable each of us to build a Moswey III. Andi, the master painter in our JS3 team, kindly spray painted the moulds. This will enable us to build the fuselages as light as possible as only a thin layer of paint will be needed to finish the fuselages once they come out of the mould. Yesterday we built the first of our two fuselages, learning a lot in the process. Curious to see how it will come out of the moulds in a few days’ time.


First half of the Fuselage Mould ready

Today we removed the board on which we built the first half of the fuselage mould. It separated well, and the mould looks very good. Now we will need a couple of days to add a few layers of wax to the other half of the fuselage. Hopefully we can build the second half of the mould at the end of the coming week. While applying the wax (and waiting for it to dry out) we will practice a slightly different technique to build a glider fuselage on an almost 40-year old mould from a true Swiss classic glider that two of us are building at the same time. More on that shortly.


Designing the instrument panel and decals

A scratch-built scale glider needs an instrument panel and the right decals (and a T-shirt!). While waiting for the first half of the mould to dry I drafted these on the computer, now ready to send off to a contact who will print the decals for the plane. The instrument panel we will make ourselves (instruments printed and covered in plastic behind a grey board, with small screws and scale switches to be bought).

The first picture is the cockpit layout example that I used to design our cockpit. I’ve taken some liberties with the GPS map and unfortunately the indications on the instruments don’t match, but at the small size they’re inserted in to the cockpit that won’t matter so much…


Fuselage Mould – first half

One of the biggest and most time consuming tasks: the fuselage moulds. Richie finished the foam fuselage shape, a true work of art, and delivered it with the board to place it in, so that Georg and I could start producing the mould. Nine layers of glass of different thickness and almost 8 hours of work later the result looks good. Now we will need to wait a few days for the resin to dry out. Crossing our fingers that it will look good, and that the board will separate without any major problems…


Rudder Mould

We had the option of producing the rudder the same way we produce our wings and elevator, or to make a mould. We decided on the latter, which allows us to make the rudder lighter. Richie shaped the rudder while he was shaping the fuselage, and we produced the mould while we were doing the cabin moulds. The mould is now ready, waiting to be spray painted with a gelcoat so that we can start producing the first rudder.


Canopy mould

Unfortunately none of the canopies from our existing gliders fit the JS3. That means making a new mould. Richie made a foam shape while he was shaping the fuselage. Then we made a fiberglass mould of that shape. In that fiberglass mould we then produced the “stamp”, which will be used for the canopy production. Unfortunately we cannot make these transparent canopies ourselves but we have a good address in Germany that does this for us. The stamp has been shipped off. We ordered some transparent and some tinted (light blue) ones. Curious to see how these come out.


Wing joiners

We build our own wing joiners, from carbon rovings. The main wing joiner was built last year (I did a whole bunch in series over a couple of months). As we will have exchangeable outer wing sections we also needed smaller wing joiners for that part of the wing. The 15m (4.28m) version will have one with a 5 degree angle, the 18m (5.14m) version with a 2 degree angle. The moulds for the wing joiners were made by hand, and are precise enough for our purposes.

We form a kevlar sleeve around the main wing joiner. This sleeve will be built into the main wing.


Cutting wing and elevator cores

We build our wings and elevator around a foam core, covered with wood and then glass, before spray painting them. The wing spars are in carbon, and we install a carbon d-box. We’ve built a large number of gliders this way already, it ensures they’re very robust and light (we expect the 5.14m JS3 to be around 6kgs).

Foam cores means cutting the foam first. Again, we do this the old way, by hand…. Quite a bit of work to do 4 gliders with exchangeable outer wings, and a nice pile of foam as a result. Unfortunately I didn’t get a photo of all the foam as we distributed it among the team to avoid the pileup in the workshop….


Planning the wings

Georg is our master wing planner and was responsible for the design of our earlier projects. We have chosen the MH32 profile, with 6 rudders on the 15m (4.28m) version and 8 on the 18m (5.14m) version. The outer wing sections will be exchangeable, so we can fly both version. The elevator will be slightly larger than scale, but smaller than our scratch-built JS1. Again, most work done by hand (but using software for the profile design).


Shaping the Fuselage

As we don’t have access to computer-controlled CNC equipment, and we have one of the best shapers I’ve seen in our team (Richie!) the shaping of the fuselage was done all by hand. A lot of work, but the result is amazing… (and there’s a glimpse of our next project in here as well….:-)


The plans…

In June 2017 we kicked off the project by getting the plans printed in scale 1:3.5, and comparing them with Georg’s scratch built JS1 (same scale – 1:3.5). Interesting to see the differences – much narrower fuse, higher wing position, but wings and elevator are very similar (Georg’s JS1 elevator was enlarged).


Start of the JS3 project!

We’re four passionate RC glider pilots (Andi, Georg, Richie and Jürgen) and love to build our own gliders from scratch.

In Summer 2017 we decided on our project for the coming winter (2017-2018): a Jonker Sailplanes JS3 Rapture, in scale 1:3.5. We decided to build both the 15m (4.28m) and the 18m (5.14m) version, with exchangeable outer wings. Expected weight is around 6kgs, including electronics.

We will be building four JS3 in parallel. Three of us will install an electric motor (without it, it’s impossible to fly on our club’s airfield). Richie, who is with another club, will build his without.

Basis of the project is a small drawing of the glider obtained from Jonker Sailplanes. Some of us have already done a 1:3.5 and a 1:2.5 scale version of the JS1. It’s an amazing plane (see some videos on my Vimeo channel!), and we hope that the JS3 will be even better. Looking forward to this build, and even more to flying it!