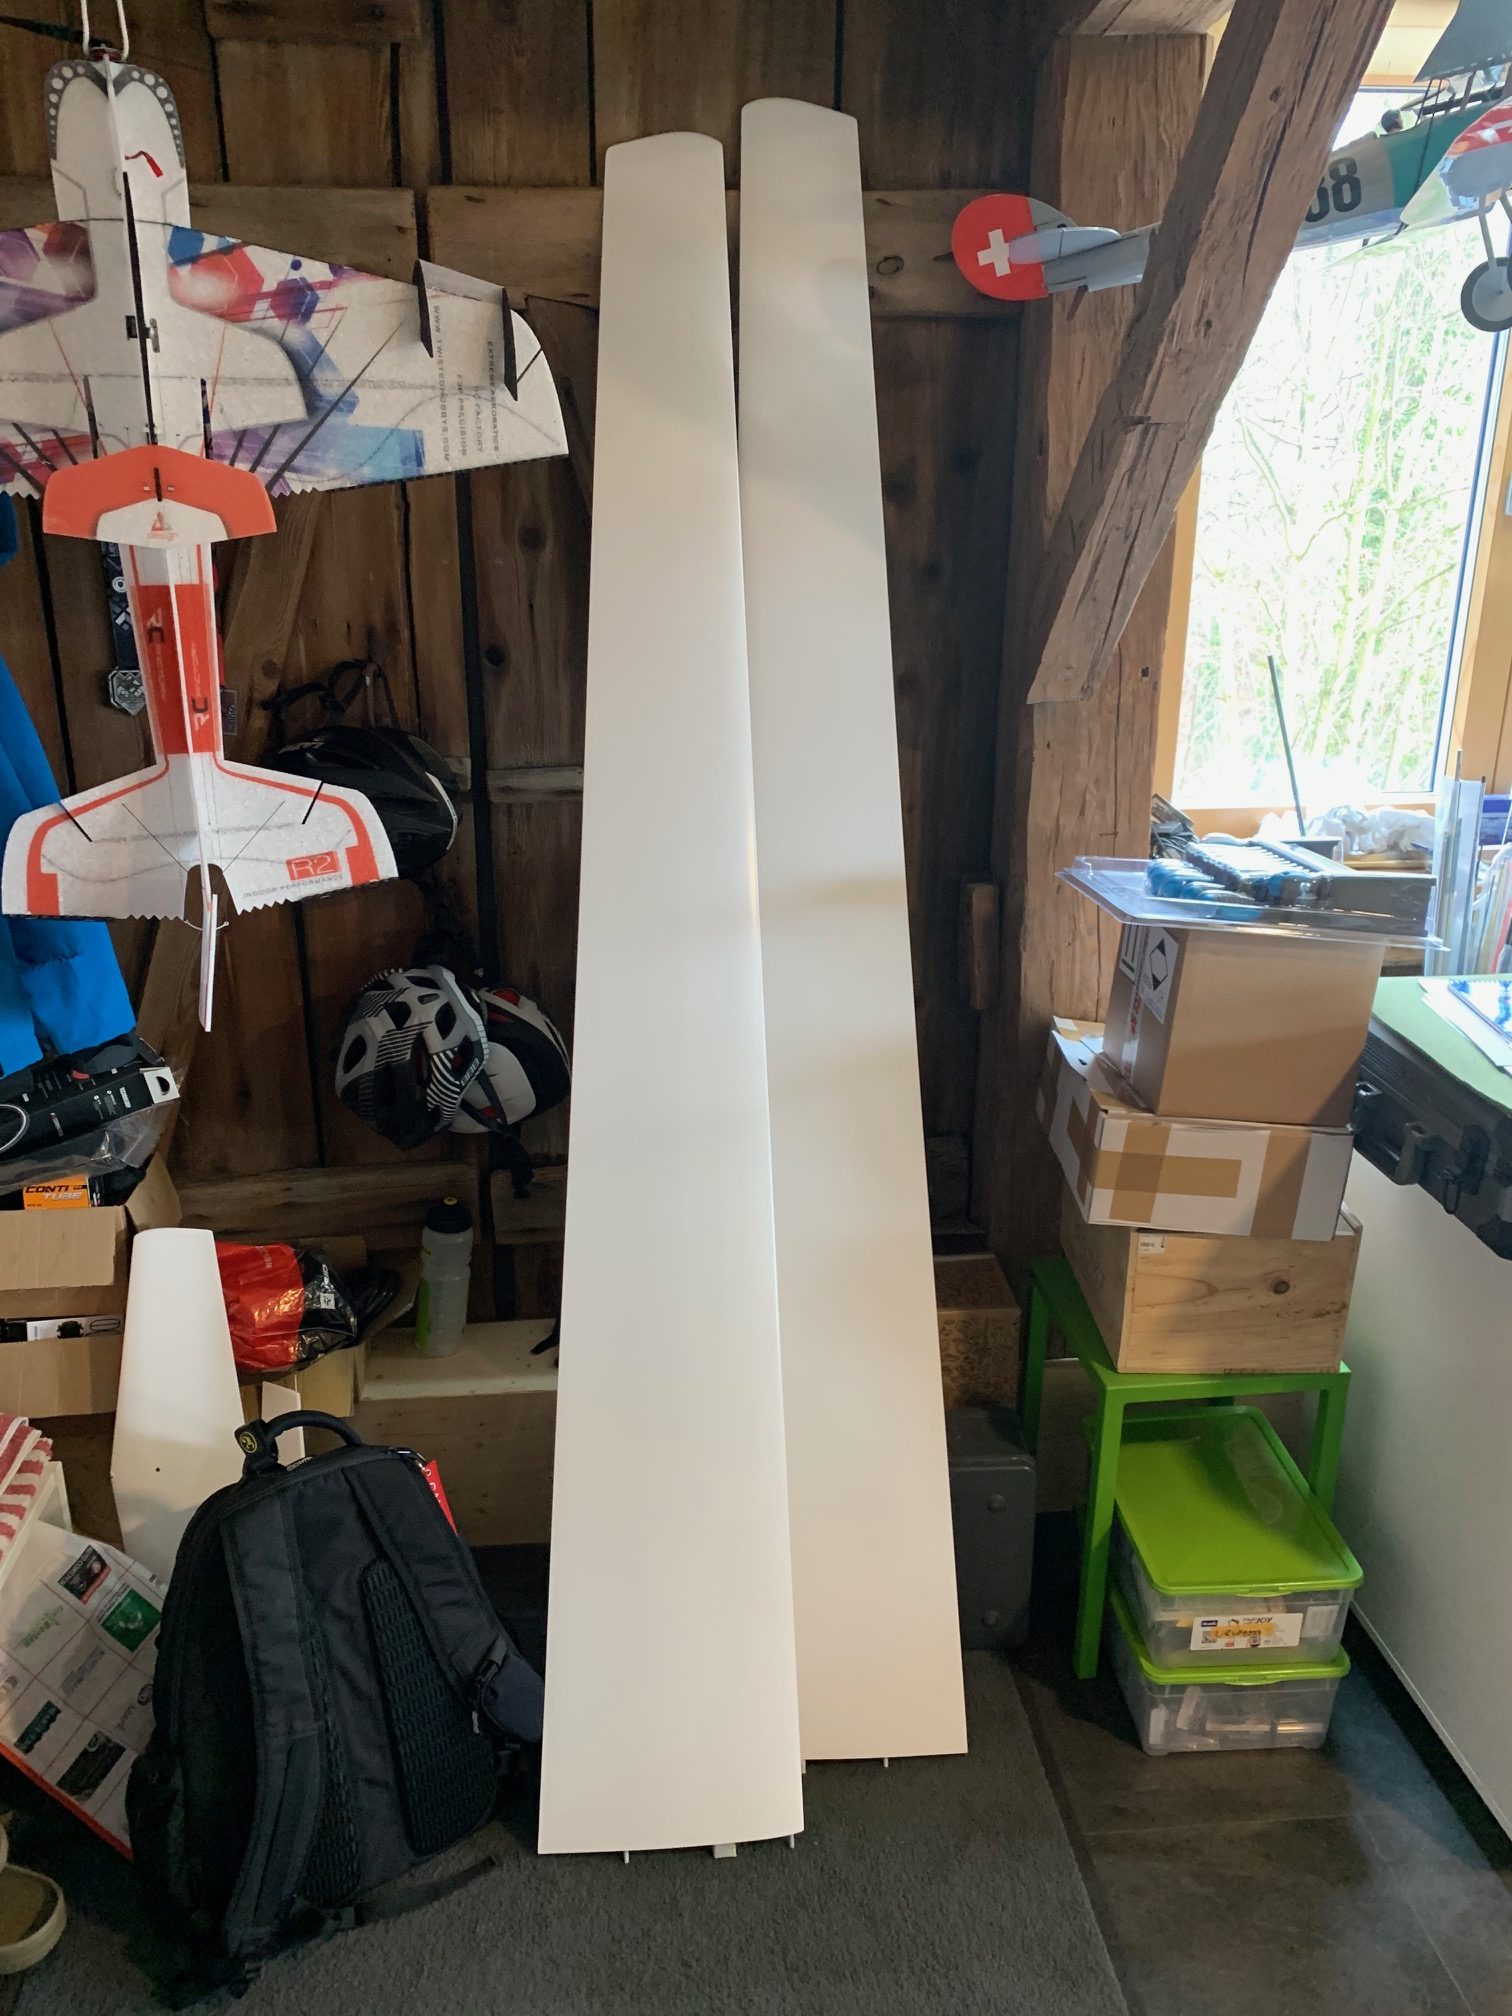
EB29-R

Richie Oberholzer is one of the key members in our building team. He’s built the fuselage plugs for all our recent projects, but also regularly has his own unique projects – all of them scratch-built. One of his latest ones is his 8m wingspan EB29-R, which he’s been working on along other projects in the last few years, and which he maidened on 1 April 2021. On his request I put together a couple of videos and pictures of this absolutely amazing project. They can be found on this separate page.


VT-16 Orlik: Fuselage Mould (2)

The fuselage mould is ready, as is the stamp for the canopy. Both came out very well – no air pockets or broken edges on the mould. Both the mould and the stamp are now polished. The canopy stamp is sent off to a friend who will produce the canopies for us. Our paintmaster Andi yesterday spray painted the fuselage mould with white 2K paint. Tomorrow we hope to build the first fuselage – I cannot imagine a better christmas present :-).


In the meanwhile: repairs (Inside F5J)

Unfortunately I had some mishaps during the past flying season, but the grey months of winter are a good time to fix the damages.

My Inside F5J (sold by Hoellein) is my most-flown plane during our club’s Hahnenmoos excursions – the reason is that I fly it in early mornings and late afternoon/evenings, when conditions are suboptimal for flying the bigger stuff. We often practice formation flying or fly far out to find the smallest bits of thermals. Unfortunately this also results in the occasional mishaps. During our club’s Hahnenmoos excursion in June my Inside F5J suffered a mid-air collision. The left wing was “impaled” by a full-carbon F5J glider coming from behind. This resulted in the left outer wing being ripped off in-flight and my poor Inside crashing to the ground from an altitude of almost 200m. Fortunately it weighs less than a kilo and I had the wits to engage what was left of the airbrakes, so the damage of the impact was not too bad. The left outer wing was beyond repair and most other parts suffered a bit of damage. Nothing that a few days of work couldn’t fix though. Most work was stripping the light-weight foil from the wings and covering them anew. Already in summer I bought a second Inside F5J kit, from which I took the parts to build a new left outer wing. Unfortunately I ordered the wrong foil (non-transparent), and only noticed this when I started covering the Inside again yesterday. I decided to use it anyway rather than buy new foil. My Inside will not win any beauty contests, but it’s fully functional again and looking forward to many more hours of relaxed flying.


VT-16 Orlik: Fuselage Mould (1)

Time to start work on the fuselage mould. Our shaper Richie kindly also prepared the separation plane (Trennebene). Getting it to fit exactly around the fuselage mould was a full morning of work still. After that the fuselage mould was centered exactly into the separation plane (a laser really helps with that), and the space between the plug and plane filled with paste. Georg then spent a few hours waxing both the plug and the plane. On Tuesday we then built the first half of the fuselage mould. First a coat of moulding resin, reinforced with a few glass fibers. Then several layers of glass. Since we will only be building three or four fuselages out of this mould, we’re not overdoing it on the amount of glass (160-280-280-280-160, with two extra layers of 280 aroung the edges).

At the same time we also build the stamp for the canopy. A plug was prepared by our shaper Richie. Georg made a glass mould around that plug. We then coated the mould with a few layers of moulding resin, and then filled it with a mixture of ground shells (used for bird cages 🙂 ) and resin, as well as a piece of foam in the middle.

While the resin on the mould and stamp is curing, Georg will add the feet to the first half of the mould.


VT16 – Orlik: Logo and Decals

I’ve yet to decide what “nationality” I will be giving my Orlik – I’m hesitating between a Swiss or a Czech registration number. In any case, it will definitely need the nice Orlik logo on the nose. I’ve found many different versions of the logo on pictures on the web. Here is the result of scanning and editing the logo from what I think was the nices version, using the excellent Silhouette Studio software. Click on the picture for a PDF version, should somebody need this.


VT-16 Orlik – the wings

While our shaper Richie was busy finishing the fuselage plug, our designer Georg has started work on the wings. The wings will be built using our usual technique: foam core, carbon joiner and main spar, carbon inserts, abachi and glass coverage, before spray painting the entire wing. As we want to go for a light-weight glider, we will be saving on the thickness of the wing joiner (using spare “old” wing joiners that were left over from earlier projects well over a decade ago), as well as on the amount of carbon going into the wing. And of course we’re doing six control surfaces, no airbrakes and a modern thin wing profile.

We’ve spent a few days cutting foam. Georg, the super fast-builder as always, then went full-speed ahead and built his wings in little over a week. They’re ready to go to the paintshop, and weigh little over 800gr each (for a 4.6m wingspan aircraft!). Andi and I hope to start building our wings together next week.


VT-16 Orlik – Fuselage plug is ready!

Our shaper, Richie, finished the plug! I’m always amazed at how he pulls this off, investing many hours of work sanding, covering with glass, filler, sanding etc. The result however looks awesome – as always. Now comes the hard work of making the moulds as well as the stamp for the canopy. Our designer Georg now has the plug and is preparing it so that we can start making the moulds shortly.


VT-16 Orlik: a light-weight “hybrid” – building the elevator

When we started this project we decided that building “scale” was less important than building a performant glider (we build our planes for flying – a lot!). The original VT-16 was built with a combination of ribs and foam, at the time a very modern construction. We decided to take this a bit further and build our Orlik with different techniques, including a modern design high performance wing and going for a very light weight glider. As the fuselage is pretty long and big, with only a short nose, that means we need to save every gramme we can on the tail. Hence the decision to build a light weight Balsa/Carbon/Plywood elevator – not the standard foam core/carbon inserts/glass coverage. Our designer Georg made a pretty nifty combination of those materials, allowing an elevator that’s sufficiently robust, but should be around 115-120 grammes once finished. Following Georg’s design and example I built mine. It was more work than planned – especially having to cut and saw all pieces by hand – but the result if pretty cool. 107grammes total weight, before covering.

The inner four ribs are plywood. The wing spar and trailing edge have a layer of carbon epoxied in, in addition to balsa and plywood. The hinges are glass fiber, joiners carbon and 2mm steel, the rest is balsa.

Also note that the original Orlik had an all-moving tailplane. We’re not great fans of such tailplanes so decided to go for a standard elevator setup.


Moswey Day at our club!

My new Moswey III has spent many hours airborne over the past few months. It’s become one of my three favourite planes (next to the JS3 and the 4m Diana2). It thermals incredibly well, is a breeze to land, and I just love how you can throw it into a tight curve without having to worry about a stall. It’s wonderful to fly, and worth all the hours and frustration put into building it.

Our club (mg-eh.ch) has always had a special relationship with the Moswey. The plane was developed and built in our region, including just across the lake from our club’s airfield (Horgen). Moreover, the first ever rc-model of the Moswey was built within our club as far back as the 1970s and most of the commercial versions available today (the kit from albmodellbau and the small version from oldgliders, as well as the fully moulded version from Chocofly) are based on the work within our club or have been developed with involvement of members of our club – or both.

Over the past five decades, many Mosweys have been built and flown within our club, but with a few new builds finished or nearly finished, it was high time to organise another Moswey day. On 11 August 2021 we managed to get four of our Mosweys together. All were 4m versions, three self-built from an albmodellbau kit (lovingly called “Zitrönli” (little lemon), “Fröschli” (little frog) and “Schneewittli” (little snowy white), and one fully moulded Moswey 4 from Chocofly. Unfortunately we didn’t have many thermals that day, but the air was quiet and the flying wonderful – we even managed to get a bit of formation flying in. Some pictures of our planes are below. More pictures, including of our Mosweys in flight, can be found on our club’s website: mg-eh.ch/galerie/moswey-fliegen/.


VT-16 Orlik Plug

Our shaper, Richie, has started working on the plug for the VT-16 Orlik. The frames for the fuselage plug are for the first time computer designed and laser-cut – until now we’ve always done this by hand. He’s finished filling the gaps between the frames with foam and done a first rough cut. Now the long and difficult job of sanding the whole thing into shape starts. In the meanwhile Georg has started work on designing the wing. We’ll be using the same landing gear as for the Urupema – the necessary parts have been ordered and we hope to cut 3mm glass sheets for the sides of the landing gear soon.


Hahnenmoos week – some of the finest slope soaring

Our annual club outing to Hahnenmoos was great again. Even with some Corona restrictions and a very bad weather forecast we got plenty of opportunities to fly. Here are some videos and pictures.

Videos:


Re-organising the website

Originally this website started out as a blog tracking the building of our scratch-built JS3 – mostly as my own online “notebook” to track how we build our planes. Over time it has evolved in an overview of multiple builds, both from scratch, but also kits and ARF planes. I was astonished to find that I’ve got more than 125 posts on it.

Unfortunately, it has also become very hard to find information on a single plane. So it was time to slightly reorganise the site. You will now find a new tab “Models”, under which I’ve listed the various models that are described in this blog. For each of these models I will over the next few months construct it’s own page, with data and a few pictures for that model, but also with a link to all related blog posts. Until then, the links on the models page will lead you to a page with all the blog posts related to that model only. I hope that makes it easier to find information on a specific plane.

Users may also notice that I removed the “build gallery”. I initially included this to allow access to full size pictures in the blog. As I hadn’t updated the build gallery for a while, and all blog posts now link directly to the full size pictures, I decided to remove this page.

Finally, I’ve also reopened the blog posts for comments. I closed this a few months ago as a result of the huge amount of spam I was getting. I hope that the new spam filter prevents this, but still allows those who want to comment to do so. Note that comments will need to be approved by me before they appear on the page.

As always, thanks for visiting my site and feedback welcome.


Diana2 Flyday!

Save the DATE!

Diana 2 Fly-Day…… Sunday 16.August 2020 at
Modellfluggruppe ZĂĽrich, Eglisau (https://mgzh.ch/unser-flugplatz/).
Bring your personal Diana 1 or Diana 2 and Fly with us!
Lets see how many we can get together…..World record??

Saturday 15th will be also first time DONs Grill & FLY

Please sign in on the Doodle Link before the end of July 2020…to make sure you can be part of it!

Looking forward to see you all there
Your
ChocoFly Team

https://doodle.com/poll/p5y6ef3wbzpd949a


Watching Paint dry

Watching paint dry is not really my thing. Andi managed to secure a slot in the paintshop on Saturday and spray painted the wings and all small parts. The fuselage should be done in the next few days. I’m now waiting for the paint to harden out, after which the hard work of polishing starts.

I’ve been using the time to build a small glider, based on the mini-Uhu, but remote-controlled. Originally this was for our upcoming indoor glider-tow competition, which has now been cancelled due to the Corona crisis. I’ve also built a new Clik21 indoor plane, which had been lying around in my workshop for a while. I love that small indoor plane. I’ve built (and sold) multiple versions of it already, always trying to make it lighter improve it further. My current one weighs 93gr (no battery), but with a pull-pull rudder and elevator it wasn’t very precise to fly. Hence my wish to build another one. The new version looks again much improved compared to the previous one, with more stable ailerons and rudders, and a total weight of 95.6 grammes (without battery, i.e. flying weight 110gr).
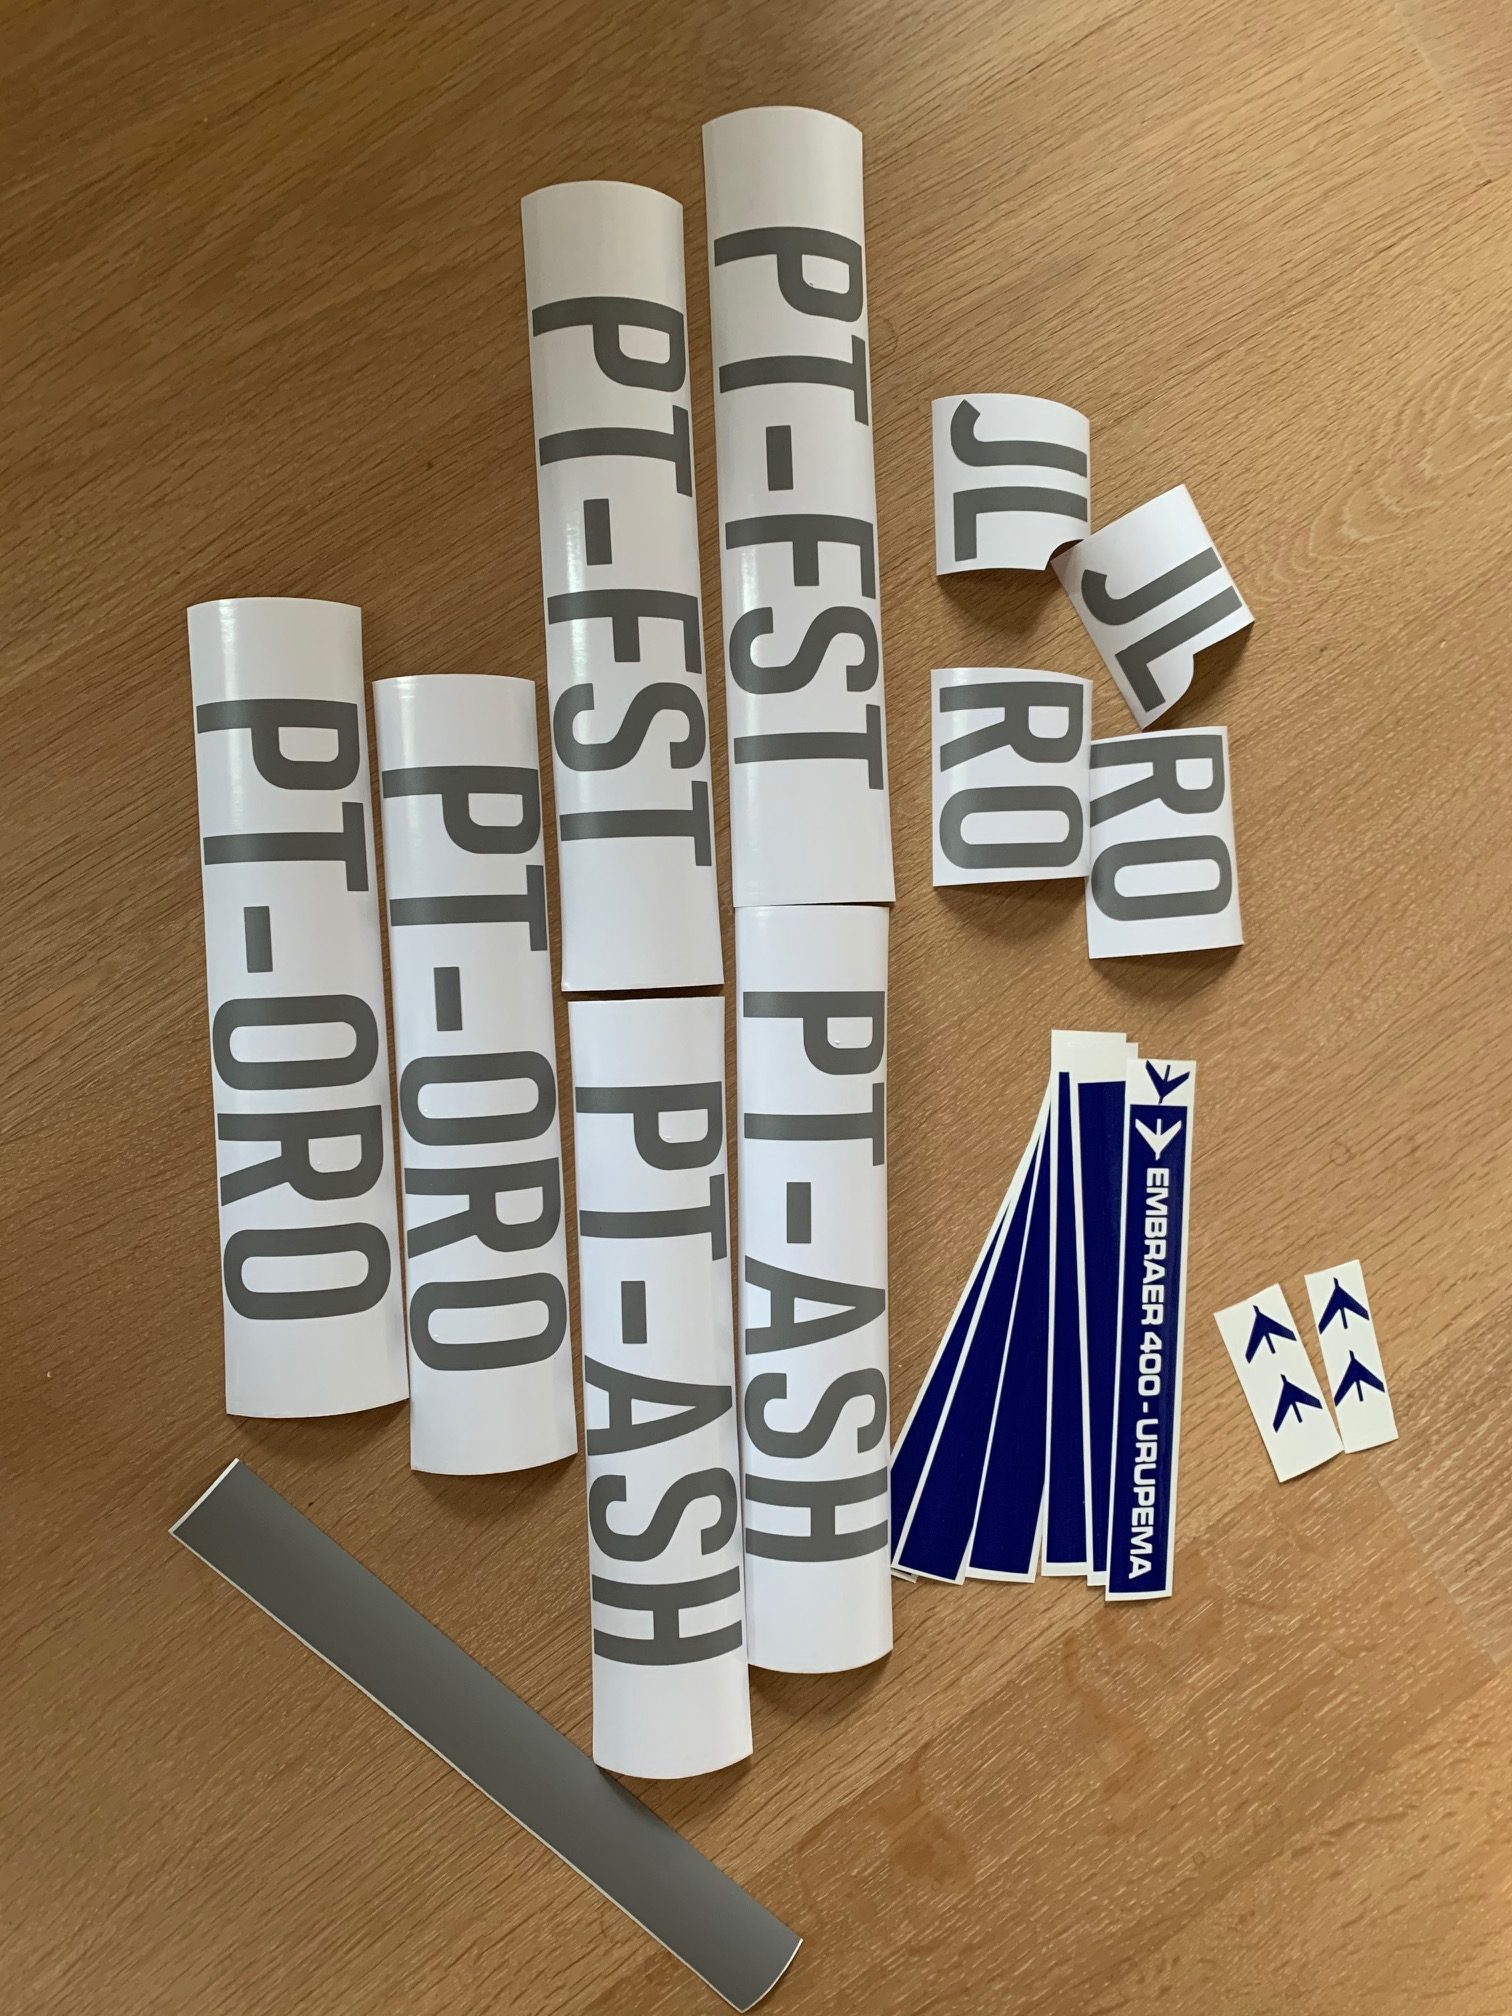
I also finalised the Urupema decals and spent much time making the rudder control horns. Georg helpfully documented how he made his control horns, which I’ve copied. I’ll post a picture of the painted Urupema as soon as the fuselage comes back from the paintshop.


How and why do we do it?

We’re regularly getting questions not just on how but also why we build our own gliders, and if it’s really worth the hundreds of hours of work that go into them. On 14 December 2019 we were invited at the 35th international aeromodelling symposium in Winterthur (CH) to give a presentation on our work. Unfortunately I was unable to attend, but the other three members of our building team, Georg, Andi and Richie, explained how and especially also why we do this. I put together the slides for the presentation, which are now uploaded here. It’s mostly pictures, with some text in German. The two videos were included at the end of the slide-show are available on my Vimeo channel:

JS3 slope start

JS3 on our airfield


IDS system for the wing control surfaces

I wrote earlier about our servos, but not in detail: we will be using KST X08plus for the ailerons on the outer wing of the 5.14/18m version, ChocoMotion 8/5.0 for the ailerons, and Chocomotion 10/9.2 (in size identical to the KST DS225MG, but more powerful) for the rest of the control surfaces (6 Servos in the 4.28/15m wing and 8 Servos in the 5.14/18m wing).

Today I received a large package from Servorahmen.de in the mail. Servorahmen.de provides servo frames with Integrated Drive System (IDS) for all the servo types we will be using. We have used their IDS system on most of our gliders in the past few years, including last year’s scratch-built Diana2 (1:3.5). The frames fit well, are robust and good value. The IDS system can be fully integrated into the wing, so no ugly protruding levers or large holes in the wing surfaces. Most importantly, they provide a wing surface control that is extremely direct and completely without play. Fitting the IDS frames requires more effort than standard systems, but the result is definitely worth it. Below are two pictures of the system built into my 1:3.5 (4.28m) Chocofly Diana2 that I hope to maiden soon. The Chocofly Diana2 is identical to my scratch-built Diana2 (which was designed by members in our team), except that the wings were built in a mould.