Monett Monerai: wing building

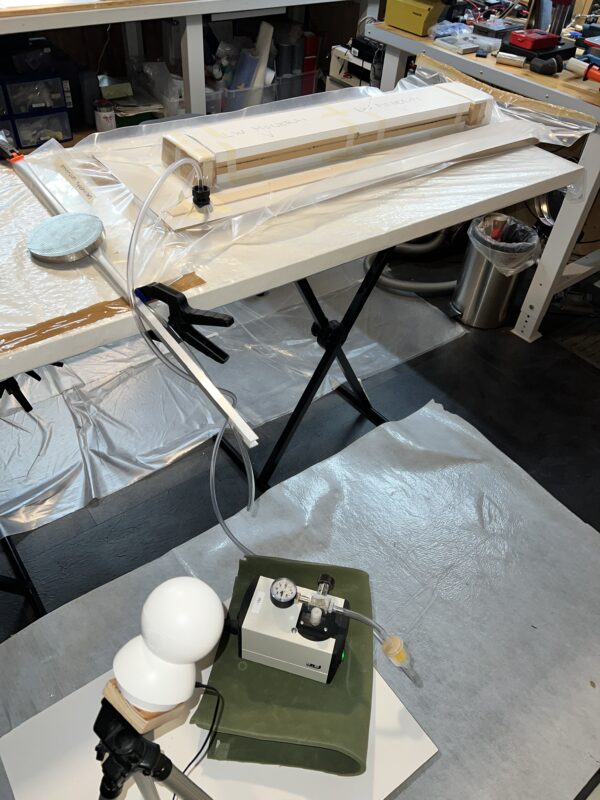
Last week I put both the upper sides of the wings in vacuum. On Monday I prepared the layout and spars for the first wing. Today I “closed” the first wing, with help from my flying buddy EP.

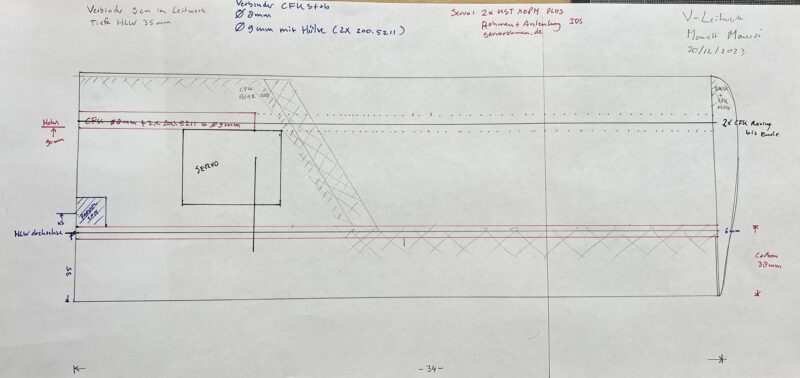
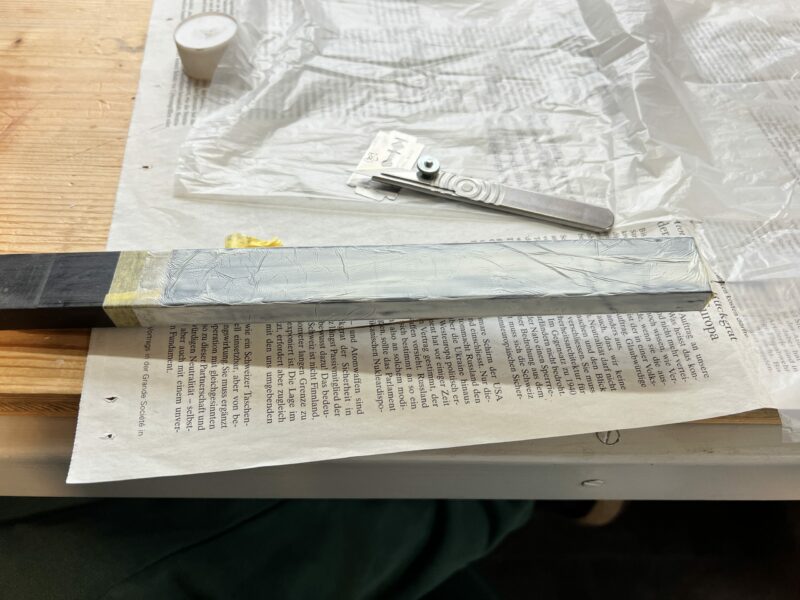
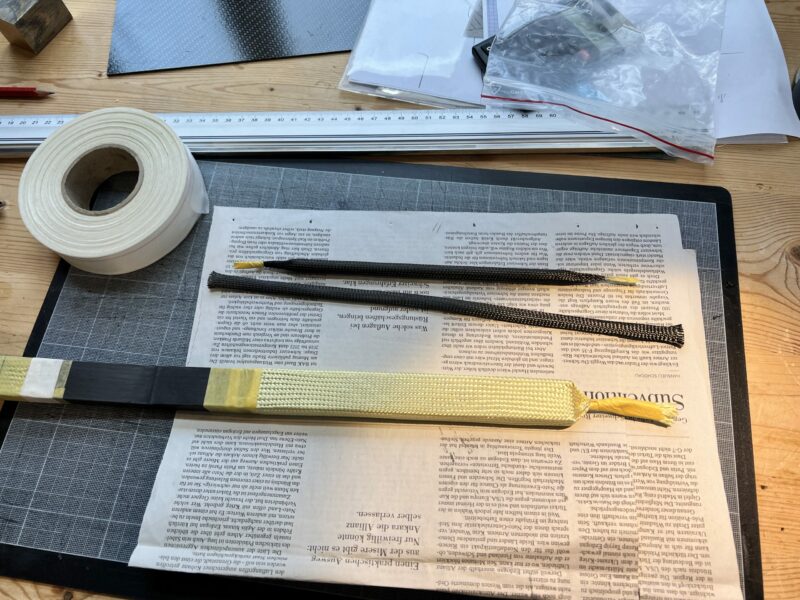
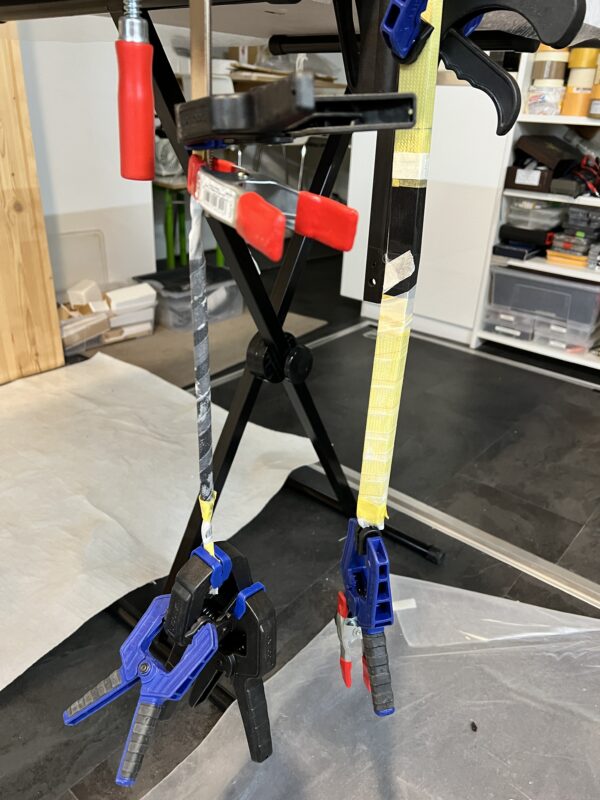
Preparing the spars was a bit more work than usual as I had to do the calculations for the amount of carbon rovings on the main spar and decide on depth of the control surfaces. I used in total 2×19 rovings at the root and 2×2 rovings at the tip, distributed using Christian Baron’s helpful excel sheet. The width of the main spar is 25mm at the root and 6mm at the tip. I used three different types of carbon sleeves around the main spar, a 3k for the first third and 1k sleeves for the middle and outer third. The amount of rovings at the root was determined on the basis of the space available after deducting the space required by the wing joiner and sleeve. I’m curious to see how heavy the first wing will be.


Monnett Monerai: tailplane, upperside wings and canopy frame

The upper and lower side of the tailplane (V-tail) are now done. The Ebechi and leading edge are sanded into shape and the tips are glued on. For the tips I used two pieces of 5mm Balsa with a layer of carbon glued in the middle. The tailplane is now ready to be glassed.

The upper side of both wings is also done. I’ve decided to use the full length of the carbon cloth and at the end of the wing just use carbon for the D-Box and the control surfaces. The weight penalty of this shouldn’t be too big.

Today I also started building the canopy frame of the Monerai. I first taped off the area around the canopy and coated the part where the frame is built up with three layers of wax. Then I painted a layer of thickened and coloured expoxy resin onto the fuselage and let this cure for an hour and a half – so that it’s still nice and sticky but also nicely stays put when adding material to it. I then added a layer of 80gr glass, using coloured epoxy. After that I added 10 carbon rovings, each just more than half the size of the canopy, to provide the rigid basis of the canopy frame. After waiting again for an hour and a half I then used epoxy resin, again coloured but also thickened with lots of micro-balloons, to build up the basis of the frame. It looks nothing like the nice frame it should become, but that’s normal. Once the resin is fully cured it should have enough material on it to allow me to sand the frame nicely into shape.

I also finished the bits from the small moulds (instrument panel, skid and tailboom end). The tailboom end was a bit of a pain. On the first try I didn’t manage to release it from the mould and ended up breaking it. For the second try I cut open half the mould and closed the cut with a piece of tape, before waxing it and building up the tailboom end out of 160gr glass. No problems releasing the 2nd attempt this morning.


Monnett Monerai: wings and tailplane design and building start

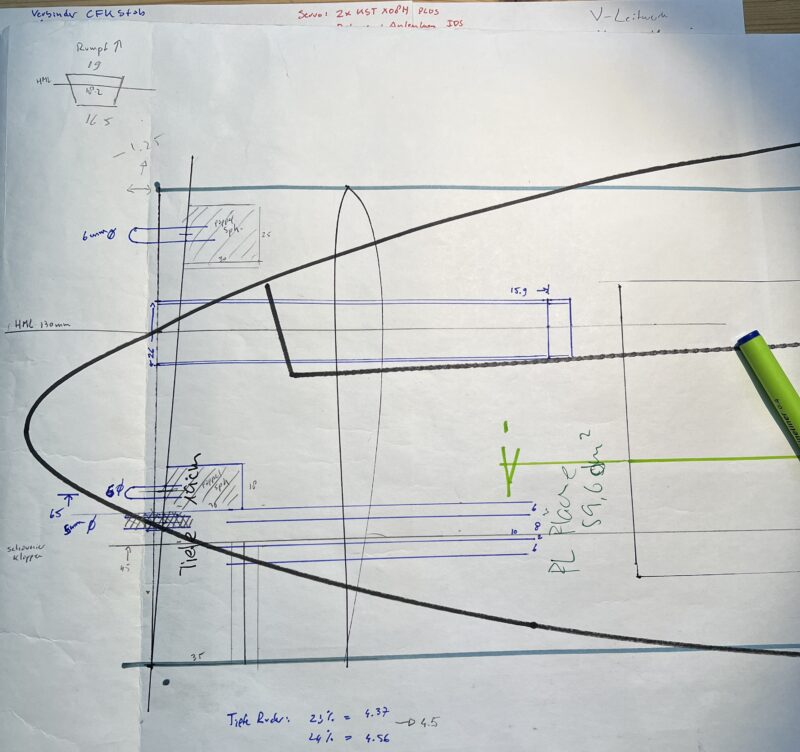
The plans I got for the Monerai are very rudimentary – basically just the size and outline of the wings and tailplane. My mate Richi, who’s already finished his Monerai, also told me that he wasn’t too happy with some of the design choices he made. So I went through it again with Georg, our usual wing designer, last week. Based on his input I did a more detailed drawing of the wings and tailplane, in particular in relation to the main spars and size of the control surfaces. The plans are still very rudimentary, but as the wing design is very simple (straight wings and tailplane) and I’m the only one building the plane like this for now, that more than suffices.

Earlier this week I ordered the 0.6mm ebechi wood for the wings and tailplane of the Monerai at RIK Modellbau (balsa.ch), and got a confirmation just a few hours later that it was ready for pickup. I went to get it yesterday and it’s the usual excellent quality – a great shop.

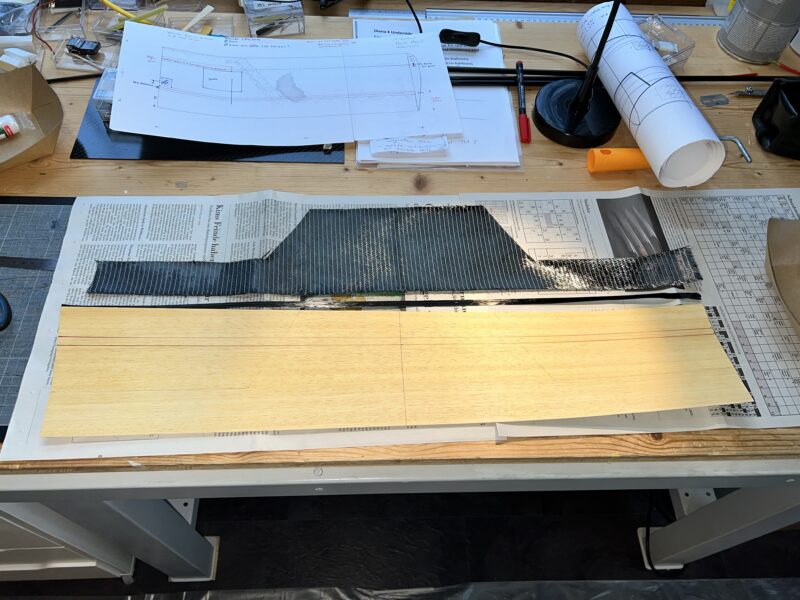
After preparing the sleeve for the other side of the wing joiner today and the sleeve for the wing joiner of the tailplane I decided to start preparing for building the tailplane (cutting the ebechi to size, drawing out where the carbon inserts come, cutting the carbon, painting the ebechi with primer and briefly sanding the ebechi). That went much faster than expected so I also went ahead and put the first side of the tailplane into vacuum.


Monnett Monerai: tailboom, small bits and styro cutting

I’m giving the building of the Diana4 a short pause to allow the resin to fully cure. No rest for the wicked though: time to do more work on the Monnett Monerai! Many of the “small” things take up a lot of time. I prepared the bulkheads for the fuselage and did a first “dry fit” of the tail boom. I’ve also started preparing the moulds for the instrument panel and tail. Today I also spent a few hours with my mate Georg to cut the styro cores for the wings and v-tail, as well as to complete details of the wing design. I’ll start building the wings and v-tail of the Monerai next.


Diana 4 and Monerai: canopy frame and seat insert

While waiting for the Ventus 2c to come back from the paint shop I’ve been working on the Diana 4 and the Monerai. For the Diana 4 I started work on the canopy frame. First I applied good quality painters tape to protect the fuselage from resin spillage. Then I applied two coats of liquid wax on the area where the canopy frame is built. Then came a coat of thickened epoxy with grey colourant. Allow some time for this to cure until it’s less liquid but still sticky. Then came a layer of 49gr glass, followed by a five carbon rovings going around the entire canopy (staggered so that they end/start in different spots). Then I built up the rest of the frame using epoxy with grey colourant and very much thickened using micro-balloons. It’s not sitting in the workshop to fully cure (needs a few days) before I can sand it into shape.

While waiting for the canopy frame to fully cure I also built the seat insert for the Monerai, using an old mould for the SB-14. The procedure here is very similar to making the canopy frame. The mould is waxed. Then apply slighly thickened epoxy with grey colourant. Allow to cure a while, but it still must be sticky. Then apply two layers of 160gr glass, also with epoxy with grey colourant.

As you can see in the pictures below I didn’t wait long enough to apply the glass and had a few nasty air pockets in the folds of the seat pan. These can be easily corrected with surplus epoxy thickened with micro-balloons. Allow it to cure, sand to shape and it’s good to go.


Monnett Monerai: building the fuselage pod

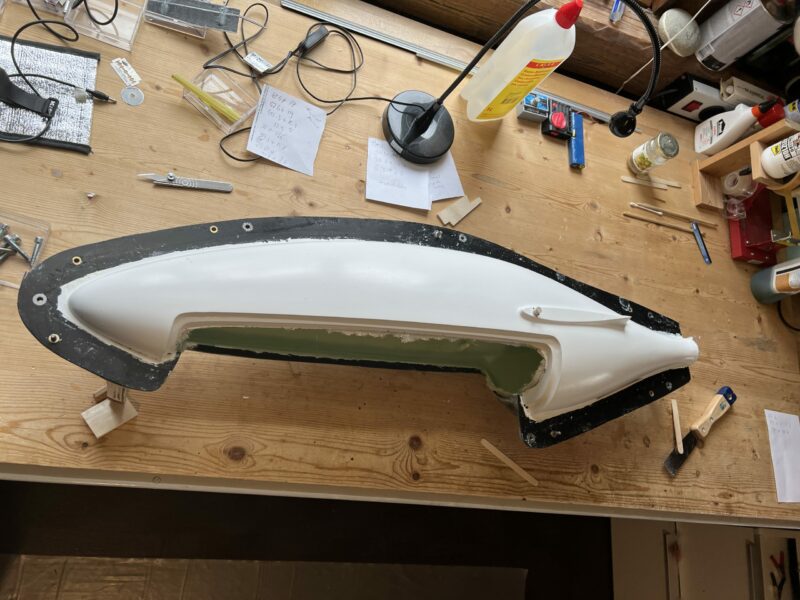
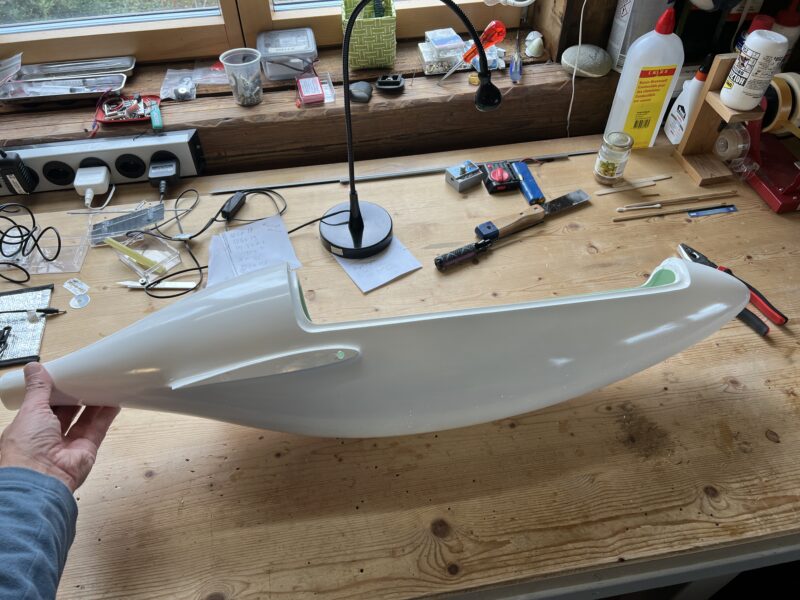
I’m only planning to finish the Monerai next winter and hope to maiden it in Spring 2024. Richi, our shaper, however already finished the mould for the Monerai’s fuselage pod and built the first pod. He also kindly waxed and spray painted the mould for me, and pre-cut the glass, so that I could easily build the fuselage pod in the mould myself.

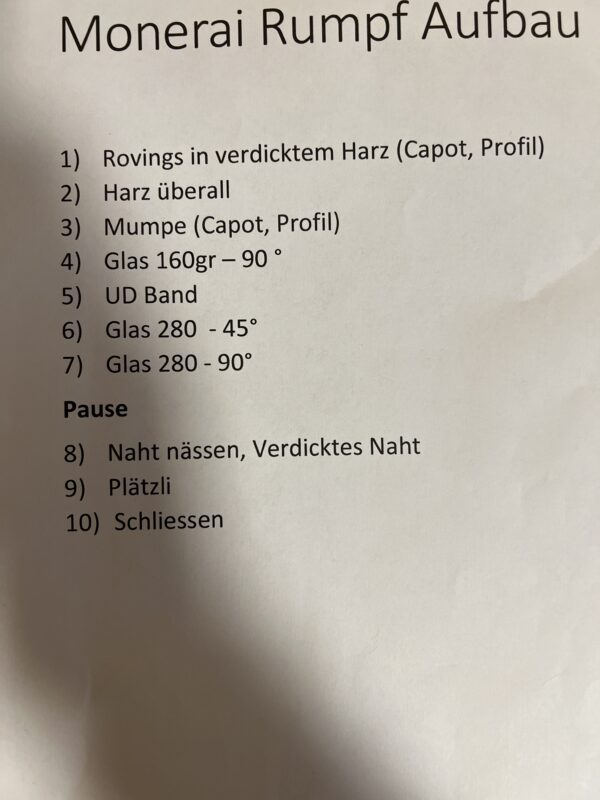
I’ve built fourteen fuselages together with our “master builder” Georg, but never did one all by myself. A small fuselage pod for the Monerai was thus a great opportunity to try it out. Even with such a small fuselage it took me over three hours (even with three instead of the usual four layers of glass), not including preparations and cleaning up. I also made a few mistakes along the way, but fortunately realised and corrected them on time.

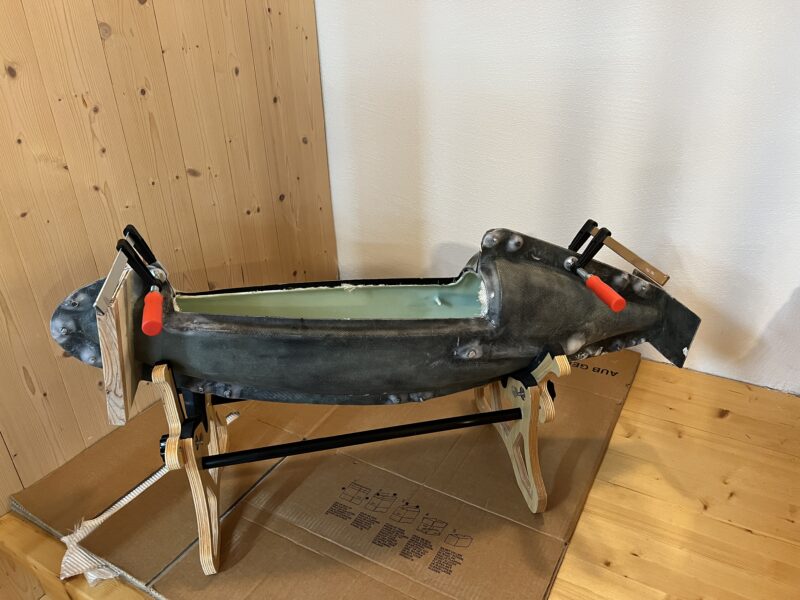
After leaving the pod to cure for three days I released it from the form. The result was much better than expected – just a small airpocket in the nose (where FES spinner will be anyway), the rest looks very good. I’m pretty pleased.


New Projects for Winter 2022-2023

I’ve been doing some preparatory work for new projects over the last few months already – in between other tasks – but I now finally have time to start getting into building mode. An I have a luxury problem: too many exciting project opportunities! Work has started on the following new scratch builds:

  • A scale 1:4 Ventus 2C (4.5m): A few years ago I went to pick up a DG1000 fuselage that I purchased from a retiring pilot. In his workshop there was this really pretty fuselage, which he agreed to sell to me for a few Francs. When I showed the fuselage to colleagues on the club they got all excited: it’s a fuselage that was built by a colleague in our club almost 20 years ago, from moulds and plans that are still around. In fact there are also still a few built planes around. This summer my mate Georg did a full revision on his and stripped out the landing gear, with the result that he got a really wonderful and surprisingly performant 4.5m glider weighing less than 5kg. The plane fills a “gap” in my collection of gliders, in the sense that it’s easy to hand-start on days with little wind. I’ve decided to give this build priority for this winter. I’ve built the wing joiner, have the rudder and elevator parts ready to build. Together with Georg we also cut the foam for the wings.
  • A scale 1:3.5 Diana 4 (5.14m): this one will be 2nd in my priority list, and I’ll be building part of it alongside the Ventus. More on that in a next post.
  • A scale 1:3 Diana 2 (5m): The 5m Diana2 was the first Diana2 model built in our club and as far as I’m aware anywhere. It was a huge success within our club, but was quickly overshadowed by the smaller 4.28m, of which the Chocofly version has become famous as one of the best slope gliders around. I’ve been wanting to build the 5m version for ever. We still need to build a fuselage for myself and for Andi. I’ve yet to decide if I will fit it with my Baudis 5m Diana2 wings, or whether I’ll build my own set of wings. I built a wing joiner last week, but the rest of the plane will be for next winter.
  • A scale 1:3.5 Monnett Monerai (3.43m): My mate Richi has been planning to do a model of this US 12m kit glider for a while. It’s something very special. It’s also an easy build. Richi has done the plug for the fuselage pod (it’s a pod and boom glider) and is having the boom produced by colleagues in a professional glider manufacturer. I’ve produced the wing joiners for Richi and myself. I’ll work on this one on and off, depending on how other projects progress.

There may be one or two further surprises that I’ll report on as they appear :-)(I’m expecting something from the Ukraine, but the delivery of that is uncertain for understandable reasons) .