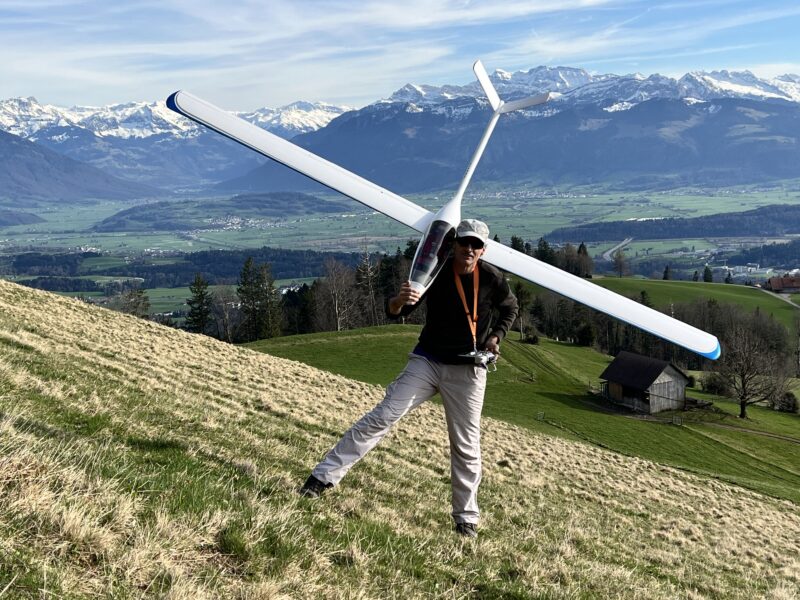
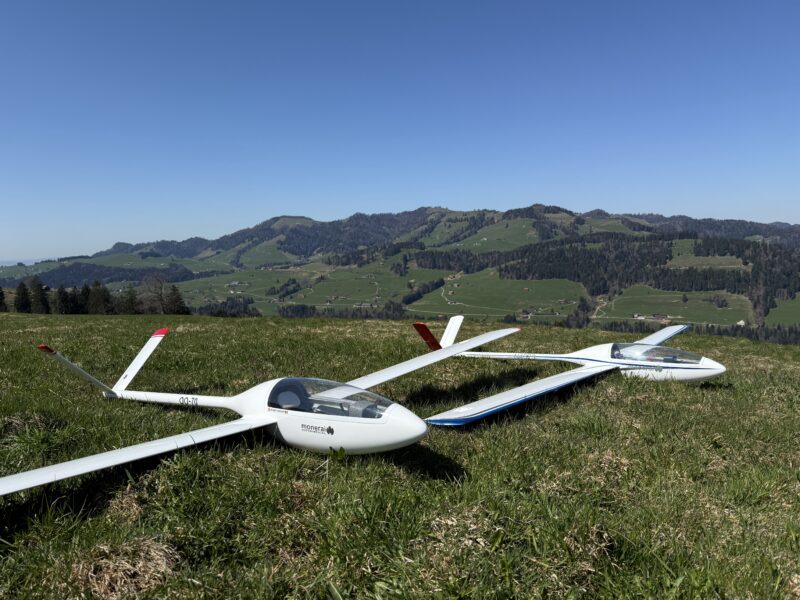
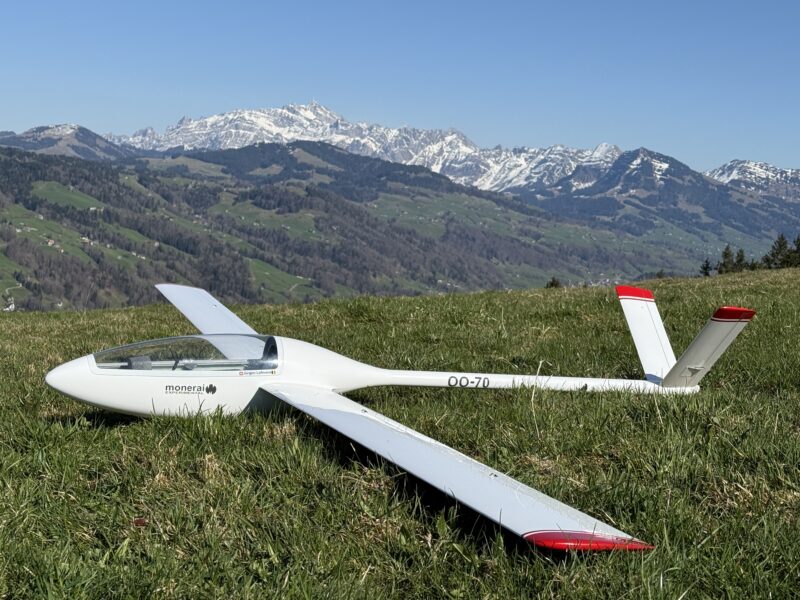
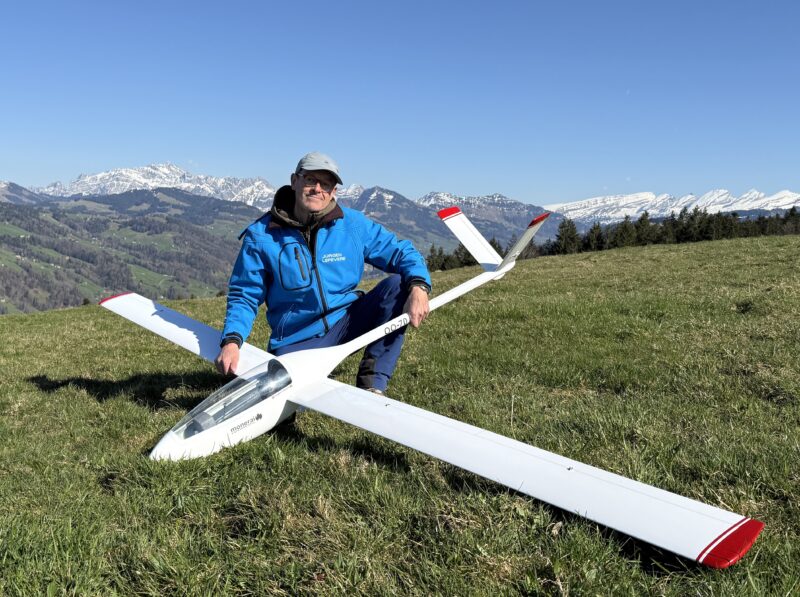
On Monday my Monerai had its first flight on our favourite slope in Toggenburg. My mate Richi, who designed and built the first Monerai, as well as built the fuselage mould, took his Monerai as well – the first time we had both of them flying together. We had great lift and my Monerai was up for three hours in a single flight. It’s such a fun little plane to fly on the slope. I was amazed by how fast it picks up speed, even with only 3.7 kg (I easily hit 220kmh on one the quick passes). It allows for very tight turns. I added quite a bit of snap-flap, further increasing its ability to pick up thermals. It also rolls very nicely. Of course it’s nothing like our bigger gliders in terms of course stability and climbing rate in light lift, but that’s obvious from the glider’s design. It’s a lovely small light plane to play with on nice slope days. This one will also join the selection of gliders coming to Hahnenmoos in June.
Category Archives: Monnett Monerai
Monnett Monerai: maiden flight!
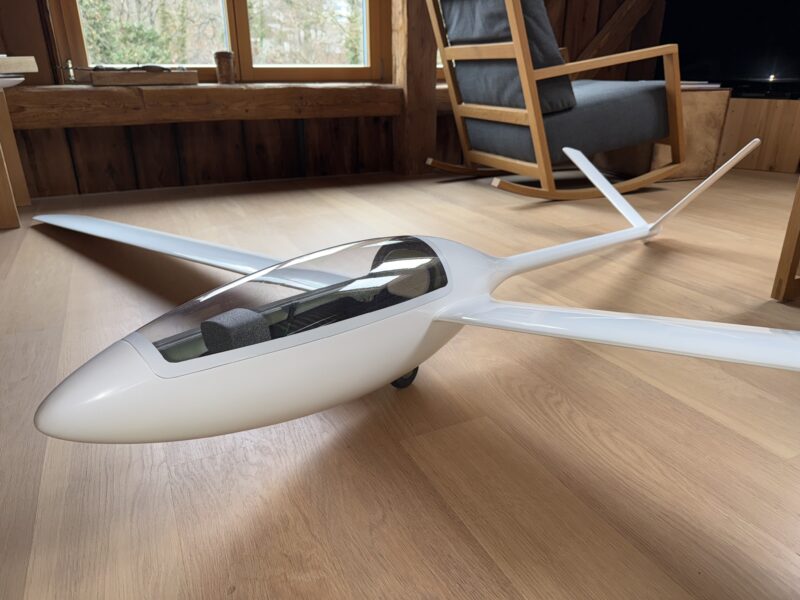
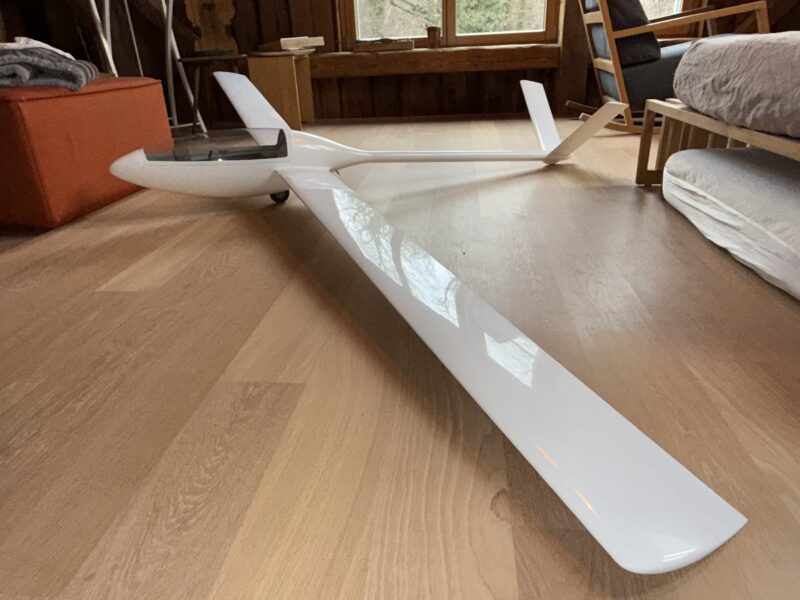
Today we maidened my Monnett Monerai in aerotow. I couldn’t organise a tow-pilot so we decided that I would tow and my mate Georg would fly my Monerai. The first two starts and landings were astonishingly uneventful. No trim or adjustments to any of the settings needed. It flew just perfectly as it was. It does have a sink rate larger than our big wingspan scale 1:3.5 ships – to be expected for an 11m (3.14m) wingspan glider. But it takes thermals surprisingly well – especially with a lot of camber. It’s also absolutely easy to fly and land. A lovely little toy. For the third start we changed the transmitter layout to mode 2 (from mode 4, the preferred setting of Georg) and I took over the Monerai after landing the towplane. I’m totally hooked on this little baby. Unexpectedly, another towplane showed up and gave me two more “rides”. At the last flight I caught some wonderful spring thermals and also tested the Monerai with a barrell roll and a looping. It performs wonderfully in every respect. I look forward to playing with it a bit more on the slope or in aerotown shortly.
Monnett Monerai: seals of the control surfaces and installing wing servos
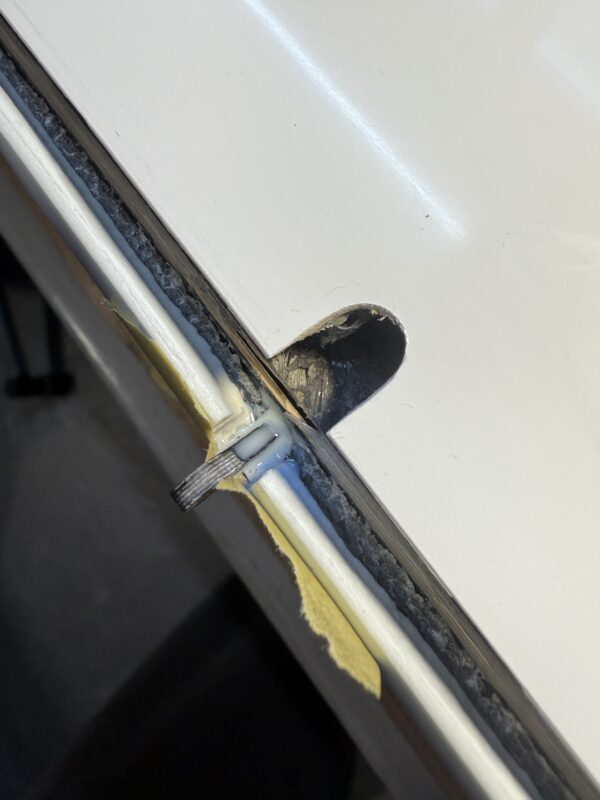
After letting the silicon for the hinges of the wing control surfaces cure for four days I carefully removed the wax tape – this is always challenging as the tape sometimes pulls out the silicon.
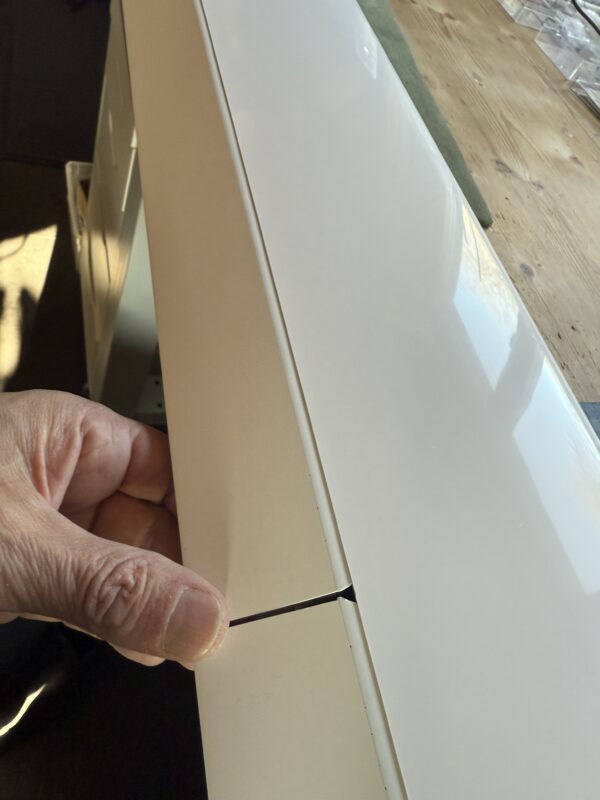
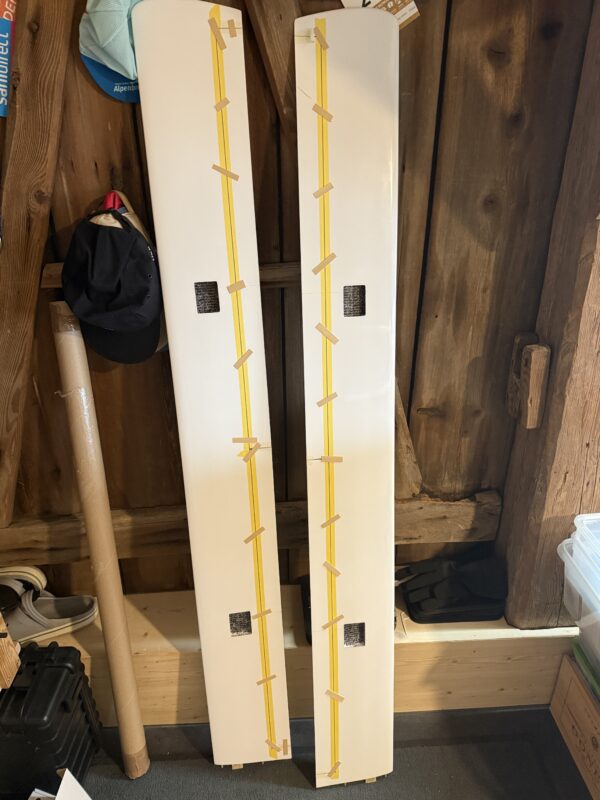
The next step was making the seals between the control surfaces and the main wing. I use a heat-resistant tape and epoxy with white colourant, slightly thickened with micro-balloons and aerosil (caution: this should be quite liquid so that it sets nicely)! Using some tape I put the control surfaces in a 90 degrees angle and the wings in a 90 degree angle to the worktop. With a syringe I applied the epoxy on the heat-resistant tape. I let this cure for a few hours – just so that it’s still flexible but no longer liquid. I then carefully put the control surfaces back to around 20-30 degrees downward angle from the main wing, using a ruler to make sure that the heat-resistant tape with epoxy slides under the surface of the wing. I then let the epoxy cure in this position. Once cured, I removed the tape and sanded the top of the new seal back – ensuring that I have enough thrown in all the control surfaces.
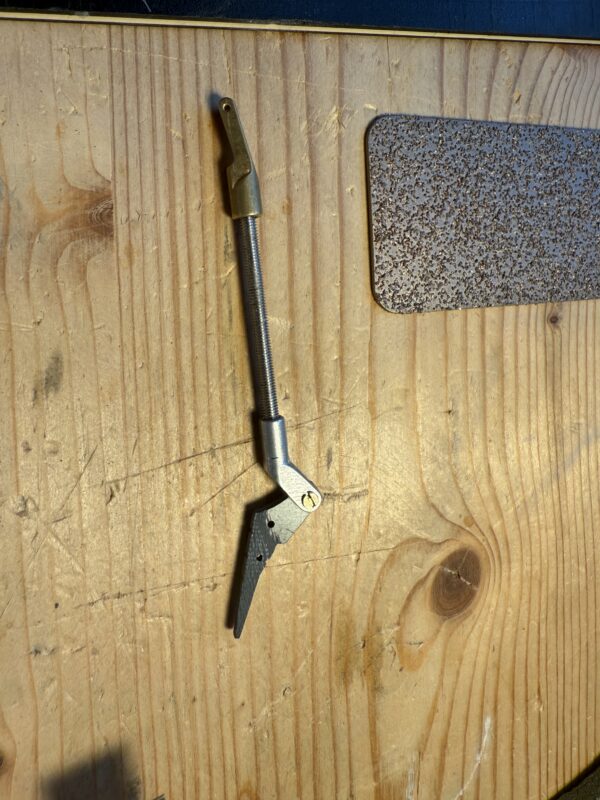
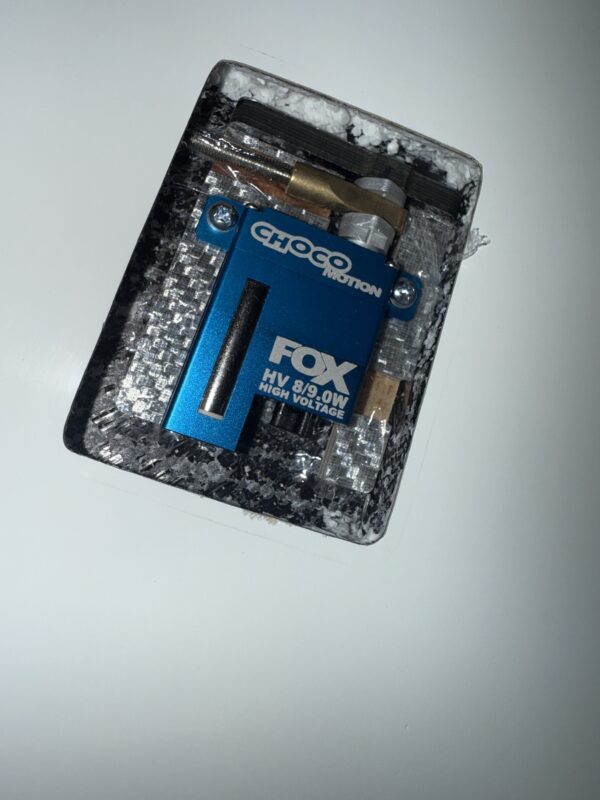
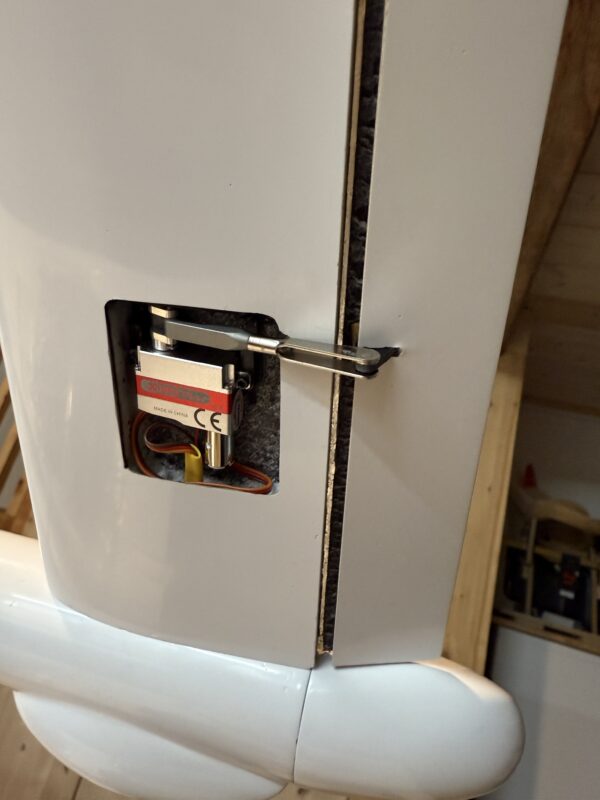
Next up was installing the wing servos. I use the Chocofly LDS Pro system, with Chocomotion Servos. The LDS system is relatively easy to install thanks to the 3mm pushrod that can be extended or shortened to the perfect length. Most importantly, the LDS system is entirely free of play. I always first glue in the wing control horns using 5min epoxy and then the servo frames, also using 5min epoxy. I then fix both using my regular epoxy. I apply a bit of liquid CA to ensure that the push rods are free of any play and a bit of 5mm epoxy to ensure that the small pin on the servo control horn remains in place.
Monnett Monerai: further work on the wing control surfaces and finalising work on the tailplane and fuselage
Work on my Monerai has been progressing steadily over the past few weeks and I hope to have it ready to maiden in the next few weeks.
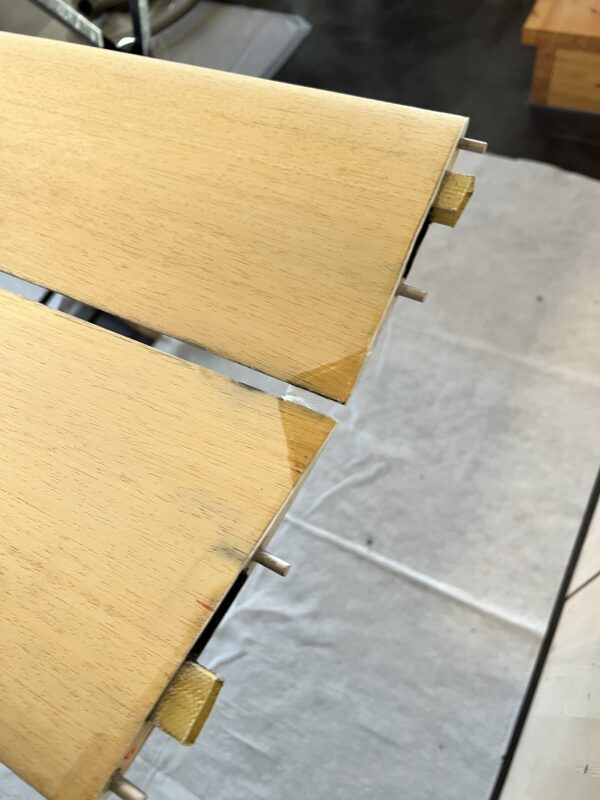
The wing control surfaces have been cut out. I sanded bach the part where the control surfaces move under the wing when the surfaces are deflected upwards. After sanding I glassed it with 50gr glass, which was then again lightly sanded to keep it as thin as possible and allow the largest possible upward deflection. The control surfaces were then glued to the wing using silicon.
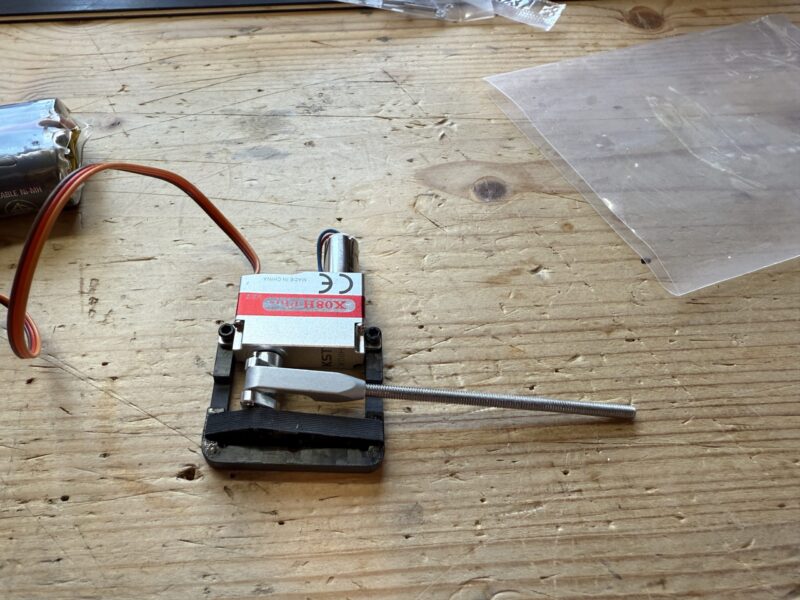
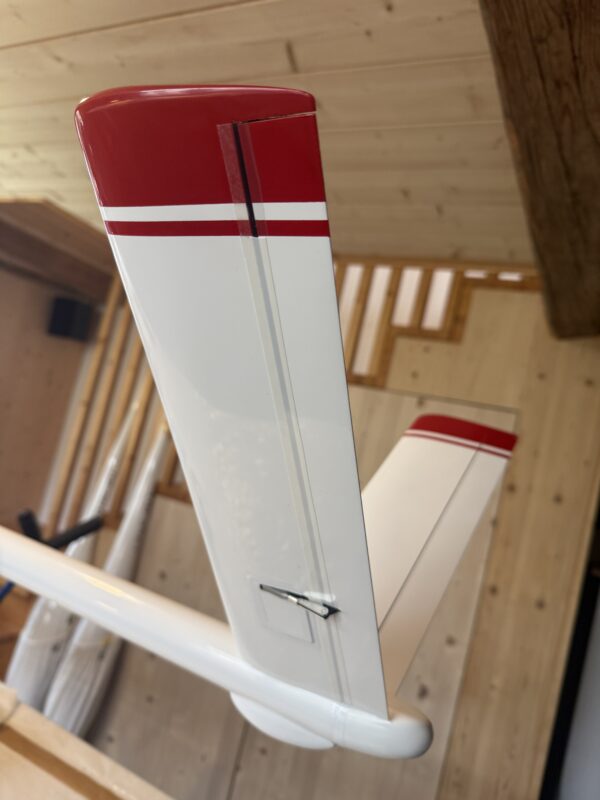
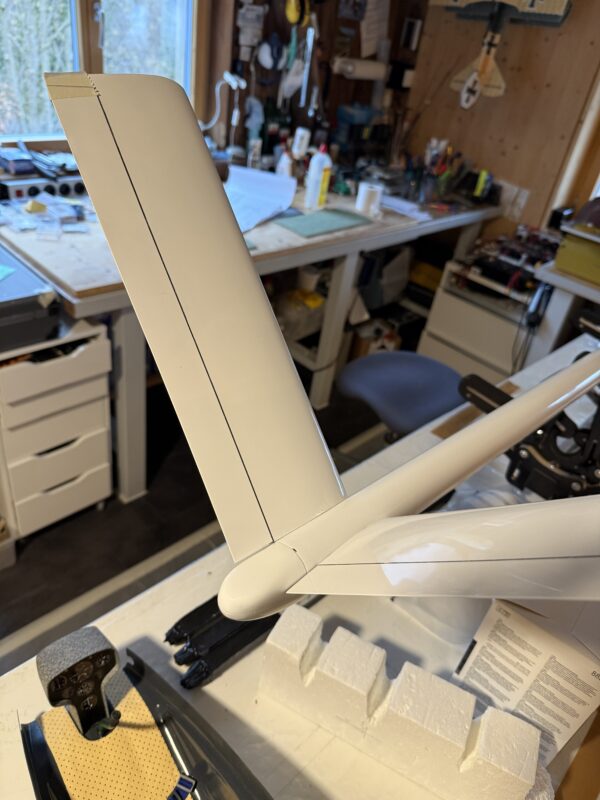
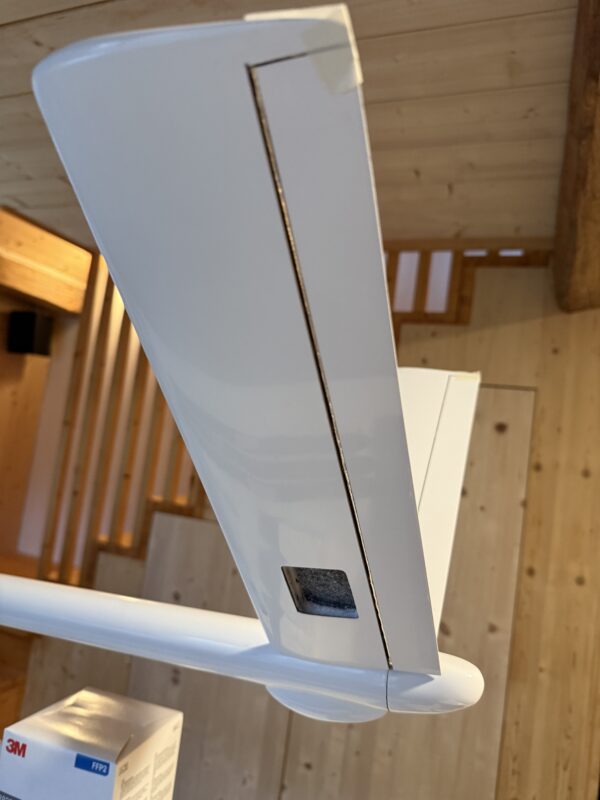
While waiting for the silicon to cure I finished work on the tailplane, wiring and fuselage. In the V-tail I installed two KST X08H Plus servos, which are light and relatively powerful. To avoid any play I splashed out on the expensive but really nice servo frame and LDS kit from Tomas Liu Studios. Rather than installing this as LDS I used a normal clevis and a carbon control horn in the control surface. It’s the first time I am using this set. Unfortunately the aluminium servo had a bit too much play on them, but I managed to reduce that to almost nothing using a drop of locktite. I’m pretty pleased with the final result, the installation is pretty tight, using the full throws of the servos, there is virtually no play and the setup looks good as well. The tips of the V-tail were painted dark red. I’ll do the same with the wings once these are done.
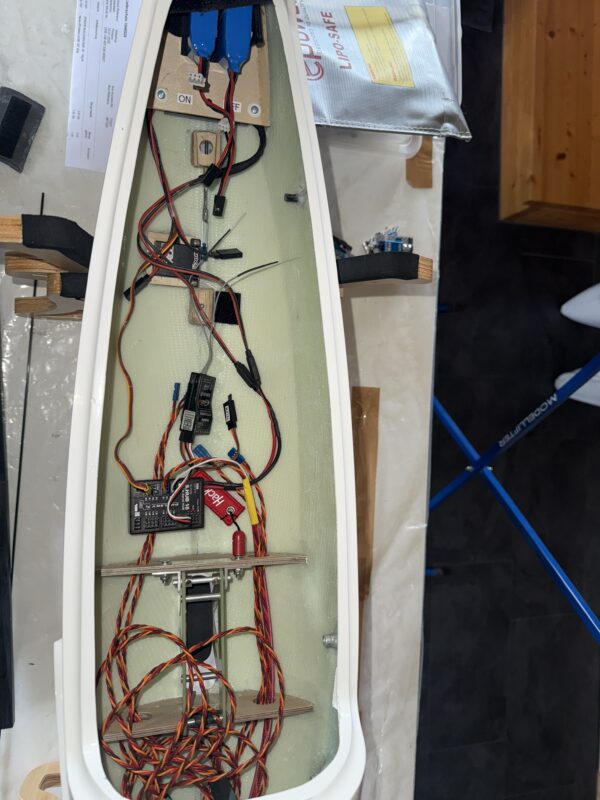
Power for the glider comes from 2x 2S LIPO batteries, reduced to 7.4v through a Hacker/Emcotec Dualbat DPSI (with magnetic switch). I’m using this system for all my gliders and am very happy with it. All the wiring has been prepared, I’m waiting until the wings are finalised to balance the glider and deterimine the final position of all the components.
I weighed the total setup, and I expect the glider to have a flying weight of around 3.6kg – including around 60gr of lead in the nose. Pretty good.
All that remains now is setting the seals for the control surfaces of the wings, installing the servos and then finalising the programming.
Monnett Monerai: decals
There are quite a few Monerais still out there, including some for sale, but not too many good quality pictures or designs that caught my liking.
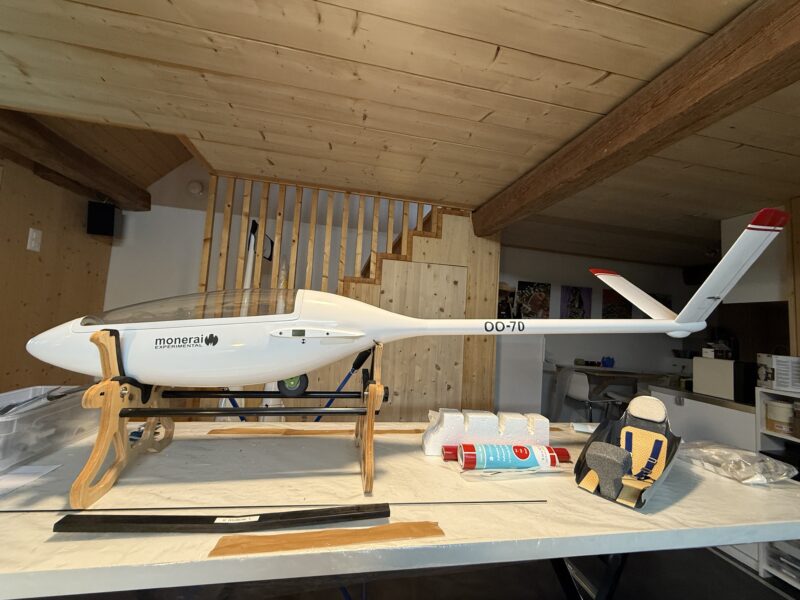
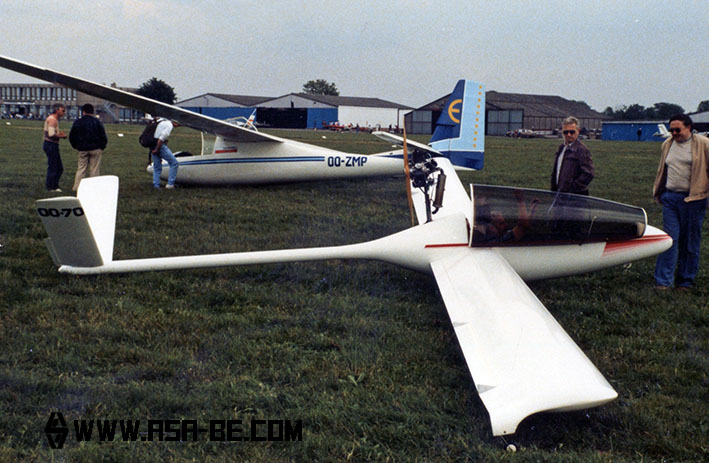
To my surprise I found that there are several Monerais that were built and registered in Belgium. Two of these can be found on the website of the Aviation Society of Antwerp – the OO-70 (with pylon motor) and the OO-72. Coincidentally, I’ve traditionally given all my gliders without FES a Belgian registration number. So the decision was very easy to go for the OO-70 registration number for my Monerai. Unfortunaly the picture on the website of the Aviation Society of Antwerp isn’t too clear on the rest of the decals and since the Monerais were often repainted and changed I decided to go for my own design.
As information on the Monerai is starting to disappear from the web (the website containing the plans and building information is no longer online), I post a cleaned up version of the logo of the monerai here.
Monnett Monerai: cutting out the control surfaces and setting the V-tail hinges
Cutting out the control surfaces always makes me nervous and I tend to push it off until I feel that I’m really up for it, with a clear mind and a steady hand. So much can go wrong and it can really mess up your build. Fortunately I’ve never messed it up so much that it wasn’t salvagable and the final plane looked crap.
We usually set the hinges of the wings at the bottom and the tailplane at the top of the wing. The reason for this is that the “seal” for the gap on the tailplane is tape (easier), whereas we do set a seal at the upper side of the control surfaces for the wings (more on that later). Most importantly, you want the airbrakes (inner control surfaces) hinged at the bottom to allow maximum throw.
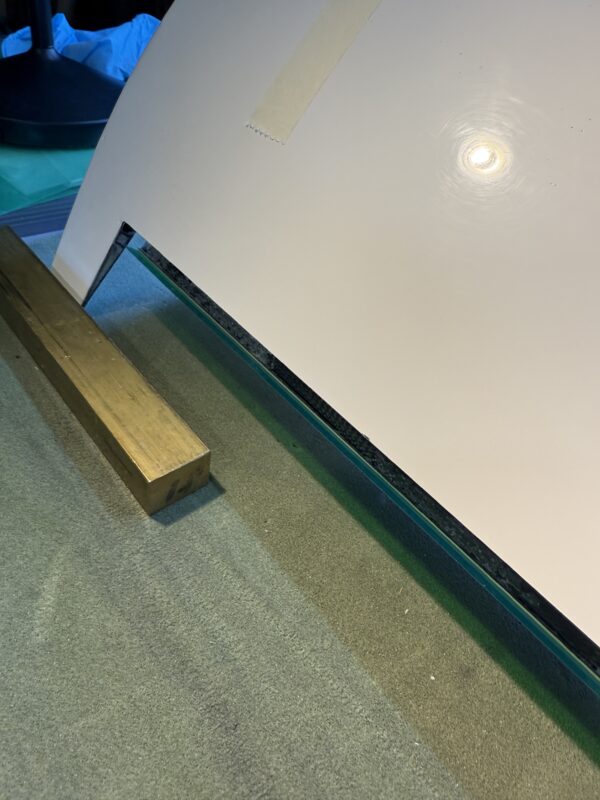
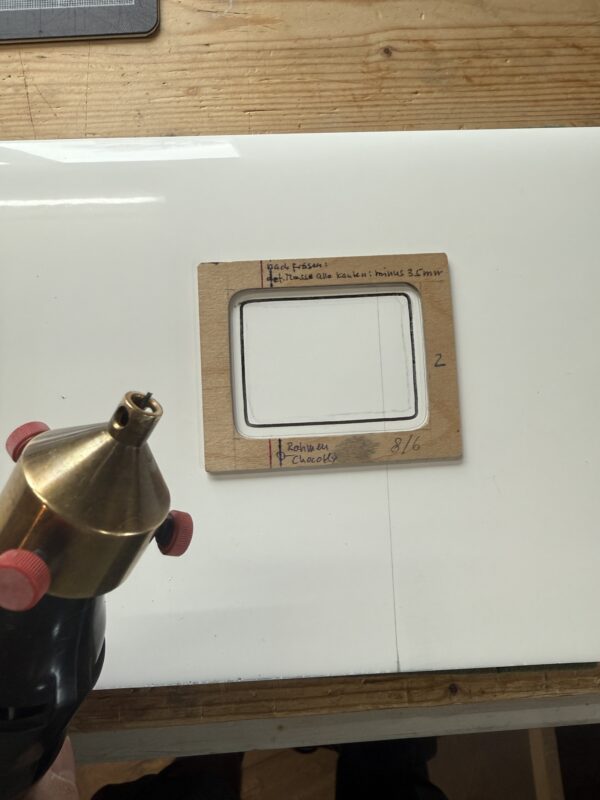
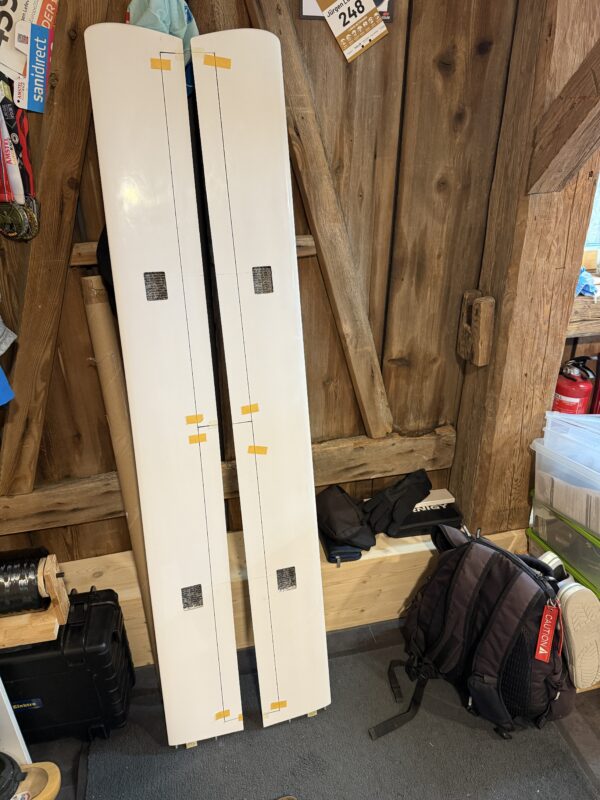
To cut out the control surfaces we use a hand-held milling machine – basically an old Dremel with a brass add-on made ages ago by a club colleague (see picture). This brass add-on allows you to pull the dremel along a ruler or aluminium profile or bar. The aluminium profile is fixed to the wing with bits of double-sided tape. The starting and end-points are defined by the little holes in the surface of the wing that I made before bagging the underside of the wing and are positioned between the two rear spars of the wing (and the holes were kept open during the various stages of building the wings including the spray painting).
For the top of the wing I use a 2mm milling bit, for the underside (where the hinge comes) I use a 1mm milling bit (the reverse for the tailplane). I’ve learned the hard way that it’s worth investing in good quality milling bits that are made for cutting carbon fibers – the cheapo chinese bits don’t last very long. I’ve also built a foot-controlled switch so that I can turn on and switch off my Dremel with my foot and don’t have to use the switch on the Dremel itself. Make sure that you pull the Dremel along the profile from left to right, with the profile at the underside of the Dremel (if it rotates to the right it will pull the Dremel nicely against the aluminium profile and reduces the risk of it “wandering off” and messing up your wing).
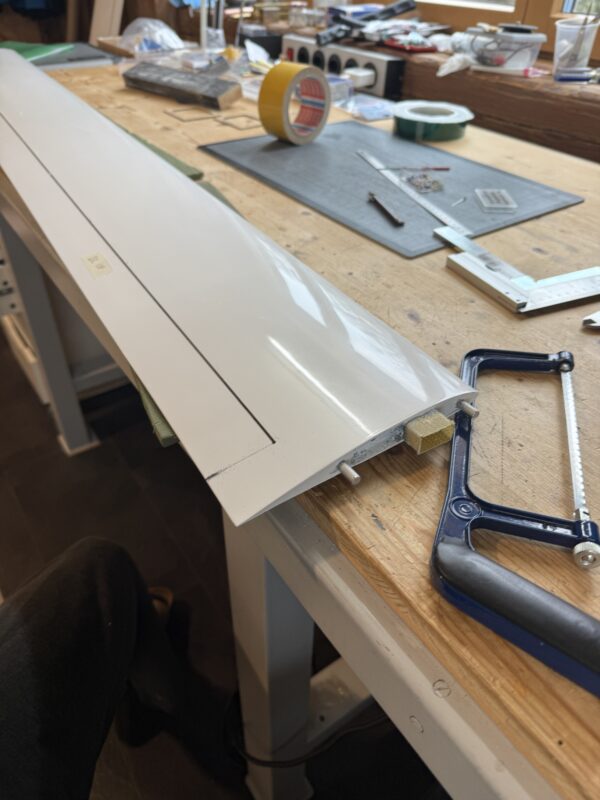
After cutting the long horizontal bits I carefully separate the control surfaces using a small saw. Then I clean out the foam, lightly sand all the corners and surfaces that are cleared of foam. The wings then need much more work still, more on that later.
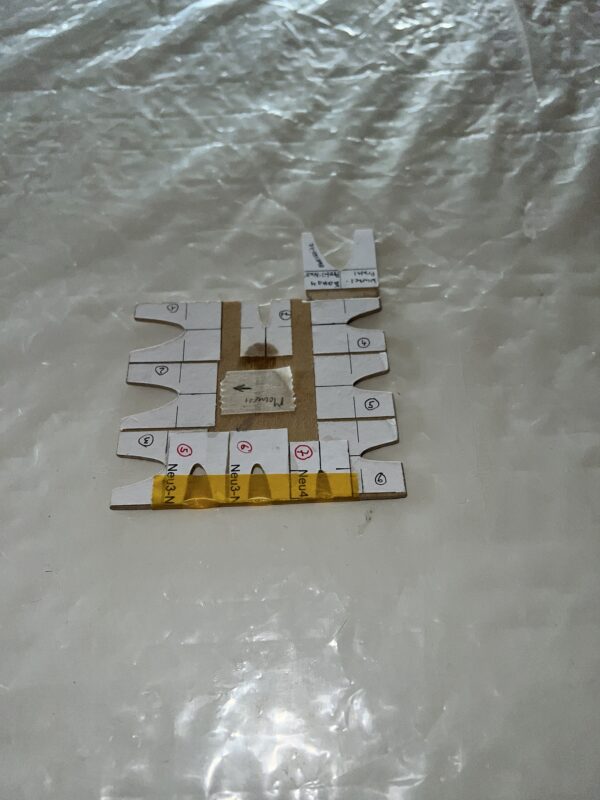
Cutting out the openings for the servos is done in a similar manner. We have small templates that we tape to the wing using double-sided tape and then cut out the openings using the dremel with a 1mm milling bit.
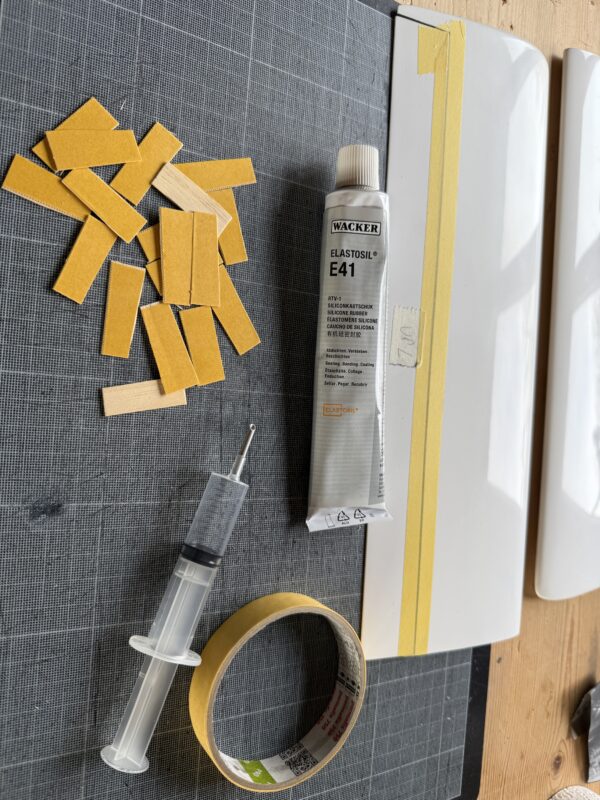
The next step on the tailplane is to check if any bits need protection or correction using a some resin (if necessary coloured white). After that I position the control surfaces using good quality wax tape and 1mm thick pieces of balsa-wood. I then apply silicon glue (Wacker Elastosil E41) using a syringe with a 3/2 mm aluminium tube, wiggle the control surface a couple of times and then fix in place using leftover bits of ebechi wood with double-sided tape. Leave that to cure for 3-4 days and then carefully remove the wax tape (don’t pull out the silicon!) and the tailplane is ready for the servos to be built in.
Monnett Monerai: polishing
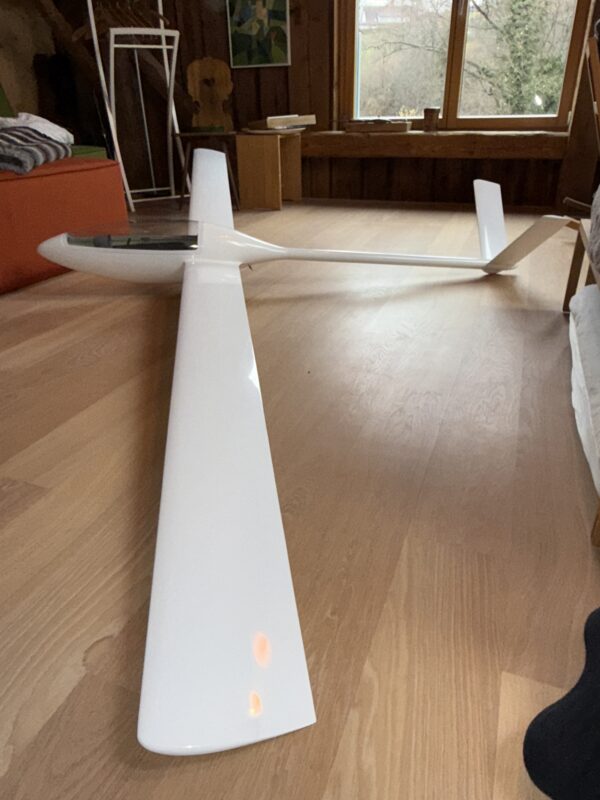
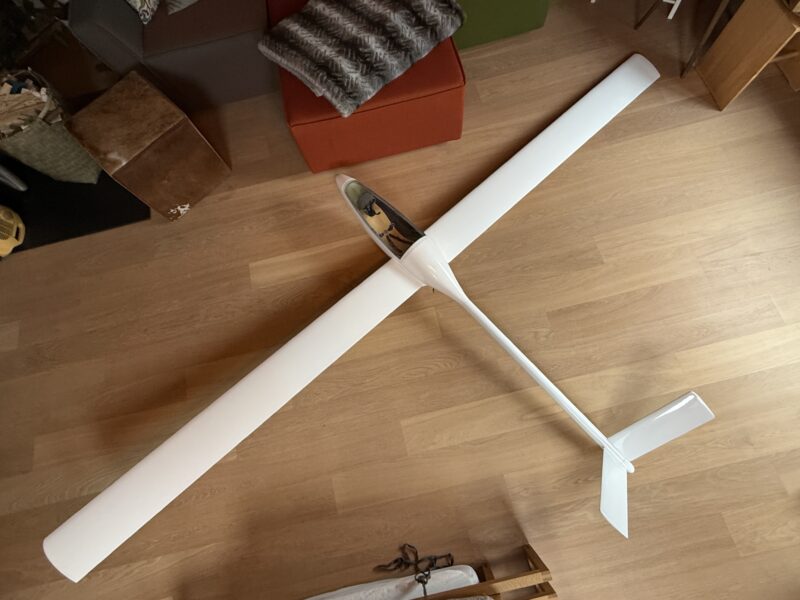
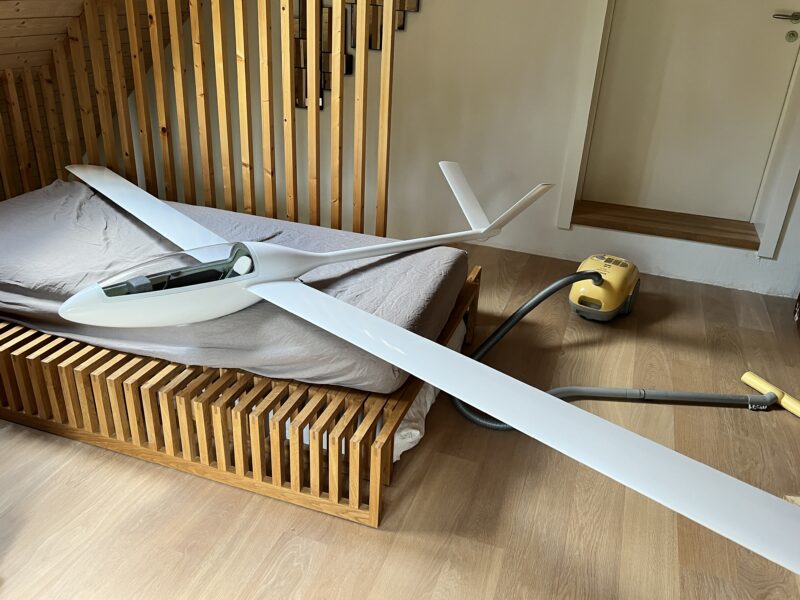
Although the paintjob on my Monnett Monerai was really good, we like to polish our gliders after they are painted and the paint is fully set (usually takes a few weeks). Polishing the paint gives the glider that bit of extra gloss and smooth surfaces and gets rid of the slight “orange skin” structure in the paint. It’s a lot of work though. I divided it over three days, around 2-3 hours each day.
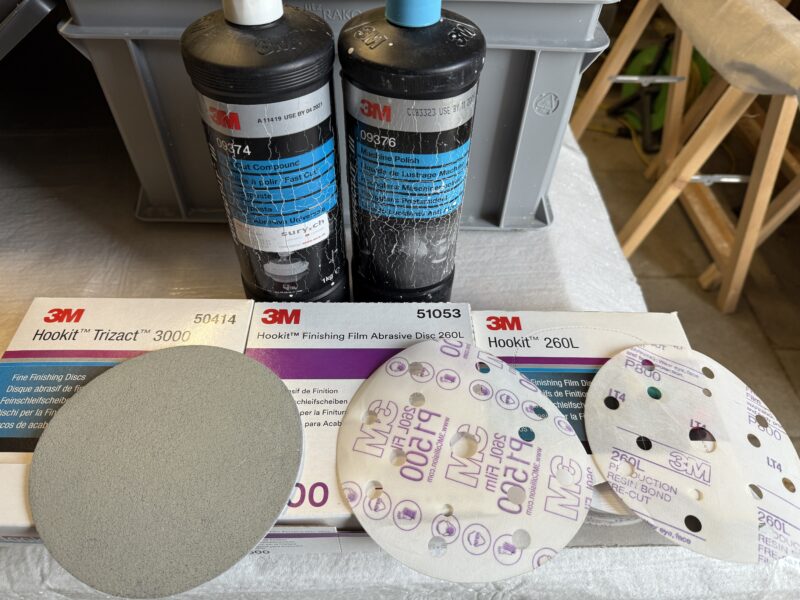
A short “how to”: First we get rid of the orange skin structure by wet sanding all painted surfaces with 800 grit sanding pads (Georg even starts with 600 grit sandpaper), followed by 1500 grit and then a 3000 grit sanding pad (all by hand). After that we machine polish all surfaces using a fast cut compound, followed by a machine polish compound. See the last picture below for the materials used. In Switzerland we purchase all materials through sury.ch – unfortunately only in larger quantities, but then they last a lifetime of building gliders.
Monnett Monerai: back from the paintshop
The Monnett Monerai has been back from the paint shop since early June 2024 already. It’s been sitting in my workshop waiting for the next step in the build. I hope to finally have some time to work on in the next few weeks and will post an update as soon as possible. Here’s a “teaser” from the assembled glider. Our building team member Andi did a great job once again spray painting it.
Monnett Monerai: ready for the paintshop
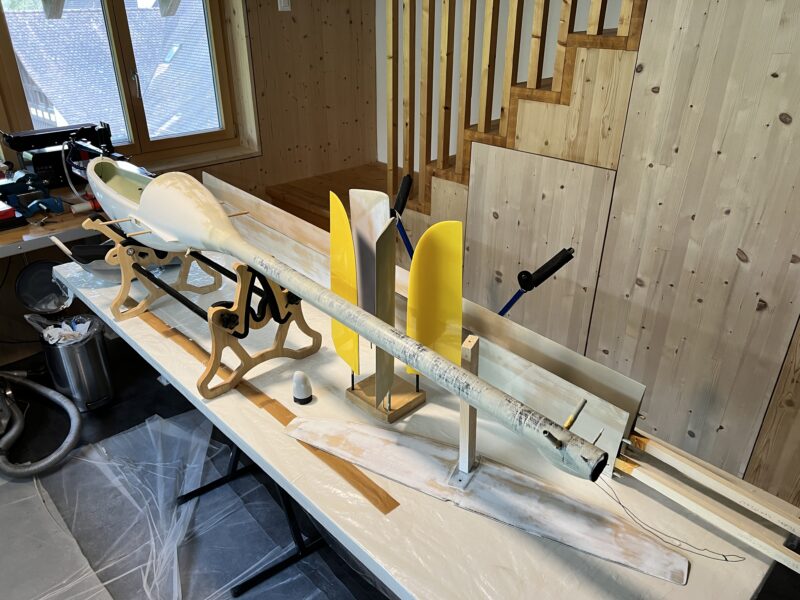
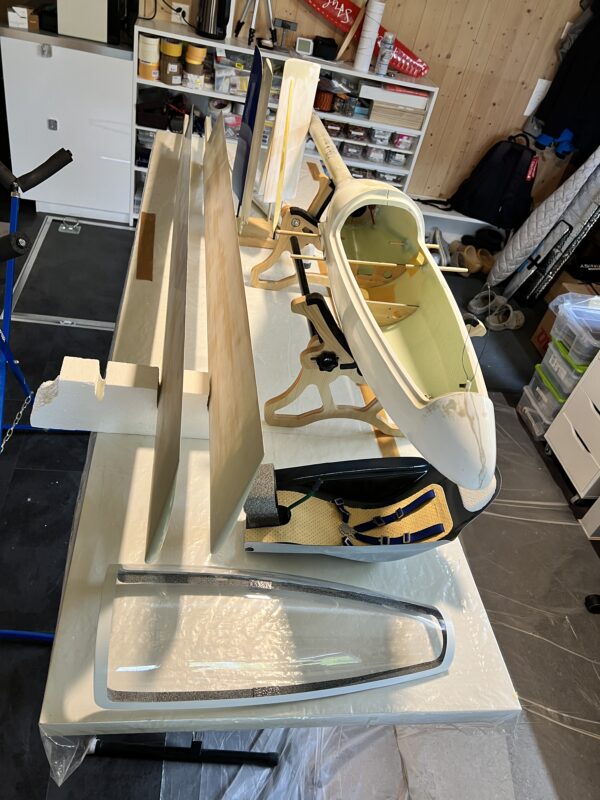
The Monerai is finally ready to go to the paint shop to be spray painted by my mate and expert painter Andi. Preparing it for the paint shop is always more work than I plan for and way down low on the list of my favourite jobs. It’s also a job that seems endless – every time you finish a coat of primer you see new small bits or holes that can be improved. But I put the limit at two coats of primer and small corrections using a spraycan – it’s a self-built glider made for flying, not a museum piece, and may have some imperfections.
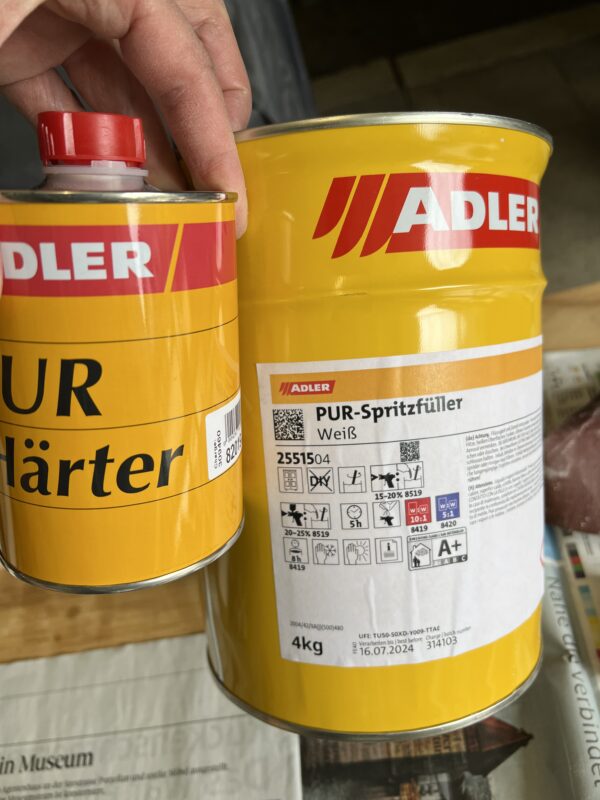
I first lightly sanded and cleaned the glassed wings. Then I applied the first coat of filler. Andi provided a new product from Adler. It’s pretty easy to handle and easy to sand, but stinks like hell. I thus had to wait for a day with decent weather so that I could work in the open and well aired barn – still using a good face mask and gloves. We usually apply the first coat with a filling knife, but this time I used a paintroller. This may well have been a mistake, as I may have more remaining pinholes than usual (we’ll see that after it comes back from the paint shop). After letting the first coat of filler cure for a night (in the warm workshop) I then sanded the wings using my small electric sanding machine (A bosch PSM160A) with 180 grit paper for the larger surfaces. I recently purchased a connector and flexible tube to connect it to my vacuum cleaner and was pleased by how much that reduced the amount of dust (and less pleased by the amount of work to clean the vacuum cleaner afterwards). smaller surfaces I sanded by hand, using 280 grit sanding paper. I repeated the entire process to make sure that all areas were well filled. I also used a spraycan of colormatic filler to make small corrections at the wingtips and on top of the tailplane, also in an effort to remove any remaining pinholes on the upper side of the tailplane and wings.
I also applied filler to the seam of the fuselage and the tail boom. After sanding the tail boom and fuselage I used the same colormatic filler for a second layer on the tailboom and for correcting small holes on the fuselage. I then sanded everything with grit 600 sanding paper (wet) to ensure a smooth surface.
As I already had the tailplane of the Diana4 readily glassed I also prepared this for spray painting. I also hope that Andi will be able to spray the tailplane of my Avanti white. It’s now yellow and a white tailplane would nicely match the white wings.
Fingers crossed now that we’ll be able to get a slot in the paint shop soon.
Monnett Monerai: maiden flight of Richi’s Monerai
My Monerai is still waiting for its coat of primer before heading off to the paintshop. My mate Richi, who’s built the plug and mould for the Monerai fuselage, already finished his Monerai a while ago. He had the maiden flight yesterday.
We were incredibly lucky with excellent conditions on the “airfield” of his club (Modellfluggruppe Wald), which is a wonderful SW-facing slope with stunning views over lake Zürich. Richi first launched a small glider to check for lift – of which there was plenty. I then launched his Monerai for him.
Maiden flights of an all-new self-built model are always a bit of a gamble. While you can calculate the center of Gravity and incidence, as well as throws, our experience is that these values are mostly less useful than following our instinct and experience. Richi’s instinct and experience proved right – as so often. The Monerai flew wonderfully right from the start – in fact his first flight lasted more than two hours! He will need to experiment a bit with the CG and throws still, but the settings are not far off where we’re likely to end up.
I made a video of the first flight, including start and landing. Between filming I also flew my self-built Ventus 2c for an hour and a half. Pure bliss.
Monnett Monerai: airframe ready for painting
The Monnett Monerai’s airframe is now ready for painting. I installed the landing gear and spray painted the canopy frame. I also made the basic parts for the seat pan and instrument panel.
The next step is applying primer to the wings and parts of the fuselage. That’s something I really dislike – the primer is very smelly and sanding it gives a huge mess. I’ve been waiting for it to get a bit warmer so that I can work in the barn with the door open. I hope to get a chance next week – especially since it’s likely that I may get a slot in the paintshop the week after next. Fingers crossed.
Monnett Monerai: tow hook, canopy lock and canopy
I’ve yet to decide if I’ll add a FES motor to the Monerai. The main issue is that the tail is very light and there is no space to put the batteries far behind the center of gravity. I’ll decide on adding FES before sending the glider off to the paint shop.
I do however want a tow hook. And of course I still needed to fit and install the canopy.
The towhook I built myself, using a servo I had lying around still, and our usual DIY setup. The same with the canopy lock. I like these to be “hidden” below the wing/fuselage.
Fitting the canopy is always a lot of work – usually saved for a day that I feel up to it and pull it through in one go. I roughly cut it to shape using my Tamiya canopy scissors. Then it’s a lot of sanding/trying/sanding/trying until it fits. Most of the sanding is done using my permagrit. After that I glued the canopy to the frame using thickened epoxy resin (aerosil and micro-balloons), this time also adding some grey colourant (after waxing the fuselage to make sure that the resin only sticks to the canopy). The whole thing took me more than 5 hours…..
Monnett Monerai: fitting the tail boom
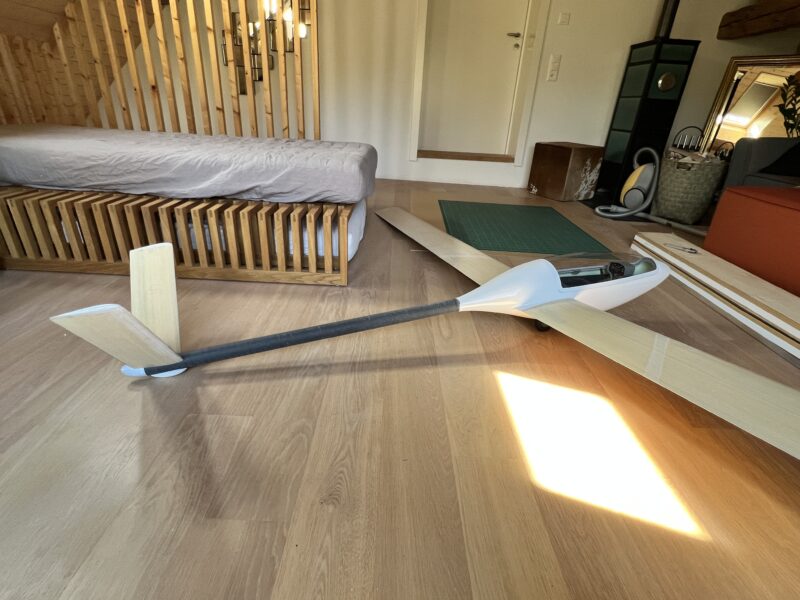
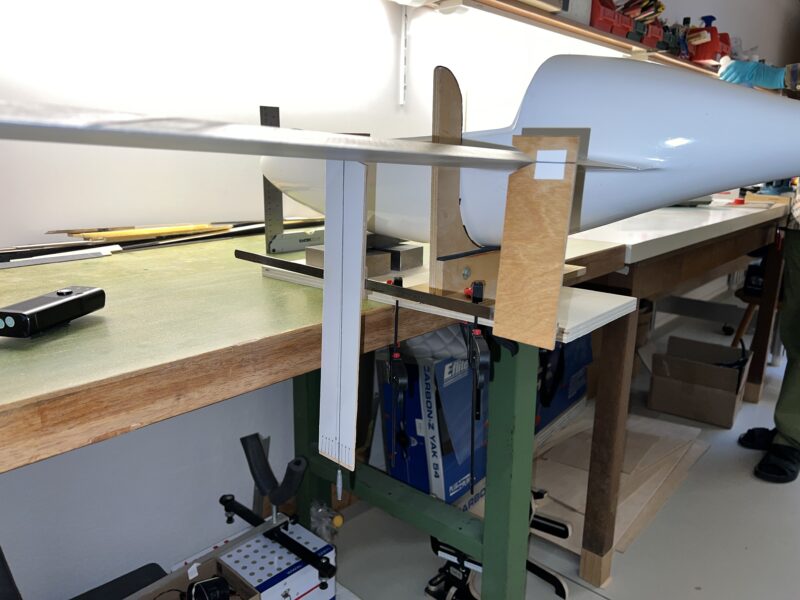
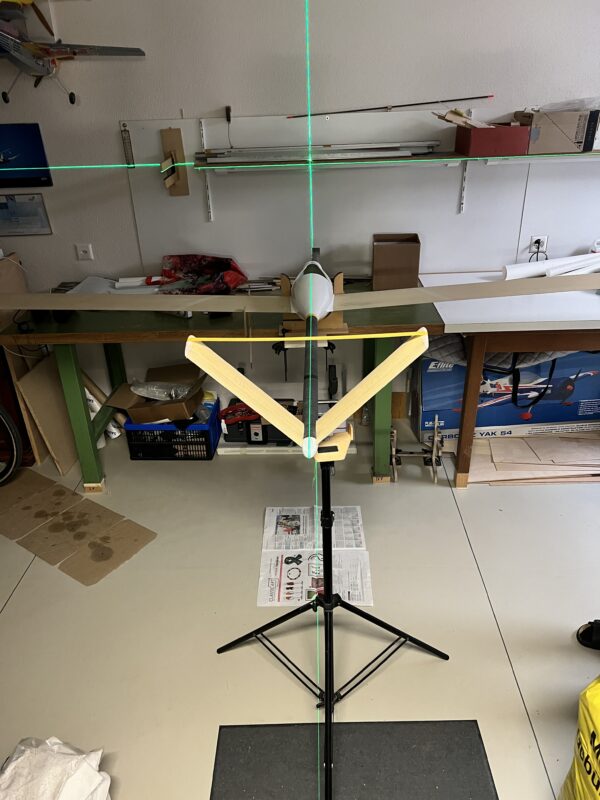
I’ve been putting off fitting the tailboom of the Monerai – too many variables and things that can go wrong. In the end I asked my mate Georg to help me. He’s the one who usually does the wing positioning of the plugs of our new models and also has the right gear and space. I had already mounted the tailplane at a 0 degree angle to the tail boom. That left deciding on the length of the tailboom, the right incidence of the tailplane in comparison with the wings and the exact positioning of the tailboom and V-tail.
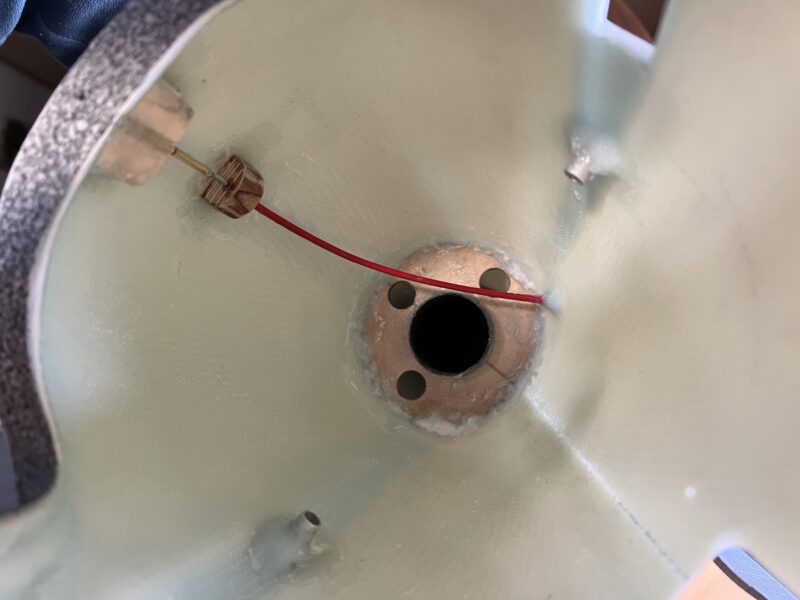
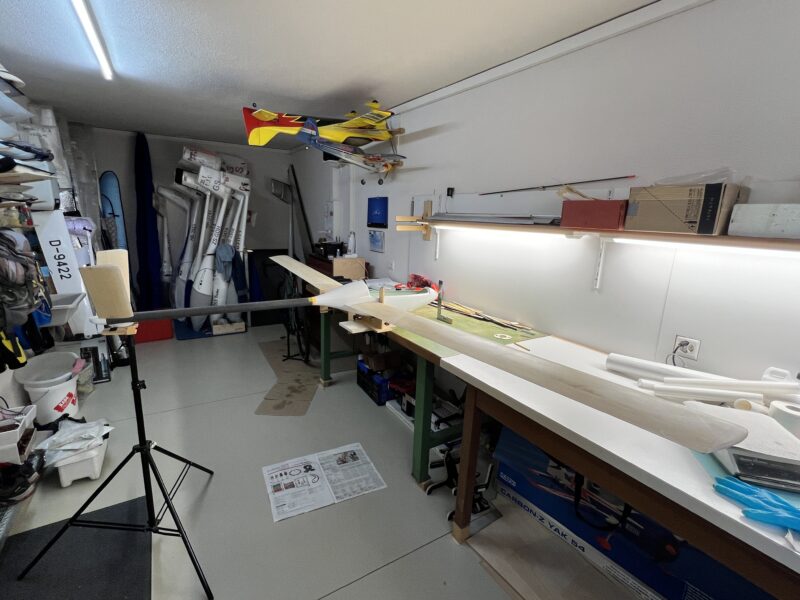
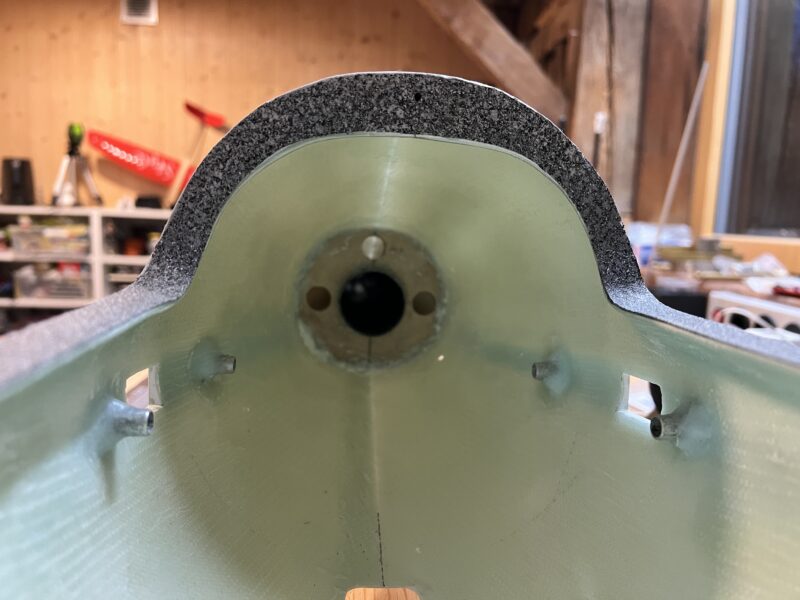
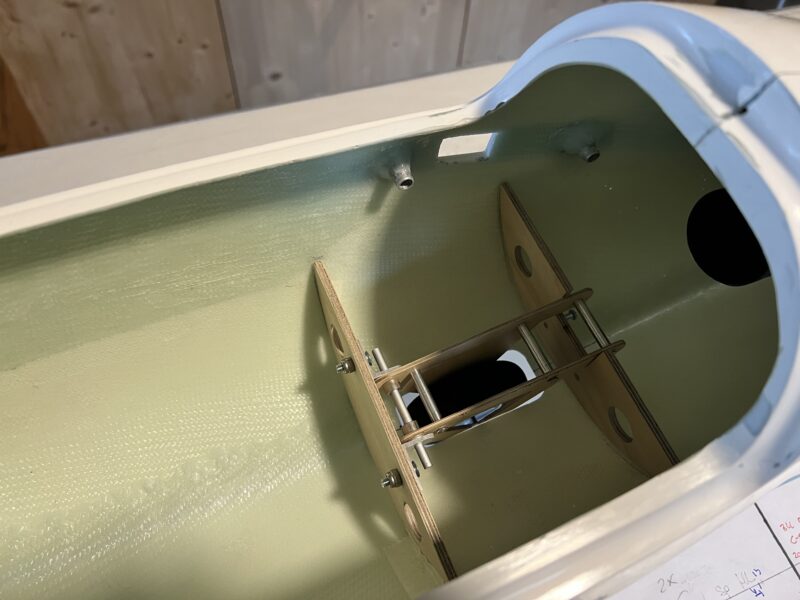
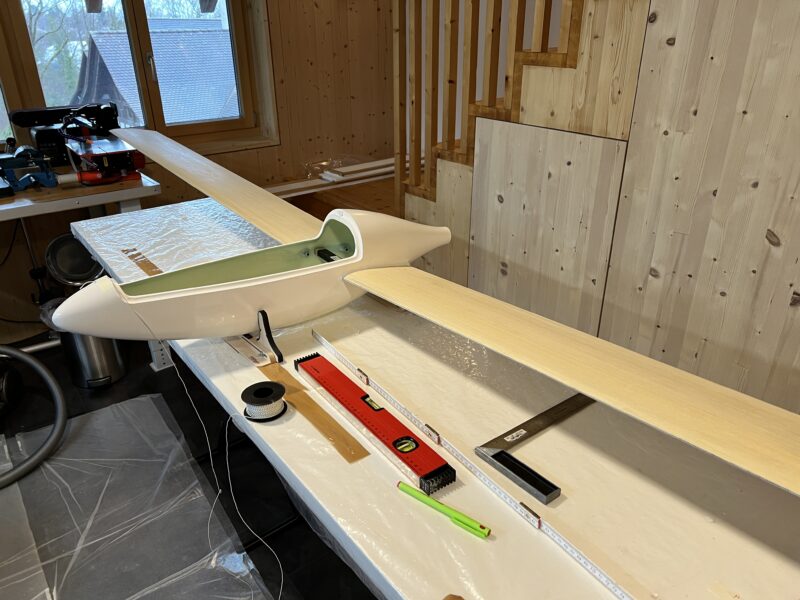
We first positioned and fixed the fuselage pod and wings at an incidence of exactly 1.3 degrees, so that the tail boom could be fixed horizontally. We then prepared a support for the tail boom and roughly aimed it in the right position. Then we removed the tail boom, prepared epoxy resin and glued the tail boom into the correct position. Using our laser we double-checked everything and allowed the epoxy to cure. The next day I prepared and added some thickened epoxy on the inside of the fuselage as well as plywood bulkhead. I also used 10cm of leftover tailboom to reinforce the inside of the tail boom where it is glued into the fuselage (cutting it open on one side to reduce the diameter so that it fits).
Monnett Monerai: Landing gear
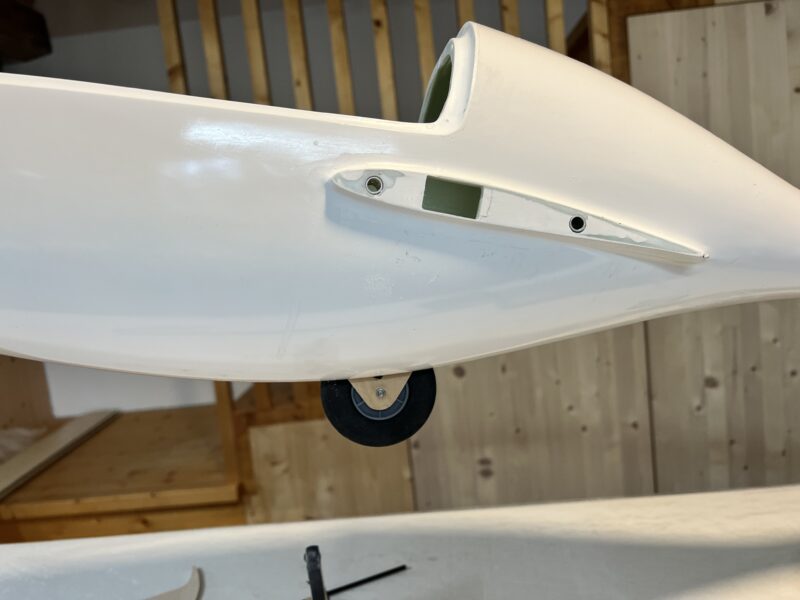
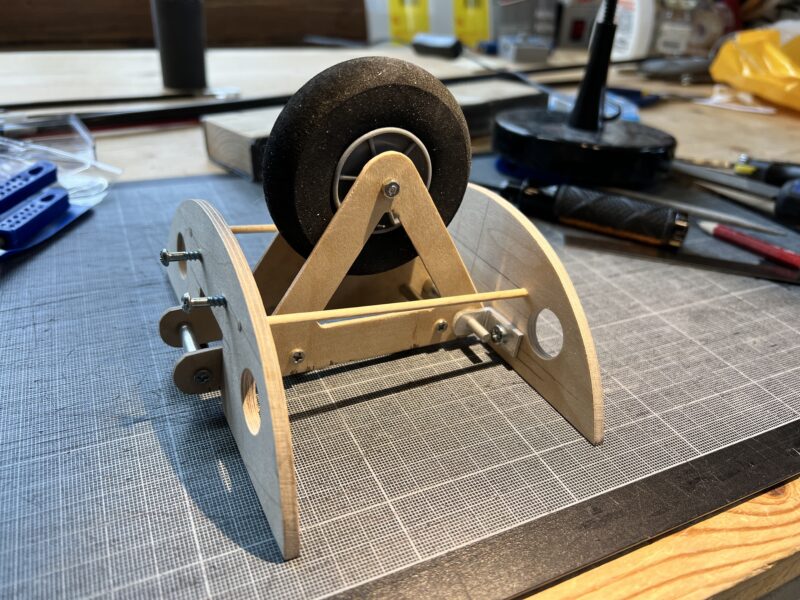
The Monnett Monerai has a fixed suspended landing wheel. My mate Richi’s gave his Monerai a wheel without suspension. I’m not a big fan of unsuspended wheels – especially when you have bumpy landings on grass or slopes the forces on the wheel and risks of damage are too big. Most importantly, I thought it would just be nicer to build a suspended landing wheel – also to put the crash-course in CAD drawing that I had in August last year from a flying buddy on a rainy day in Hahnenmoos into practice.
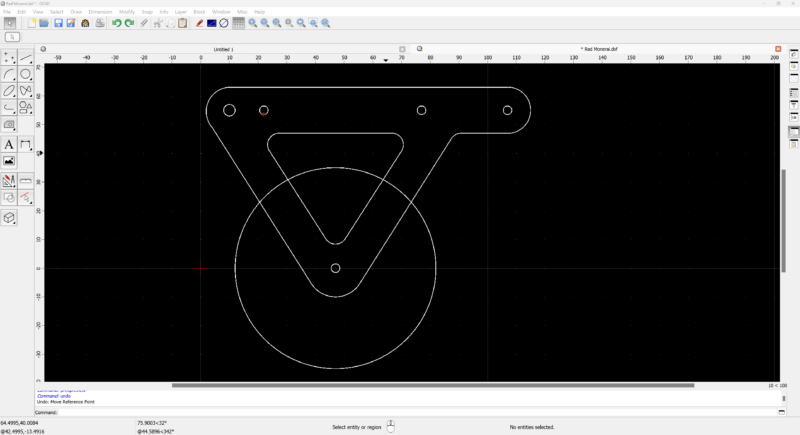
The design of the landing gear is very much based on the well-tested design of our Urupema and Orlik – just smaller, with a 70mm foam wheel. The front and rear bulkhead are 4mm plywood and designed “by hand”. The sides of the gear were designed on QCAD and will be milled from 2.5mm glass fiber. To check if all the bits fit together and are sufficiently stable I first cut them out of 2mm plywood. A flying buddy will mill them out of glass fiber for me next week. The front and rear bulkhead are held together using wooden sticks that are just there for correct positioning and will be removed once the gear is glued into position in the fuselage. The suspension will be bicycle inner tubes.
Monnett Monerai: small steps and glassing the wings
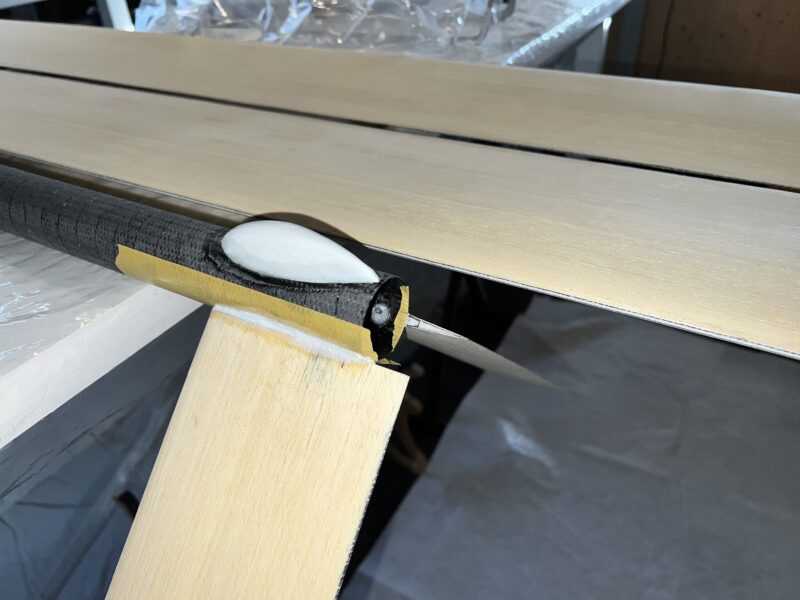
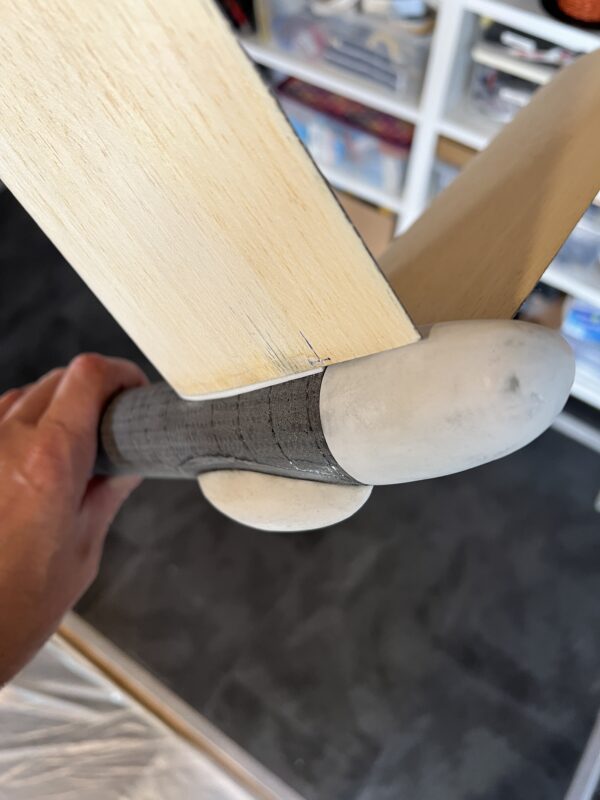
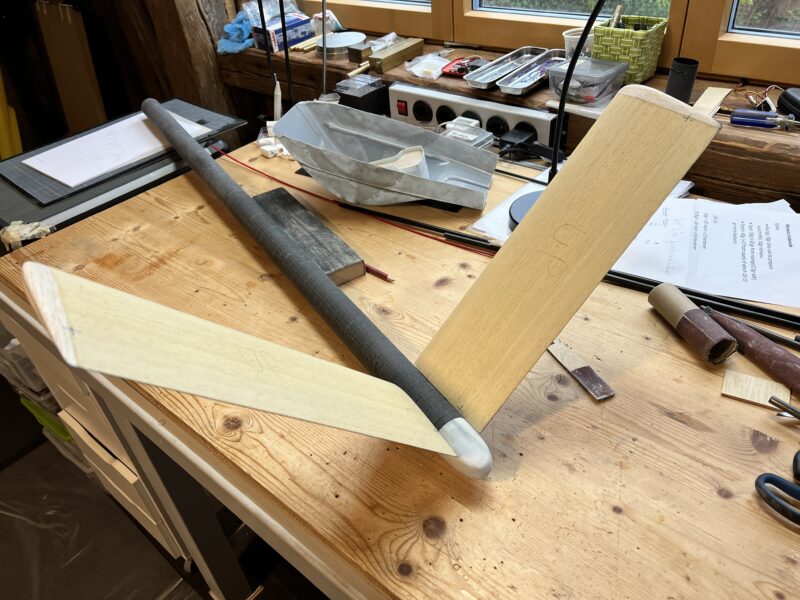
The small things always take up a lot of time – especially if it involved waiting for epoxy resin to cure between the different steps. After sanding and fitting the wings I glassed the corners of the wing root (protection from transport damage), finalised fitting the V-tail to the tail boom (0 degree dihedral compared to the tail boom) and filled up the space between the two parts of the V-tail and the tail boom with thickened resin.
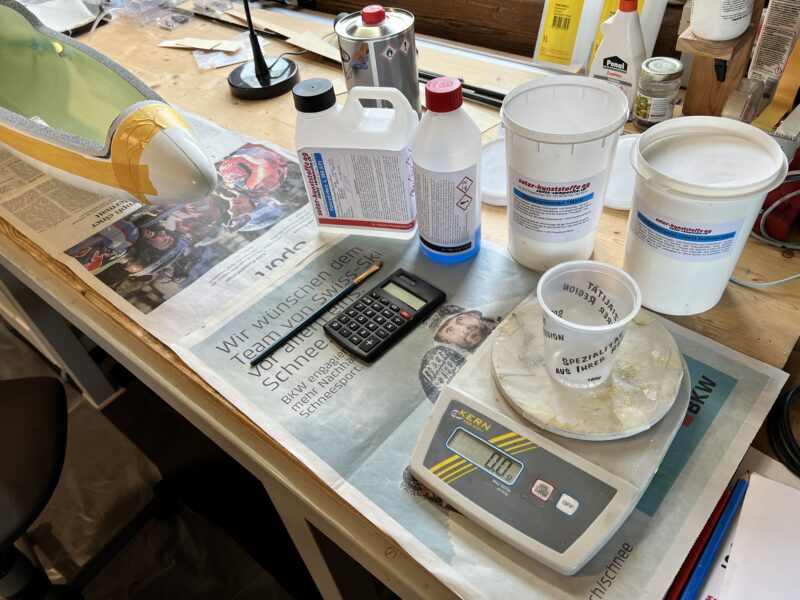
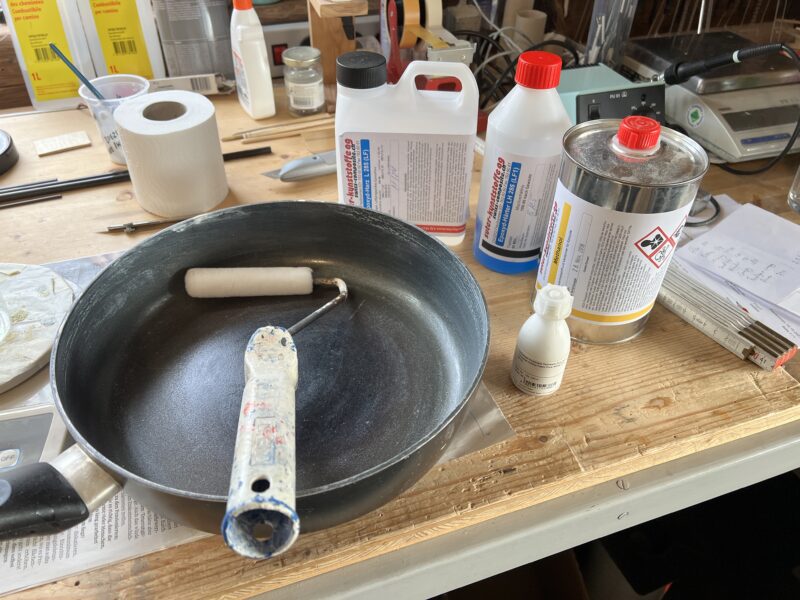
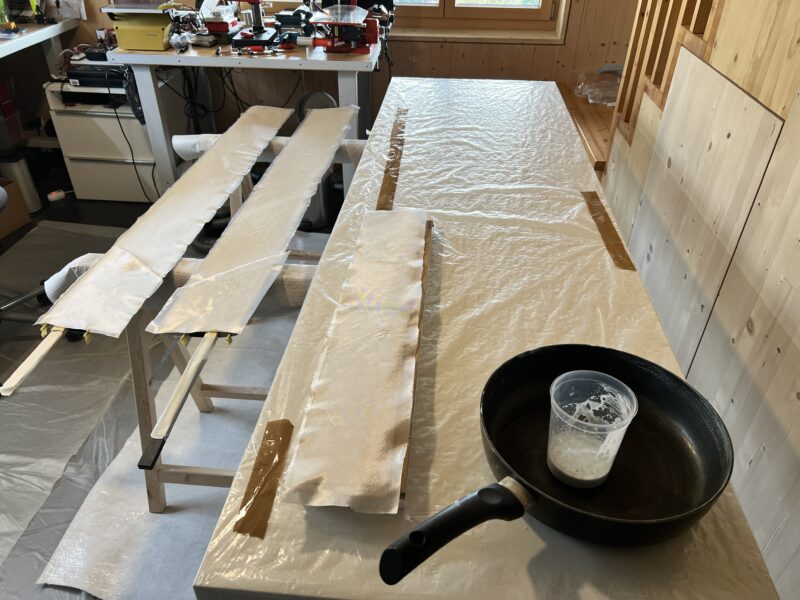
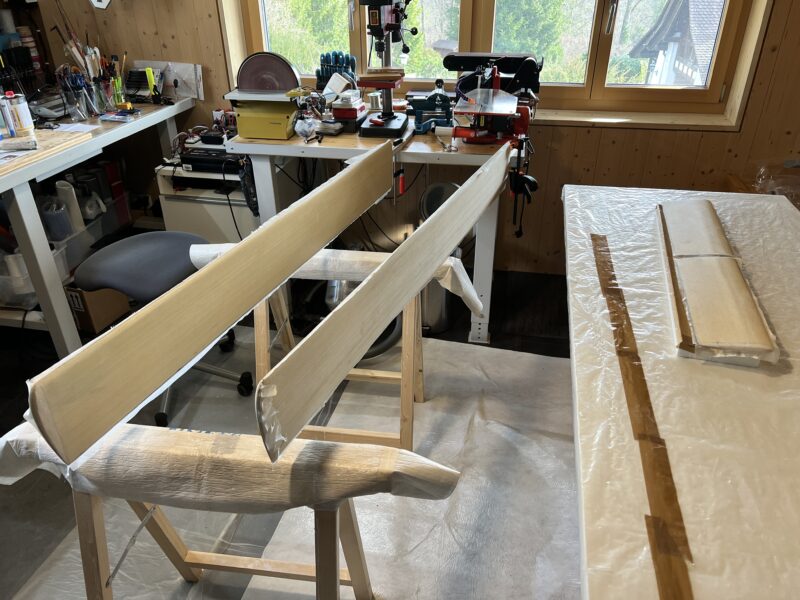
The next big step is glassing the wings. I used 48gr glass cloth, cut at a 45 degree angle (this means a 2cm overlap around 30cm from the wing root). I first put the glass on the wings (and tailplane). Then I prepare a mixture of epoxy resin, with a bit of white colourant and 30% methanol to make it really “watery”. The white colourant helps ensure that we will need less paint afterwards when painting the wings. Using a paint roller and an old non-stick frying pan I roll the resin mixture onto the glass, making sure that it’s nice and straight, without any folds.
I first do the underside, making sure that the glass is about the middle of the leading edge. After applying the glass I hang the wings leading edge up on the wing joiner and a piece of wood to let the resin fully cure (without warping the wings). After the resin is cured I will use a razorblade to cut away the excess glass and gently sand the edges.
Tomorrow I will do the upper side of the wings and tailplane in the same manner, with the only difference that I’ll wrap the glass over the entire leading edge. In total I need around 2x25gr of thinned down resin per side of each wing.
Monnett Monerai: first time assembly
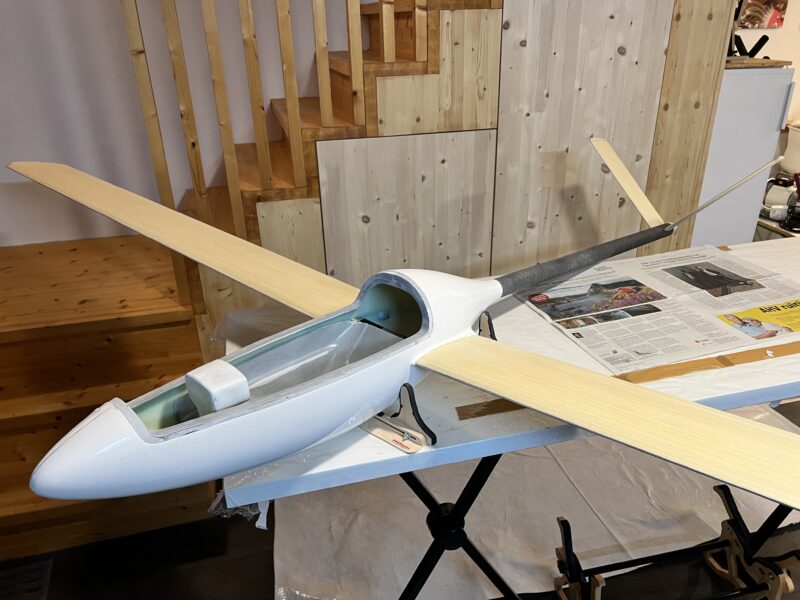
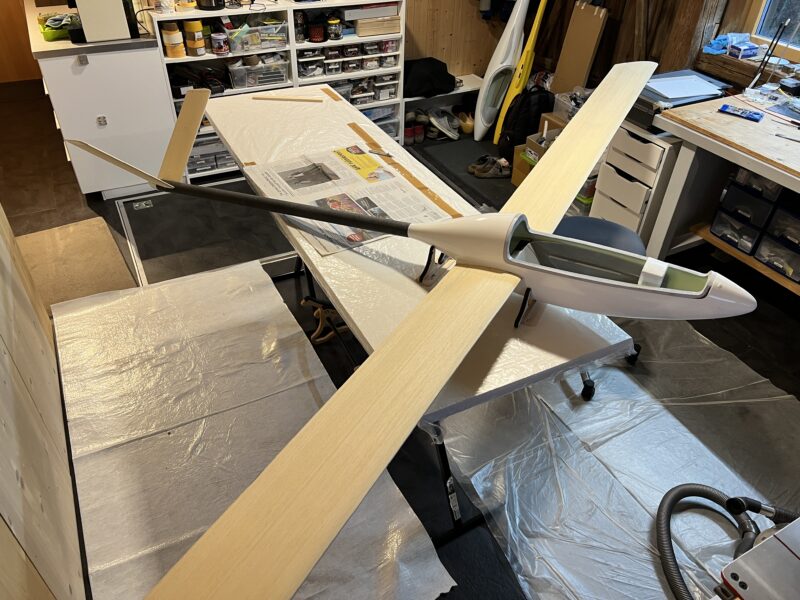
After fitting the wings I applied lots of wax to the fuselage and then used thickened epoxy to fill out the remaining gaps between the wings and the fuselage. The fit is now perfect.
Using a template I also glued the carbon tubes for both sides of the v-tail into the tailboom. Like the original, both sides of the v-tail are slightly off-center.
In-between I sanded back the canopy frame and applied an extra two layers of 100gr glass on top. I also did some work on the instrument panel and the seat pan.
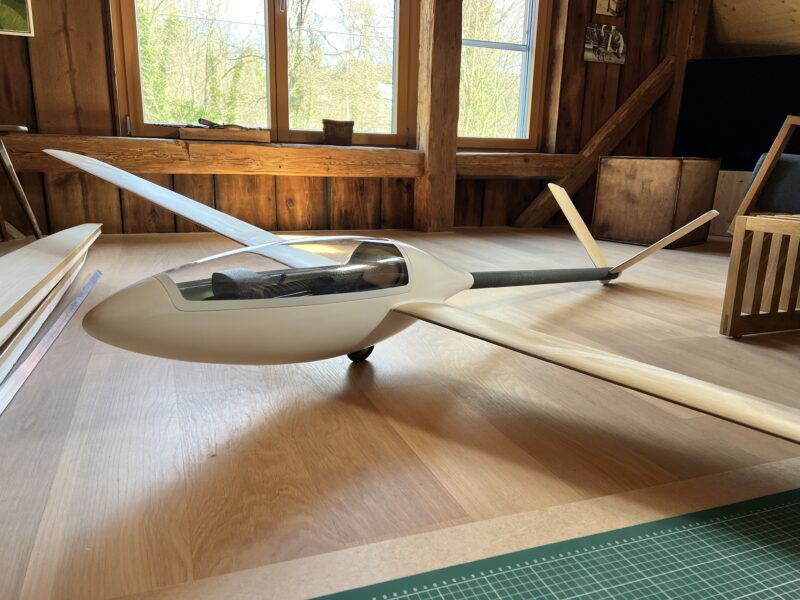
Most importantly: time for a first fitting together of all the bits! it’s starting to look like a Monerai now. Still lots of work to do though. Next steps are to glass the wings and tailpane, finish fitting the tailplane to the tailboom and fitting the tailboom to the fuselage at the correct incidence. I’ll also need to start working on the fixed landing gear. More on all that later.
Monnett Monerai: sanding and fitting the wings
The main advantage of using ebechi to cover the wing cores is that it makes it easier to get rid of any uneven parts. These usually occur on the underside of the wing where the main spar or the two spars on either side of the hinges of the control surfaces are epoxied into the foam. The 0.6mm thick abachi usually gives enough “margin” to sand the uneven bits out.
Sanding the ebechi is a messy job. I usually do this outside and was lucky that today was relatively warm and windy. To sand the ebechi I use my favourite Permagrit (the really rough side), my trusted old bosch sanding machine (80 grit sandpaper) as well as a block with 100 grit sandpaper. Most important is to sand the leading edge of the wings into shape. During the building I put a few mm of resin thickened with microballoons at the leading edge, which makes it much easier to sand. I also use a small template to check the profile of the leading edge at different places of the wing. The template I used for the Monerai is the same as the one I will use for the Diana4 – the wing profiles are not identical, but close enough. A good trick to make sure that you sand the wings evenly is to mark the entire wing with a pencil. Once the pencil stripes are sanded away you have sanded enough and any uneven parts are most likely to have been sanded out.
Sanding reduced the weight of each wing by almost 40gr. Both of them now weigh exactly 482gr each (I weighed the wings during sanding to make sure that they weigh the same).
After sanding the wings I fitted them to the fuselage. The wings are attached to the fuselage using 6mm aluminium pins that are glued into small bits of plywood that I inserted into the base of each wing during the build. On the side of the fuselage they fit into short aluminium tubes that I glued into the fuselage earlier. To ensure that these pins are in the right place I first make the two holes in the fuselage for the wing joiner and make sure that the openings in the fuselage are just big enough to keep the wings in the right place. I check the position of the wings using my laser, as well as by measuring the distance to the table and to the nose of the fuselage. I then fix the first wing using tape, remove the other side, and use a long 5.5mm drill (thanks Aliexpress) to mark where the hole for the aluminium pin needs to come. I do the same for the other wing. I then drill open the holes for the four pins, making sure that there is enough play to enable the pins to set themselves in the exact right position. After waxing the fuselage around the area where the pins go in I then glue the pins into the wings using thickened epoxy resin (with cotton flakes), put both wings onto the fuselage and wait for the epoxy to cure.
Monnett Monerai: wing cores both ready
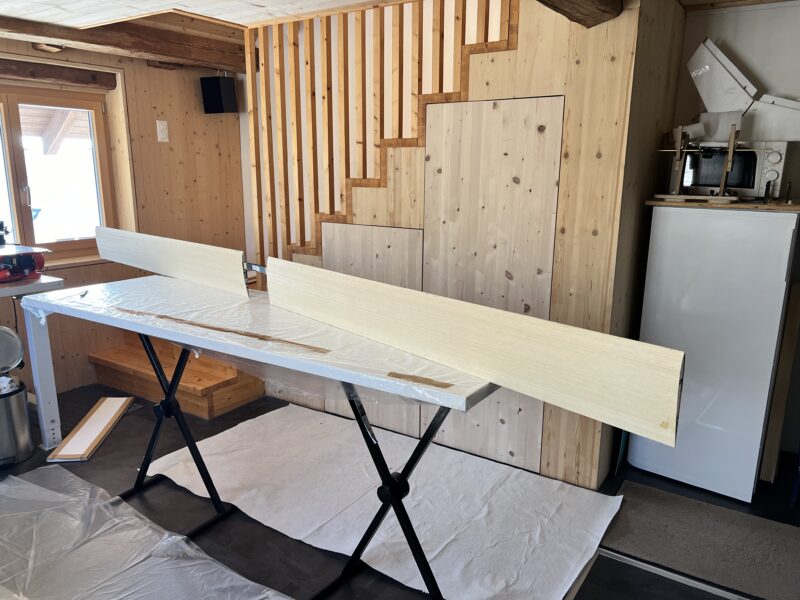
Last week Friday I closed the 2nd wing, with help from EP. We’ve built up a nice routine and division of labour, so that closing it now takes us less than two hours. On Saturday I took the wing out of the vacuum bag. After sanding off the rough edges the scales showed a weight of 518.5 grammes. That’s a weight difference of 1.1gr compared to the first wing we built earlier last week (519.4gr.) – the closest I’ve ever come with building wings and well within the margins. Wing flex and torsional stiffness of both wings seems excellent.
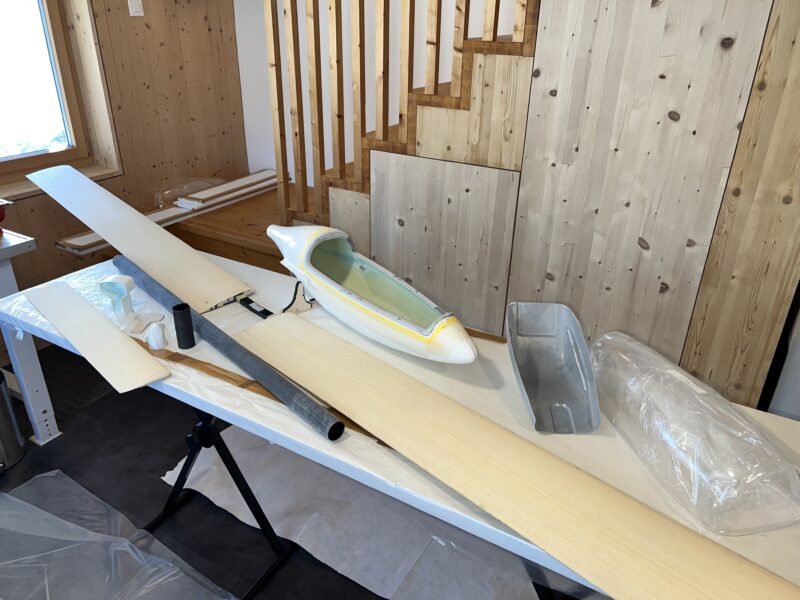
All the main bits and pieces of the Monerai are now ready in their “crude” form. Now comes the long process of putting it all together. Just to see where I am weight-wise I weighed all the bits – it adds up to around 2.4kg. My mate Richi, whose monerai is ready for its maiden flight, has a take-off weight of 3.6kg. I hope I can keep mine in that same range, but under 4kg.
Today I worked on the tail end, skid and canopy frame. I also installed all the wing plugs in the fuselage. Next step is to sand the abachi on the wings, before fitting them to the fuselage and then glassing them.
Monnett Monerai: Main Spar Buildup
Today I spent a few hours preparing the 2nd wing of the Monerai for closing. Measuring, cutting out the foam and especially preparing the Rohacell core of the main wing spar always takes quite a bit of time. All is now set for closing the 2nd wing, which we will do tomorrow.
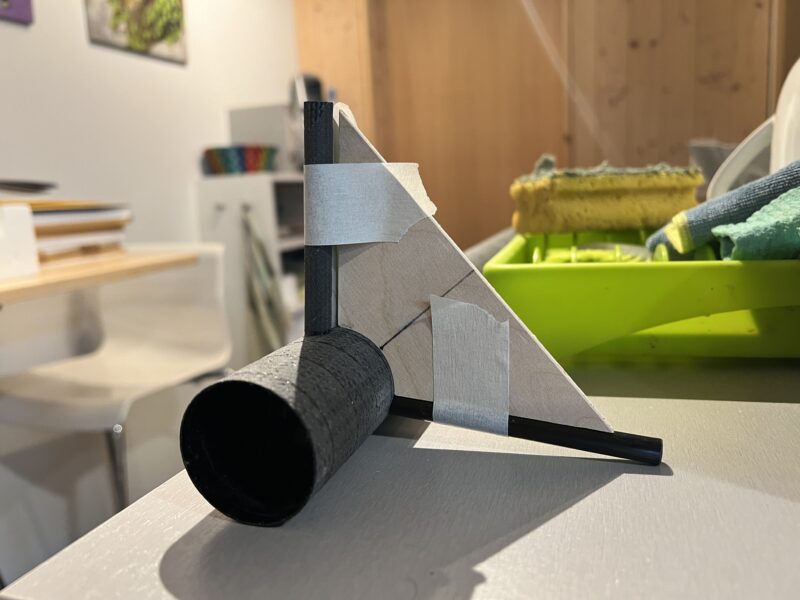
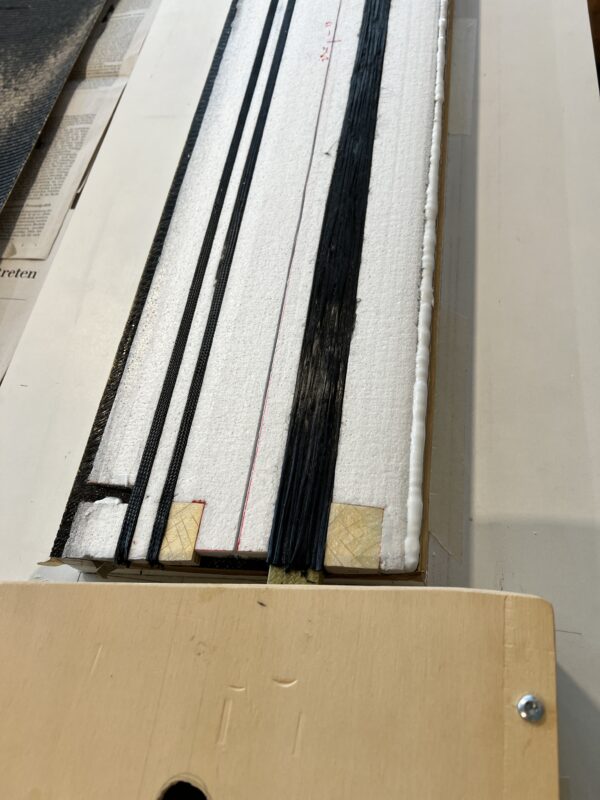
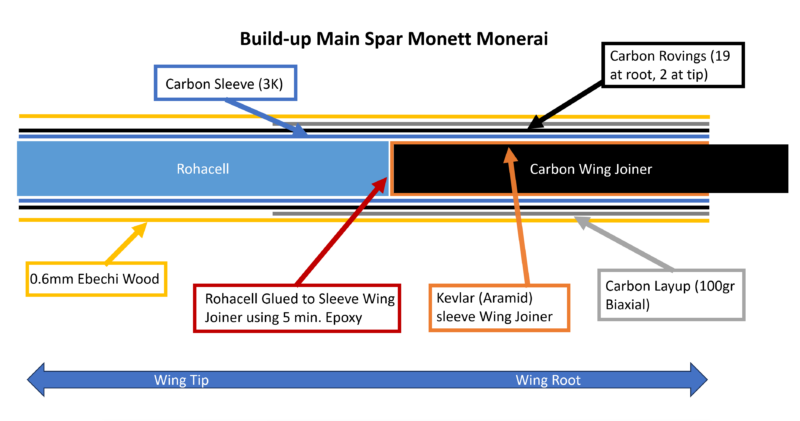
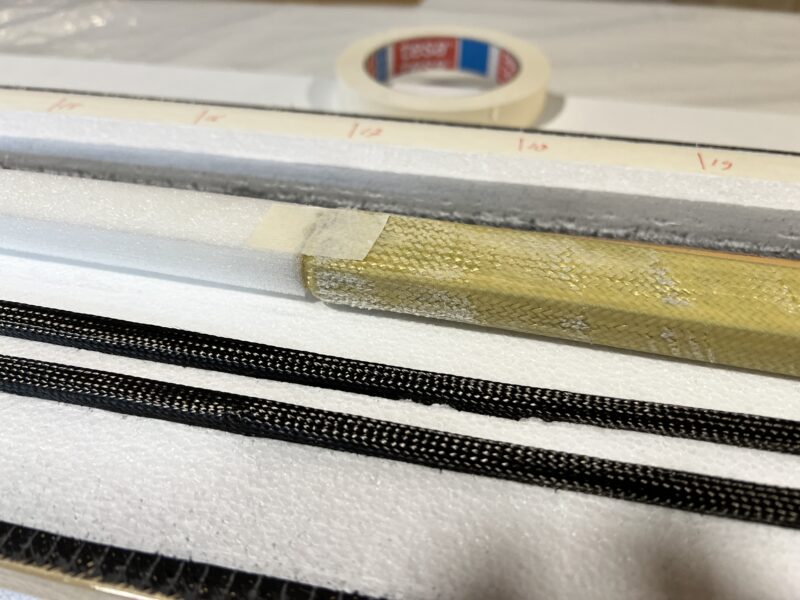
I got a question via the comments form on the buildup of the main spar, especiall how I connect the sleeve of the wing joiner with the rohacell core of the main spar. I always glue the different core bits of the main spar together using 5 minute epoxy, fixed with a small piece of painters tape (picture below). This is really only to make sure that the core of the main spar stays together while handling. It doesn’t add to the stiffness of the wing. The stiffness of the wing is provided by the carbon sleeve around the entire core (from wing root to wing tip), by the carbon rovings below and on top of the main spar (for the Monerai 2×19 at the root and 2×2 at the tip) and of course the carbon layup underneath the ebechi (note that the carbon layup continues under the main spar for the entire length of the wing, in the first 75% of the wing covering the entire width of the wing, in the last 25% only the carbon D-Box as well as the area of the control surfaces).
So to be clear, the buildup from inside to outside is as follows:
– in the area of the wing joiner: carbon wing joiner (stays in the joiner sleeve during the building of the wing); kevlar sleeve wing joiner; 3k carbon sleeve; 19 carbon rovings; carbon layup (100gr biaxial); ebechi.
– in the area after the wing joiner (from inside to outside): rohacell core; 3k carbon sleeve (reducing to 1k towards the tip); 19 carbon rovings (reducing to 2 at the wing tip); carbon layup (100gr biaxial); ebechi.
– Important: once the Ebechi is sanded into shape I’ll also add a layer of 50gr glass (diagonally), before applying primer and then paint.
Also see my earlier post on building the wing of the Diana4 with a list of materials used.
I hope that the drawing below provides more clarity.
Monnett Monerai: Logo
I prepared the logo and decals for my mate Richi’s Monerai a while ago (his is ready for the maiden flight). Finding a usable version of the logo wasn’t easy. Until around a year ago there was a full website with documentation on the Monett Monerai – including building instructions and plans. Fortunately I saved the logo from that website already last year – just before the website went offline. Here’s the logo, I also have a digitised version if anybody needs it – just send me a message over the contact form.
















You must be logged in to post a comment.