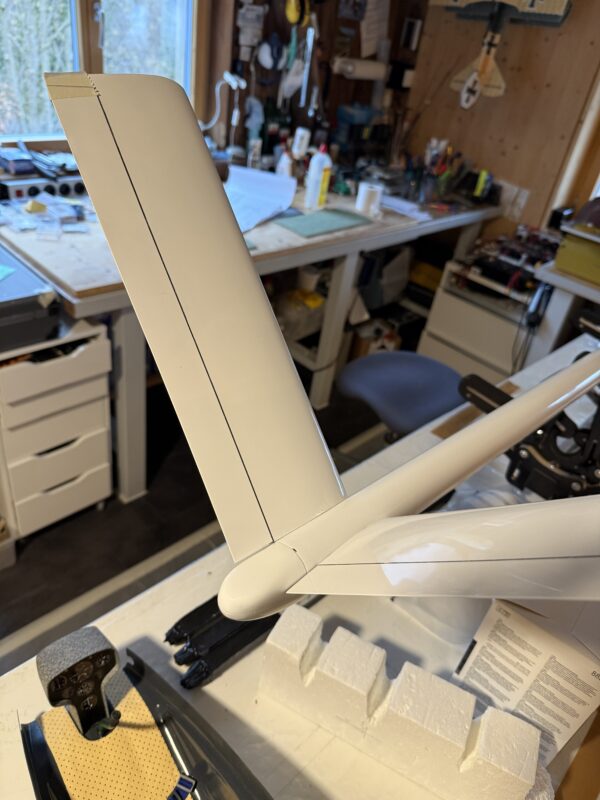
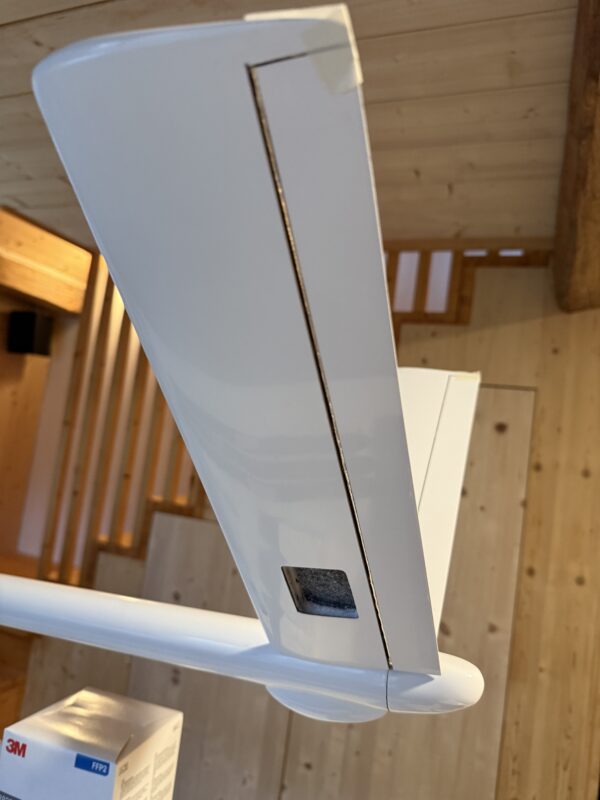
Cutting out the control surfaces always makes me nervous and I tend to push it off until I feel that I’m really up for it, with a clear mind and a steady hand. So much can go wrong and it can really mess up your build. Fortunately I’ve never messed it up so much that it wasn’t salvagable and the final plane looked crap.
We usually set the hinges of the wings at the bottom and the tailplane at the top of the wing. The reason for this is that the “seal” for the gap on the tailplane is tape (easier), whereas we do set a seal at the upper side of the control surfaces for the wings (more on that later). Most importantly, you want the airbrakes (inner control surfaces) hinged at the bottom to allow maximum throw.
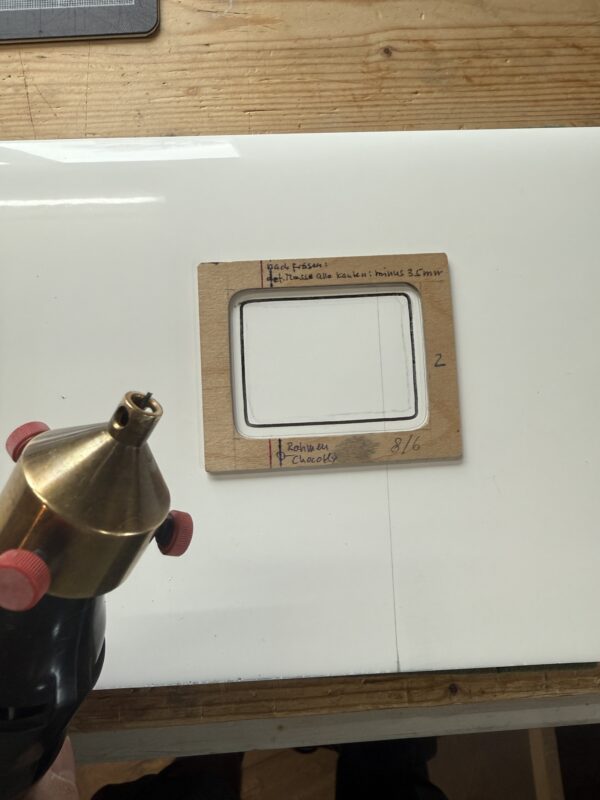
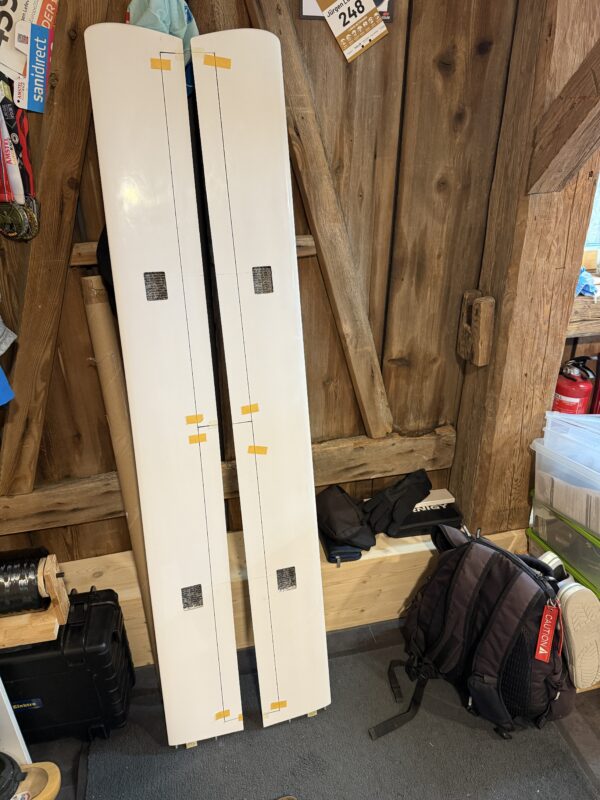
To cut out the control surfaces we use a hand-held milling machine – basically an old Dremel with a brass add-on made ages ago by a club colleague (see picture). This brass add-on allows you to pull the dremel along a ruler or aluminium profile or bar. The aluminium profile is fixed to the wing with bits of double-sided tape. The starting and end-points are defined by the little holes in the surface of the wing that I made before bagging the underside of the wing and are positioned between the two rear spars of the wing (and the holes were kept open during the various stages of building the wings including the spray painting).
For the top of the wing I use a 2mm milling bit, for the underside (where the hinge comes) I use a 1mm milling bit (the reverse for the tailplane). I’ve learned the hard way that it’s worth investing in good quality milling bits that are made for cutting carbon fibers – the cheapo chinese bits don’t last very long. I’ve also built a foot-controlled switch so that I can turn on and switch off my Dremel with my foot and don’t have to use the switch on the Dremel itself. Make sure that you pull the Dremel along the profile from left to right, with the profile at the underside of the Dremel (if it rotates to the right it will pull the Dremel nicely against the aluminium profile and reduces the risk of it “wandering off” and messing up your wing).
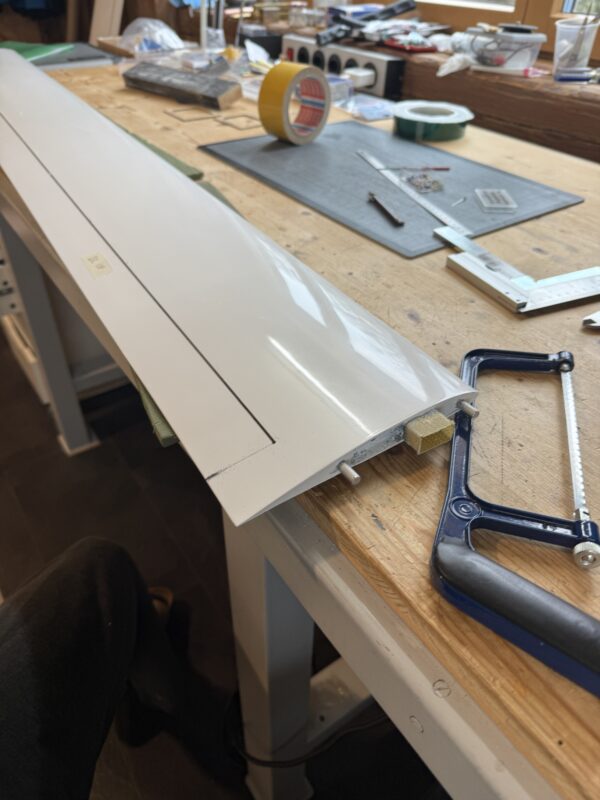
After cutting the long horizontal bits I carefully separate the control surfaces using a small saw. Then I clean out the foam, lightly sand all the corners and surfaces that are cleared of foam. The wings then need much more work still, more on that later.
Cutting out the openings for the servos is done in a similar manner. We have small templates that we tape to the wing using double-sided tape and then cut out the openings using the dremel with a 1mm milling bit.
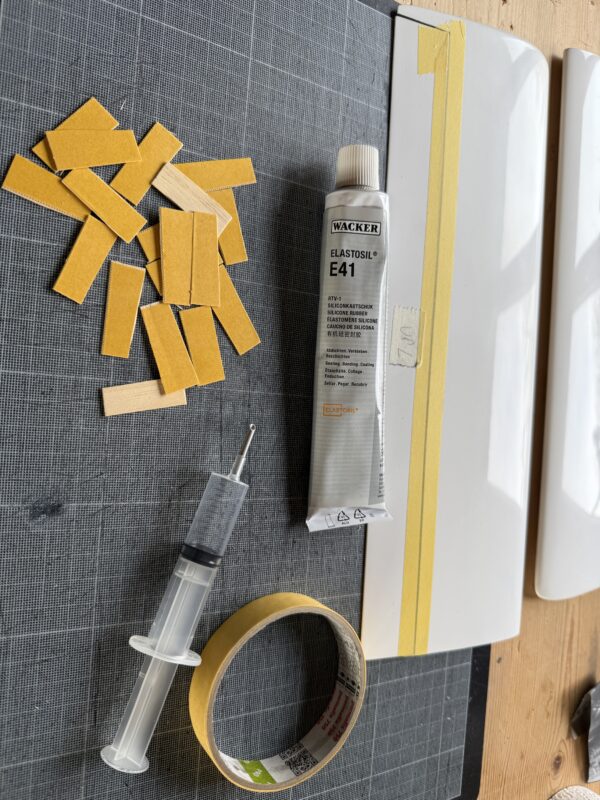
The next step on the tailplane is to check if any bits need protection or correction using a some resin (if necessary coloured white). After that I position the control surfaces using good quality wax tape and 1mm thick pieces of balsa-wood. I then apply silicon glue (Wacker Elastosil E41) using a syringe with a 3/2 mm aluminium tube, wiggle the control surface a couple of times and then fix in place using leftover bits of ebechi wood with double-sided tape. Leave that to cure for 3-4 days and then carefully remove the wax tape (don’t pull out the silicon!) and the tailplane is ready for the servos to be built in.

