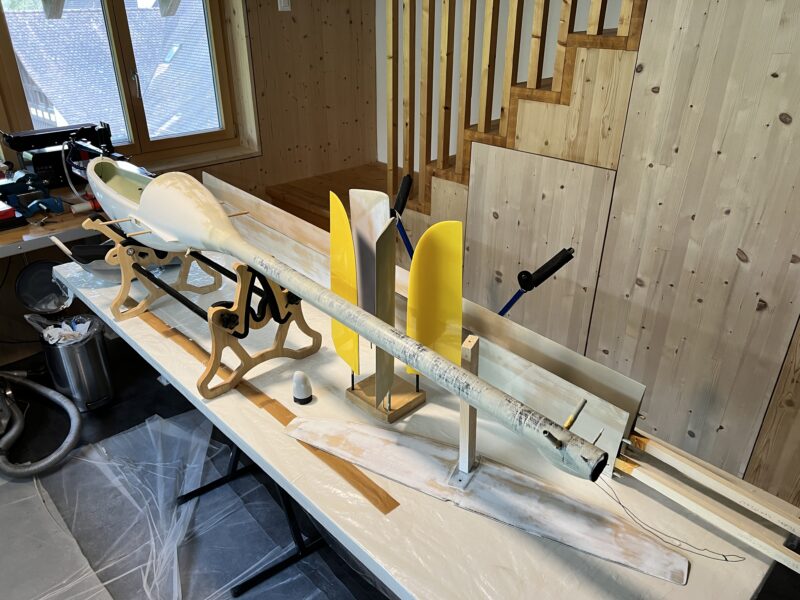
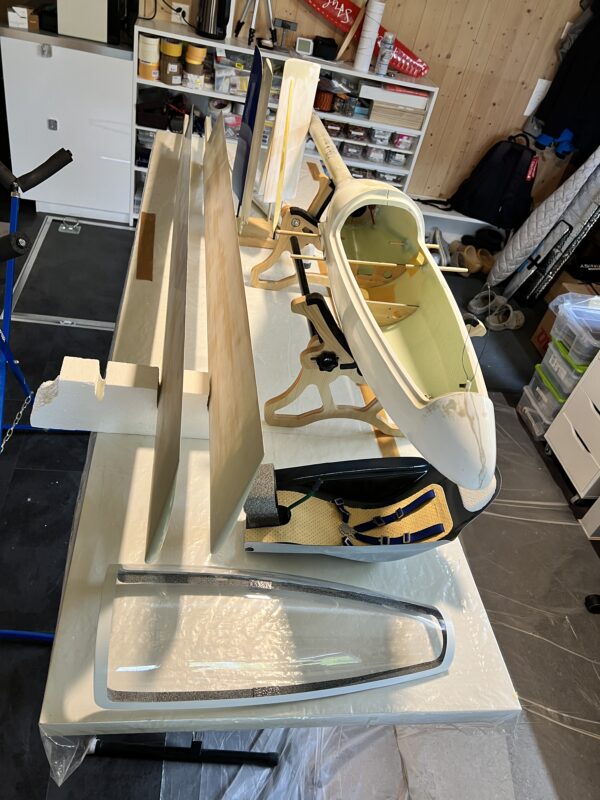
The Monerai is finally ready to go to the paint shop to be spray painted by my mate and expert painter Andi. Preparing it for the paint shop is always more work than I plan for and way down low on the list of my favourite jobs. It’s also a job that seems endless – every time you finish a coat of primer you see new small bits or holes that can be improved. But I put the limit at two coats of primer and small corrections using a spraycan – it’s a self-built glider made for flying, not a museum piece, and may have some imperfections.
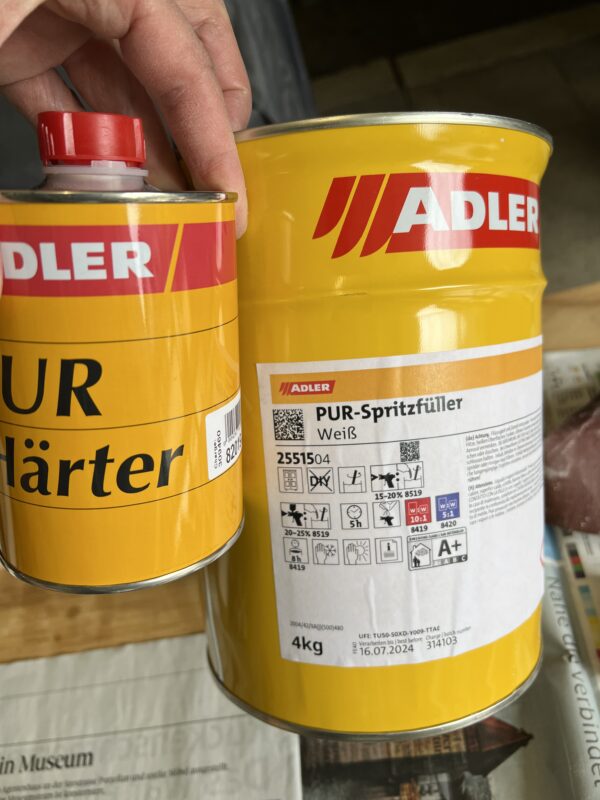
I first lightly sanded and cleaned the glassed wings. Then I applied the first coat of filler. Andi provided a new product from Adler. It’s pretty easy to handle and easy to sand, but stinks like hell. I thus had to wait for a day with decent weather so that I could work in the open and well aired barn – still using a good face mask and gloves. We usually apply the first coat with a filling knife, but this time I used a paintroller. This may well have been a mistake, as I may have more remaining pinholes than usual (we’ll see that after it comes back from the paint shop). After letting the first coat of filler cure for a night (in the warm workshop) I then sanded the wings using my small electric sanding machine (A bosch PSM160A) with 180 grit paper for the larger surfaces. I recently purchased a connector and flexible tube to connect it to my vacuum cleaner and was pleased by how much that reduced the amount of dust (and less pleased by the amount of work to clean the vacuum cleaner afterwards). smaller surfaces I sanded by hand, using 280 grit sanding paper. I repeated the entire process to make sure that all areas were well filled. I also used a spraycan of colormatic filler to make small corrections at the wingtips and on top of the tailplane, also in an effort to remove any remaining pinholes on the upper side of the tailplane and wings.
I also applied filler to the seam of the fuselage and the tail boom. After sanding the tail boom and fuselage I used the same colormatic filler for a second layer on the tailboom and for correcting small holes on the fuselage. I then sanded everything with grit 600 sanding paper (wet) to ensure a smooth surface.
As I already had the tailplane of the Diana4 readily glassed I also prepared this for spray painting. I also hope that Andi will be able to spray the tailplane of my Avanti white. It’s now yellow and a white tailplane would nicely match the white wings.
Fingers crossed now that we’ll be able to get a slot in the paint shop soon.


